

As you know, I love to make my own journals, mini-books and notebooks and I was looking forward to using the Wrapped Journal die. It makes such a chunky journal and it is a great size (4.7 x 5.1 in folded). I also like how protected the inserts are, which is great if you are planning to carry the journal around a lot. You can fold it in different ways, or you could simply cut off the part that folds over and make an ordinary notebook.

The Wrapped Journal is an XL die, so you need the Extended Cutting Pads. As with all the XL dies, they fit perfectly in the ordinary Big Shot or Vagabond machine. After die cutting, gently fold along the score lines.
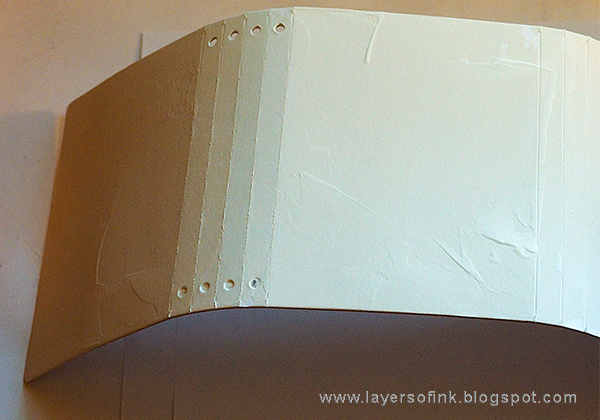
Coat with a layer of gesso, applied with a palette knife (you can also skip this step for later).

Die cut the gorgeous Journaling Cards Flowers and Leaves and Journaling Cards Hearts and also use the frame that coordinates with the die. These are meant to be journaling cards, but are some of the most versatile dies from Book Club 2. You can use them for backgrounds, or use the individual flowers and hearts. The Flowers & Leaves set also has a background with leaves, and the Hearts one has an additional heart background.
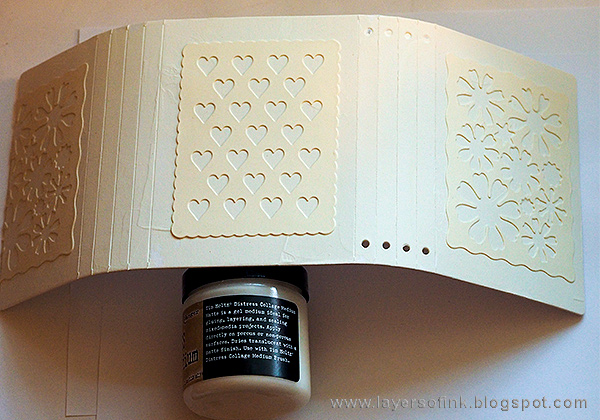
I glued them to journal with Matte Medium.
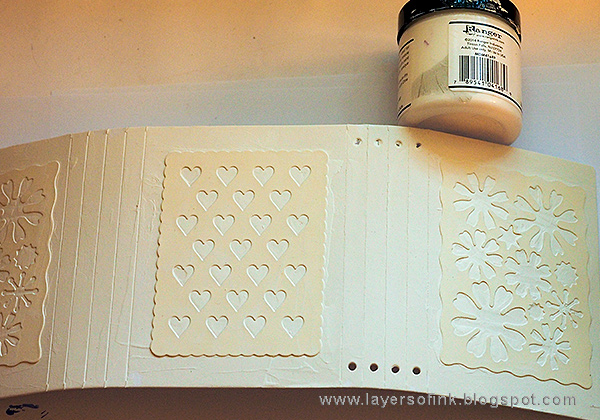
Add a layer of gesso on top - this is why you could have skipped the gesso above, but at that stage I hadn't decided what to do for the background yet.

Pick any acrylic colors that you like and paint the journal. I decided to use three Dina Wakley shades of purple/pink and paint in an ombre fashion. Before the paint was completely dry, I rubbed quite a lot of it off with slightly moist paper towels. This step creates nice texture and makes the pattern stand out better.
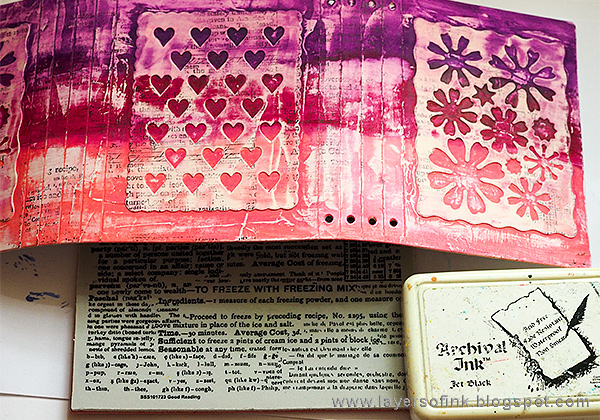
Stamp randomly with a text background stamp.
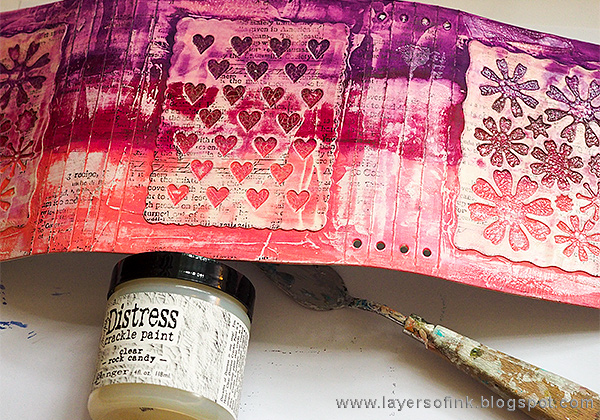
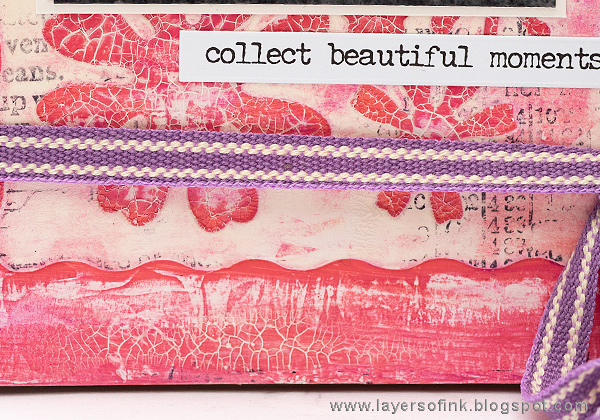
I wanted even more texture and smeared Rock Candy Distress Crackle Paint through the die cut pieces. If you press pretty hard, most of the crackle effect will only be visible inside the shapes. I also added some crackle paint here and there on the rest of the cover. Leave to dry.

When it is dry, rub Picket Fence Distress Crayon into the cracks. I love how this makes the cracks visible, while they also add a sense of light to the project. If you want a different look, use a brown or black crayon instead.
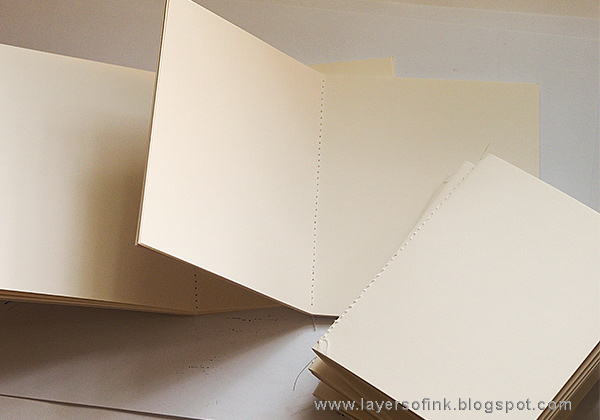
Cut papers for the inserts. Mine are 7.7 x 4.7 in (19.5 x 12 cm) and fold in half. Make four signatures using about six papers in each, depending on how thick the papers are. I like to stitch down the center to hold them together, but you can also leave them lose. Stitching makes it easier if you would want to temporarily remove a signature from the book. You can also staple.

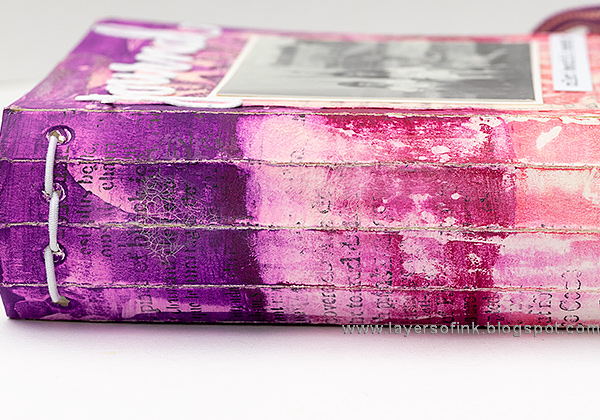
The binding can be done in different ways. I used a piece of elastic and this is what the final result looks like. You can also bind each signature separately.
Add the signatures under the elastic.

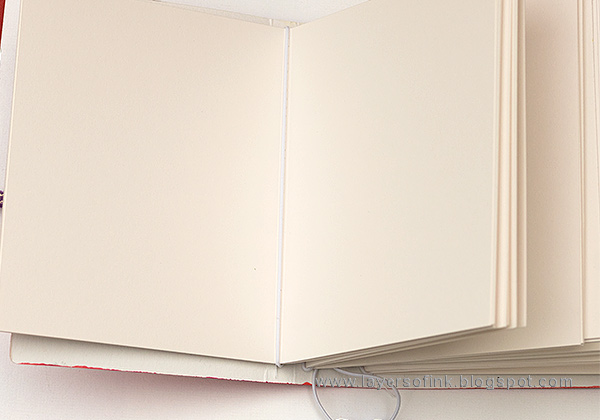
Here you can see what the binding looks like along the spine.
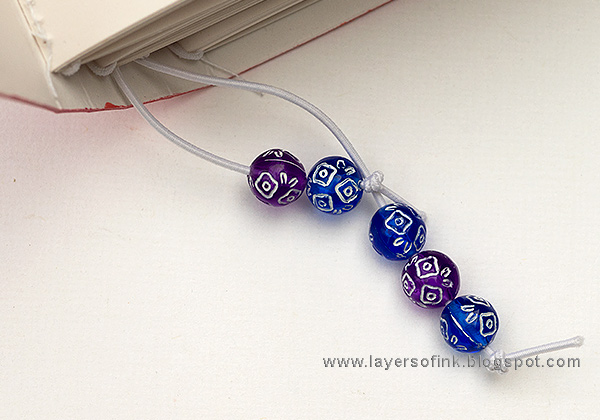
I tied some beads that I found on the floor recently to the ends of the elastic cord (the beads in the kids' bead box have a tendency to end up on the floor). These were pretty, and worked great for this journal.
Here a better look at the textures from the paint, stamping and crackles.

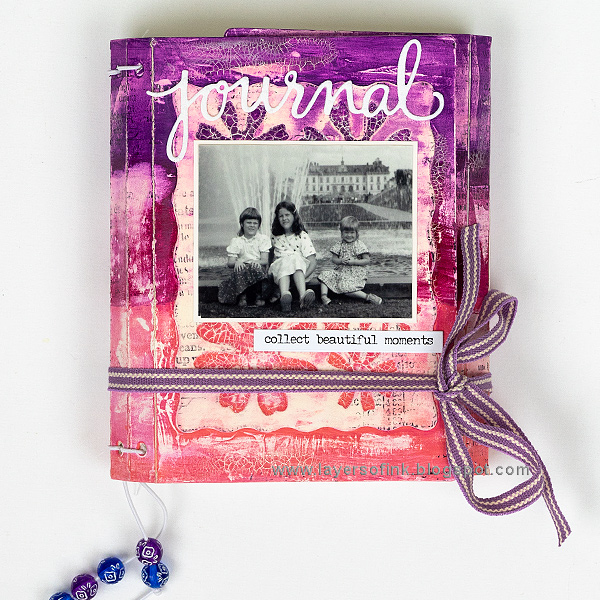
For the front, I used a childhood photo of me and my sisters. You can also wrap the journal the other way around, but since I wanted enough space for the title and the photo, I did it this way.

The title was die cut with another Book Club 2 die, namely one of the words from the Journaling Words set.
I tied my journal with a piece of ribbon, and it happens to be a ribbon that I have had in my stash probably since about the time when the photo on the cover was taken. I found it in my old sewing box.
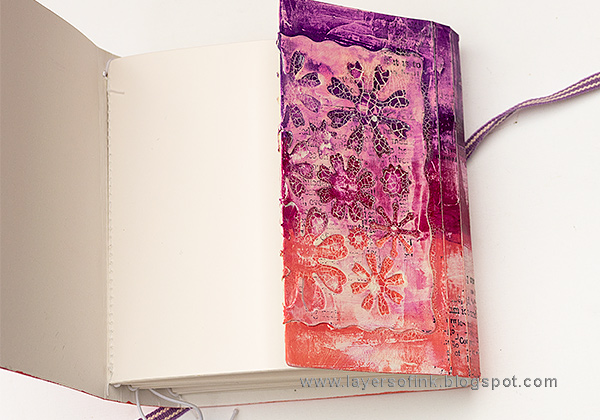
Here you can see how the book opens, and how the wrapping works. This side of the journal can be wrapped on top of the front piece, but that didn't work because of the photo I wanted to use.

And folded open all the way. I wrapped the edge of the die cut piece around the right had edge, as you can see. But I think it would have looked nicer to cut it off all together. At that stage, I was planning to paint the inside too, but then I decided to leave it plain.

Here's the back of the journal, with the pretty heart pattern.
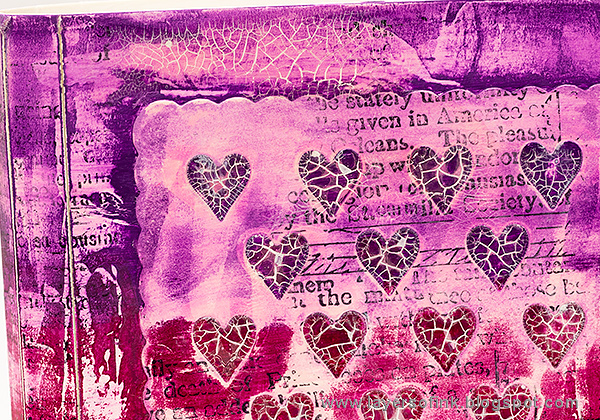
The white crayon makes a big difference and makes the cracks much more visible.

You can skip the text stamp, but I like the extra texture it gives and that it kind of promises more words on the inside of the journal.

The flowers on this die are really pretty and I am looking forward to making something with the leftover flower pieces.
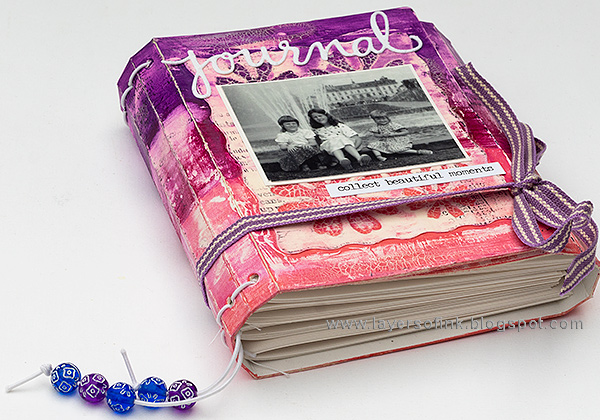
As you can see, the journal is nice and chunky.
The wrapped journal is a great gift and you can personalize it with a photo, or by using different colors, or perhaps by adding someone's name. There will be more wrapped journals on the blog soon, since I really enjoyed making this one.
Thank you so much for stopping by here today!
Happy crafting!
Anna-Karin
Anna-Karin
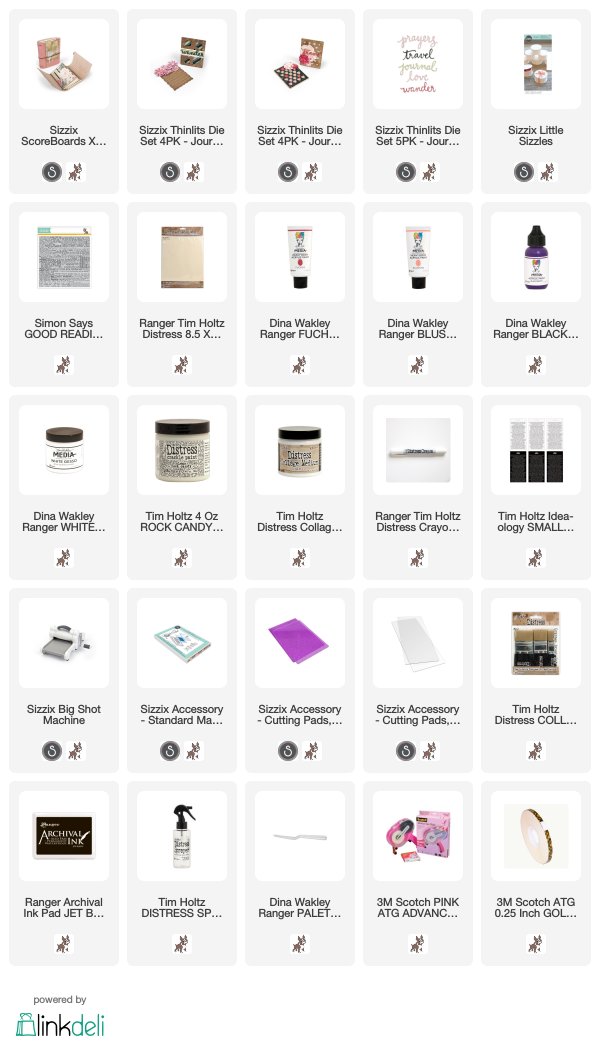
Supplies:
* Please note: the links are affiliate links, for which I receive a small percentage of sales generated by the link, at no extra cost to you.
Gorgeous, adore the colourway and the crackle is fabulous. Love. Tracy ❤️
ReplyDeleteI'm new to albums and love to see the different ones you make; this one is fascinating to see how nicely the creases accommodate the chunkiness - thanks for sharing and showcasing the beautiful technique as well!
ReplyDeleteAnna-Karin this is such a beautiful journal and as always a fantastic tutorial! You explain things so well that everyone feels like they can make it and that is such a gift. Thanks for always making such pretty things with my dies <3
ReplyDeleteWhat a fantastic journal Anna-Karin, you always have such great ideas. Thanks so much for the detailed tutorial!
ReplyDeleteLove it. And your colours and embelishments makes it even prettier. Sizzix dies are the best.
ReplyDeleteOh My! This is fabulous and certainly looks inviting! Chrisx
ReplyDelete