
Hello friends! Another weekend is over and our sunny weather continued. We had a weekend of soccer, swimming in the local outdoor pool, playing Uno and doing arts. Anton got the idea of picking four random markers and then having to use just those four colors on a coloring page. We picked different colors and colored the same image. It was lots of fun and we got some surprising color combos.

This week we have a wide theme at the Simon Says Stamp Monday Challenge Blog, namely Anything but a Card. Our June guest designer is Christine Bedford with her blog Pearshapedcrafting, don't miss checking out her project for this week.

I made a tag this week, but the techniques can be used on practically anything. For this tag, I used a warm color combination of brown, yellow and gold. You will get a different effect if you use other colors. My favorite part of this tag is the wood plank background.

Start by die cutting three Woodgrain Blocks from heavy stock paper. As you can see, the die both cuts and embosses the paper.

Cut the blocks into planks and arrange them on a tag. Make sure to vary the placement to get an interesting look. Add a layer of clear gesso on top. The clear gesso gives great tooth for the Distress Crayon in the next step.

Color with Distress Crayons. I used Mustard Seed, Walnut Stain and Vintage Photo. Blend the colors with your finger.
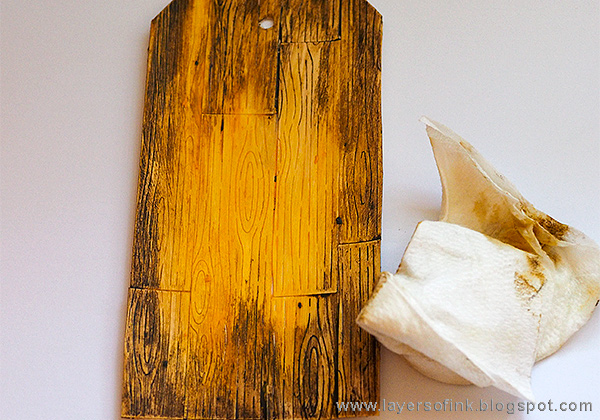
Use a paper towel which is just slightly moist - too much and you will remove too much color. Remove as much color as you want.This step reveals the texture of the wood.

Stamp in a few places with the SSS Good Reading Background stamp.

Use a permanent marker to add nails to the planks.
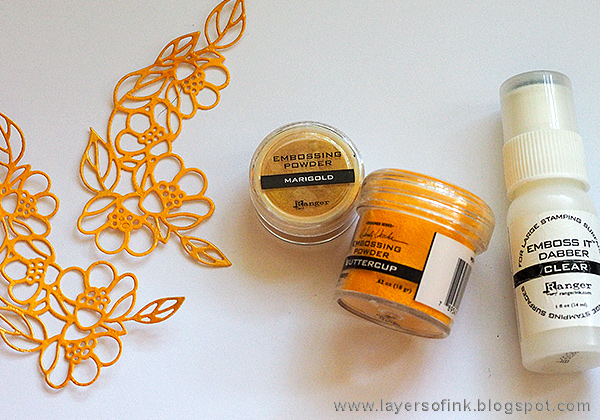
The lovely Flower Cluster die was die cut twice. Apply embossing ink on top and sprinkle with two shades of embossing powder. I used a yellow and a gold shade, and the difference is quite subtle.

Here you can see the shine from the embossing powder better. It contrasts nicely with the matte background.

The wood background has a really nice texture.

I used Tim Holtz Sizzix Funky Floral 1 and Funky Floral 2 to die cut the small flowers. The larger one is in the first set and the small ones (I love them) in the second set. The small flowers were die cut from gold kraftcore paper and the larger ones from Sunshine Glimmery cardstock. Use the Tonic Tool kit to give them some dimension and glue them on the page.

The sentiment from Uplifting Thoughts was stamped on a piece of paper that I found in my scrap box. It had been watercolored with Distress Inks. This sentiment is so true and something important to be reminded of. Even a little bit of kindness can make a big difference.

I really enjoyed creating this background and want to try it on a larger surface soon.
I hope you will join us this week in our Anything But A Card challenge. As always, you have a chance to win a $50 gift voucher to do some fun shopping at Simon Says Stamp. You have until next Monday 8am Ohio time. 1pm UK time, 2 pm CET to join in.


Do you use Instagram? If so please add #sssmchallenge so we can see your entries there too.


Thank you for taking the time to stop by my blog today!
Happy crafting!
Anna-Karin
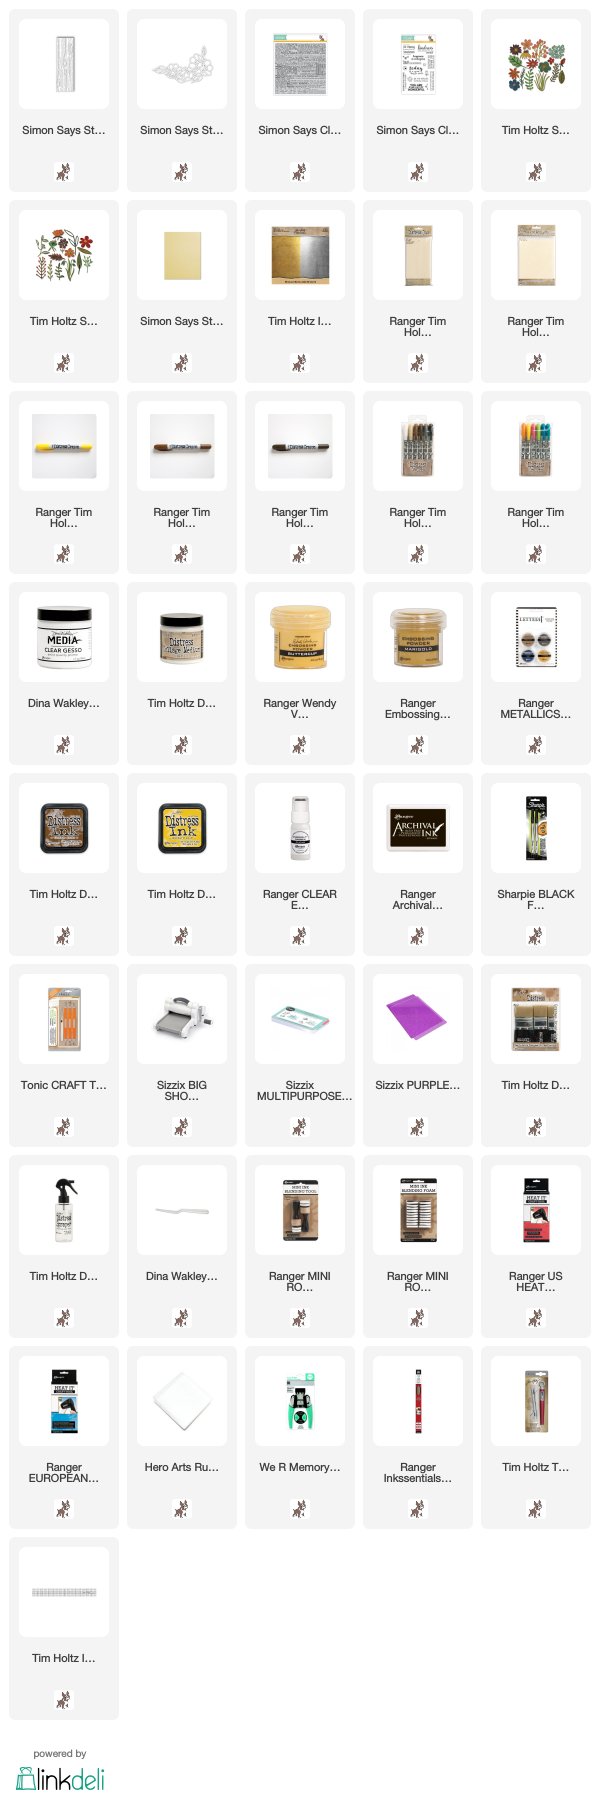
Supplies:
* Please note: the links are affiliate links, for which I receive a small percentage of sales generated by the link, at no extra cost to you.
I love how you aged your 'wood' I think I need this die! The added details are fabulous and I really love that quote! Chrisx
ReplyDeleteGorgeous tag Anna-Karin :-) I have this woodgrain block die and haven't had a chance to use it yet! I love how you used several to cover the whole tag! the colours and aged effect are fabulous! The flowers and whole design is beautiful and I love the sentiment, so very true :-)
ReplyDeleteluv
Lols x x x
Really pretty tag, Anna-Karin. I love how you staggered the planks to create the background. Adding the little "nails" emphasisis the woodgrain even more. Love the flower cut-outs. When you first look at the tag, it looks simple enough but, there are a lot of steps and details to it. Beautiful work.
ReplyDeleteSo pretty. Love the wood grain and the awesome dies. I've never seen the embossing dauber. I like that idea. Thanks for sharing your beautiful work and steps on your creating.
ReplyDeleteSuch a smart way to use that die! Love how you made the planks and how you colored them! Well done, I 've learned a lot from this post!
ReplyDeletexx
This is one awesome tag Anna-Karin. I didn't realize there was such a die as this SSS Woodgrain Block. Absolutely awesome job on your tag.
ReplyDeleteRight, the best part is the background! I love the result and the way you made it. This die is great and I love the colors you used, so strong and vibrant with an amazing effect. Hugs, Macarena
ReplyDeleteWhat wonderful yellows!! I love the richness of color you've achieved, Anna-Karin. Love the snippets of life you share with your boys! hugs, Maura
ReplyDeleteLove this gorgeous tag, Anna-Karin. The color scheme and all the embellishments are fantastic! :)
ReplyDeleteI love the warmth of this piece, Anna-Karin and I adore the beautiful colour palette which really does create such a rich looking project, full of texture and wonderful detail! :)
ReplyDeleteamazing project Anna-Karin, love the colour palette which gives a beautiful summer glow, hugs kath xxx
ReplyDeleteWow! Look at you making that wood grain sing! I love how you emphasized yellow. I think you could make any color palette look gorgeous and I admire the way you're not stuck in just one color palette. You always nail them all!
ReplyDeleteYou created an incredible Monochrome tag! i think it's difficult to create beautiful pieces with only one shade but you are able to do this! Fantastic work! barbara
ReplyDeleteGorgeous tag...love the wood background!
ReplyDelete