
Hello everyone! I hope your weekend was a good one. We have been to a lake, found pine-cones (Leo's favourite part of the weekend), taken walks and gone to the local pool.

This week at the Simon Says Stamp Monday Challenge blog we have a Red, White and/or Blue theme. Since it is the first Monday of a new month, the team is showcasing a specific company/designer and this month it is Sizzix. There are lots and lots of Sizzix products in the shop, and it is of course a favorite of mine. You don't have to use Sizzix products, but it is always fun if you do.
Don't miss our fantastic July guest designer, its Beulah Bee and she always creates such interesting projects.

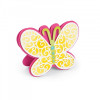
I made a sweet dimensional butterfly card this week, using the Butterfly Fold Its die set by Stephanie Barnard, as well as some fun new surfaces by Sizzix. I felt like using only blue and white to create a tone-on-tone butterfly, so I skipped the red on my project. I like the drama that red adds to a project, but for this card, I wanted more of a calm and cool feeling.
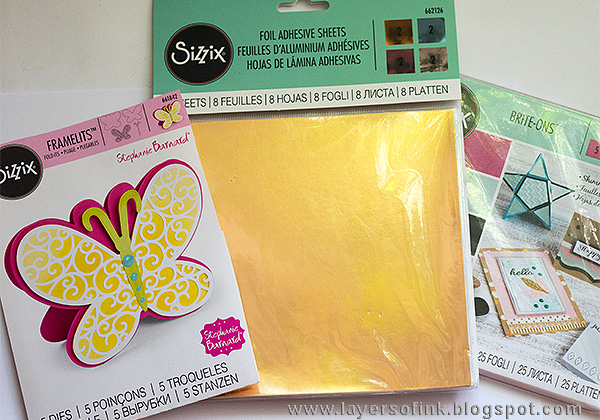
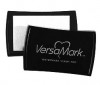
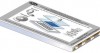
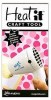
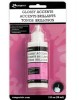
These are the Sizzix products that I used: Butterfly Fold Its, Foil Adhesive Sheets and Brite-Ons shimmery paper sheets.

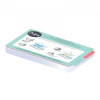
Start by folding a piece of cardstock and place the largest butterfly die as shown, so that the top cutting lines are just outside of the fold. I used one of the new glittery cutting pads. They are so cheerful and you also don't see the cutting lines as much as on ordinary pads, so they stay glittery.
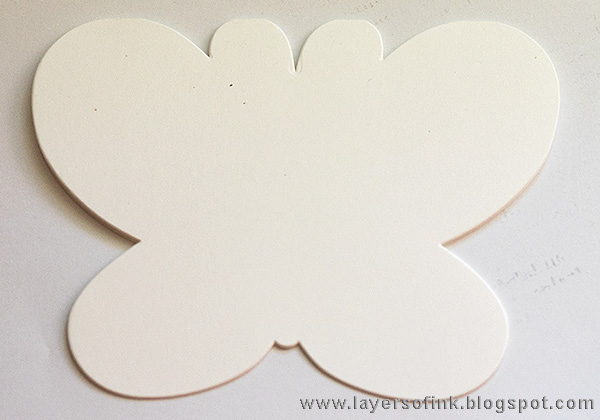
Here's the folded card base.
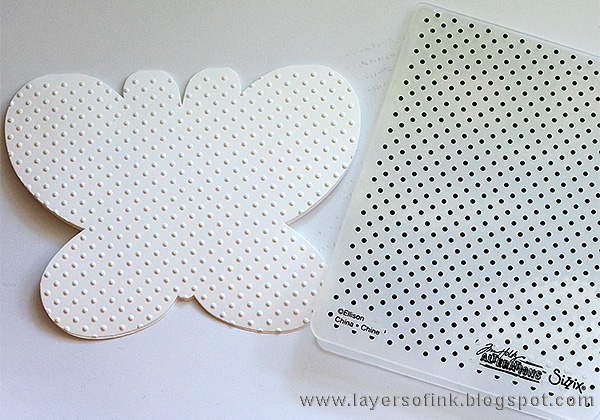
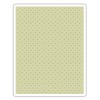
Emboss the front of the card in the Tiny Dots folder.

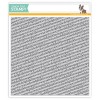
Die cut the smaller butterfly from watercolor paper and white emboss the SSS Tiny Alphabet Background on top. I placed the stamp on my table, inked it up with embossing ink and carefully pressed the paper down. That way, it is easy to get the lines of letters straight instead of angled. I love this background stamp, but rarely use it at an angle since I tend to prefer straight lines of text.
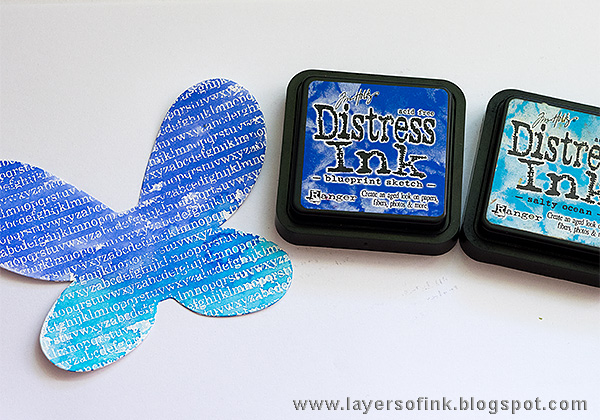
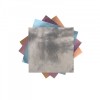
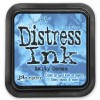
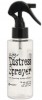
Smear Distress Ink on a craft sheet, mist with water and press the butterfly into the ink.

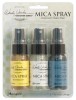
When dry, mist with Pearl Mica spray for some shine.

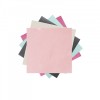
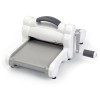
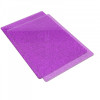
Die cut the ornate butterfly from blue Brite-Ons shimmery paper, and then die cut the edges using the same butterfly as for the watercolor paper. It is easiest to use the Sizzix Magnetic Platform for this step.

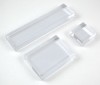
These are the pieces you need for the card. I die cut the body and feelers from blue Sizzix Foil Adhesive Sheet, first adhering the foil to cardstock to make it stronger.

Glue the butterfly in the center only, to give it dimension. Gently shape the wings a little.

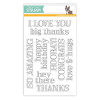
The sentiment comes from the SSS Big Greetings set from the One of a Kind release, and I also added some Small Talk stickers.

Here you can see the layers of wings closer up.

I didn't aim for perfect stamping on the wings, since I wanted them to look a little distressed. You don't have to use the Butterfly Fold Its die set to make a card, the different butterfly dies can be used on their own too, or together to form many kinds of butterflies.

The combination of dry embossing, white embossing, Mica spray, glimmer paper and metal makes for an interesting look.

Here you can maybe see the shine of the Brite-Ons paper better. I also added a few rhinestones.
I hope you will join us this week in our White, Red, and/or Blue challenge. As every week, you have a chance to win a $50 gift voucher from Simon Says Stamp. You have until Monday 8am Ohio time. 1pm UK time, 2 pm CET to join in.


Thank you for visiting today!
Happy crafting!
Anna-Karin
Supplies:


This is cute. I love especially the inner layer of the butterfly with embossed letters and blended shades of blue. Hugs, Macarena
ReplyDeleteSuch a fun and fabulous creation, Anna-Karin. Love the pretty layered butterflies and the beautiful colors. :)
ReplyDeleteI love this, Anna-Karin! I love the butterfly die and the mixture of layers you created for its design. Lovely blue colors as well.
ReplyDeleteCathie ♥
Wonderful layers! I love everyting about it!
ReplyDeleteWow! Love all of those cool layers, stamped, embossed, butterfly and how with all those layers it stands up! Neat card, Anna-Karin! hugs, Maura
ReplyDeletepretty butterfly - and an oh so true sentiment!
ReplyDeleteSounds like you had a lovely weekend! Our kids liked gathering pinecones too. I use to save them until Christmas and then we would have a craft day. Put a thin layer of paint or glue on some paper or aluminum, roll the edges of the pinecone in it and then add glitter if you want a little more sparkle. Just plain white paint looks lovely too. The kids were always so proud to hang them on the trees or a wreath and it made good memories of the day we gathered them.
ReplyDeleteAnd I love your butterfly! The sparkle and texture and dimension are so much fun! You are right about the serenity of the blue and white. Its so calming, just like seeing a pretty butterfly flutter by. I like the addition of the shimmer and sparkle and the sentiment is sweet. Thank you so much for sharing your beautiful work. Enjoy your summer walks and the fun at the pool! :)
Lovely card :) Great inspiration!
ReplyDeleteLove your butterfly!!!
ReplyDeleteSuch a pretty butterfly card. I love the stamped, embossed blue layer.
ReplyDeleteWhat a beautiful butterfly card Anna-Karin, you always have such great ideas!
ReplyDeleteWe spent the (Canada Day) weekend at the beach with our daughter, SIL and two young grandsons. We collected shells and played in the sand. Totally enjoyed ourselves!
Gorgeous! I love shaped cards, and the shimmery accents are a nice touch! :)
ReplyDelete*mwah*
Steph
Simon Says Stamp!
This is so pretty Anna-Karin and I love the shimmer you've achieved, which really makes the card pop...it's gorgeous! :)
ReplyDeletewow what an amazing card Anna-Karin...love all the layers you created and the shimmery accents...hugs kath xxx
ReplyDeleteThis project made me want to use again embossing powders! I love the final result - love the stricking blues!!
ReplyDeleteWhat a sweet little card! I really love the way you added so many layers of wings!!
ReplyDeletePolka dots and book page text--two of my favorite things! Terrific project, Anna and thank-you for the welcome to this month's spotlight.
ReplyDeleteCute project! this die is absolutely fabulous and you use it in a fabulous way, love the layers!
ReplyDeleteThis is so fun, Anna-Karin! Love the sweet shape of the butterfly and all the different layers. Hugs, Sandra
ReplyDelete