Hello friends! I hope you are enjoying summer! Anton took part in a crafts for kids summer activity last week and loved it. Leo has discovered that our red currants are starting to ripen and I bet he will soon have eaten all of them. I am enjoying the light evenings, it hardly gets dark at all this time of the year.
This week at the Simon Says Stamp Monday Challenge Blog, we have a Distress It theme. Everyone's favourite. Don't miss the fantastic project by our guest designer Beulah Bee.

I, of course, love to distress, so this challenge was almost too broad for me. Finally, I decided to do a chunky tag, and focus mainly on distressing idea-ology ephemera and embellishment pieces. By altering printed papers, ephemera, and embellishments, you can make them more your own and you can make them fit your project. It is also lots of fun.

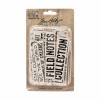
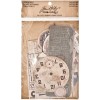
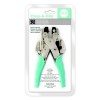
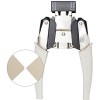
My tag started out as an ephemera card from Tim's Collector Ephemera pack. I really like the various papers in this pack. I used the We R Memory Keepers Angle Corner Chomper to cut the angles at the top (I love this tool), and my trusty old Crop-a-dile to cut the hole.

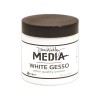
Smear a little gesso on the tag to tone it down.

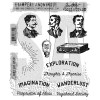
Stamp a train (or something else), on the tag, once the gesso is dry.

Sand the edges and scratch into the tag with a scratch tool. Ink the tag and you will see that the ink becomes much darker in those areas where you sanded and scratched. The reason for this is that you removed some of the glossy surface of the paper. You can wipe unwanted ink off from the rest of the tag, if you want to.

Paint the train with Hickory Smoke and the smoke with Picket Fence.

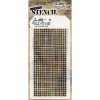
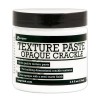
I did some more stamping on the tag, sentiments, tickets, stars and arrows. Apply Opaque Crackle paste through the Linen and Industrial stencil on both the larger and the smaller tag. Leave to dry and cracks will appear.

Add color to the crackles with Distress Ink.

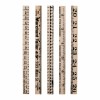
Ink a ruler with Ground Espresso. Sand a Quote Chip slightly and ink with Mermaid Lagoon and Ground Espresso.

I inked a little Paper Doll girl slightly and placed her on top of the train with a tiny piece of cheese cloth behind. The mirrored heart was colored with alcohol ink.

The smaller tag was pretty heavily distressed. I added some ink to the boy and his dog and placed another piece of ephemera behind the tag, as well as some more cheese cloth.
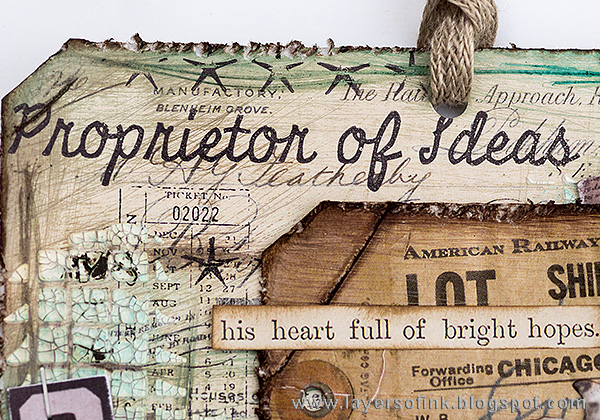
The background looks pretty different from what it did when I started, but you can still see some of the original text through all the distressing and stamping.

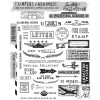
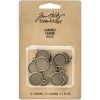
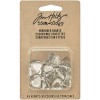
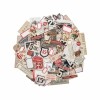
I used sentiments from the Clippings stickers and had such fun picking some good ones out that fitted with the theme of my tag. I really like these stickers and all the different words and sentiments. The Gumdrop was colored with alcohol ink and fits right into a Charmed Finding.
I hope you will join us this week in our Distress It challenge. As every week, you have a chance to win a $50 gift voucher from Simon Says Stamp. You have until Monday 8am Ohio time. 1pm UK time, 2 pm CET to join in.









Gorgeous tag Anna-Karin, the background is stunning and I love the vintage train and photos, the whole design is awesome! :-)
ReplyDeleteluv
Lols x x x
Beautiful tag, Anna-Karin! I love the texture and lovely soft colors.
ReplyDeleteCathie ♥
The stamping on th background is awesome! I love the old train a lot. Te texture mixed with crackles is so cool. Hugs, Macarena
ReplyDeleteGreat tag. Love those paper dolls, the texture, the colours. Love the crackle. Thanks for sharing this little work of art.
ReplyDeletewhat a super tag Anna-Karin!! So many details to take in-love it!
ReplyDeleteOmg, can I just say: crackled grid and baby on the train??? What a fun time you had with awesome results!
ReplyDeleteYour art is so COOL, Anna-Karin! I love all the texture and detail! :)
ReplyDelete*mwah*
Steph
Simon Says Stamp!
Love, love, love this Anna-Karin!! The proprietor of new ideas and the ones you added is such a cool idea. My favorite part - the baby sitting on the train! Fantastic! hugs, Maura
ReplyDeleteI always love to see the techniques and products that you use in your projects. I think half the supplies I own are a result of me trying to copy something awesome that you did! This is no exception and I especially love those pops of red!
ReplyDeleteA more than lovely tag Anna-Karin! I absolutely love it!!!
ReplyDeleteI wish you a lovely summer!
Hugs
Corinne
Gorgeous project, Anna-Karin! Love the way you've distressed with the craft scratcher! So much details and textures! Stunning piece! Hugs, Sandra
ReplyDeleteLove all the fabulous details on this piece, Anna-Karin. The distress effect and the embellishments are fantastic!
ReplyDeleteGorgeous project with so many wonderful distressed layers and details...this is fabulous Anna-Karin and I love that baby sitting on the train! :)
ReplyDeletebeautiful distressed ephemera project Anna-Karin...love the baby sitting on the train...so cute..hugs kath xxx
ReplyDeleteDistressing is definitely one of your talents. I love the way you combine different mediums and add the texture and colours. Thank you for sharing your project step by step. :)
ReplyDeleteBeautiful project Anna-Karin! I love your distressed layers and the way you blended stamped images and embellishments! Everything is awesome!
ReplyDeleteThe size of the support looks ideal, great step-outs!
ReplyDeleteAmazing tag! I adore every little detail, perfection! I love the colors and the embellishments are absolutely stunning! Barbara
ReplyDelete