Hello friends! Today I am sharing a video tutorial for how I made the cover for my December Daily journal. I wanted to have posted this a little earlier, but the editing of the video took longer than planned. This is a Sizzix tutorial, using dies by Tim Holtz.

I really like Ali Edwards idea of documenting the month of December and this is my fifth such journal. Here you can see the finished journal, using a Tim Holtz Diary Worn Cover as my base. This is my fourth December journal using a worn cover, since I really like the size, feel of it, and the flexibility of using different page pockets on the inside. My December Countdown Calendar Tags, from my recent video, now go into this journal as the days pass and I add journaling to them.
In the video below, I will show you how to do the winter village on the front, using the Sizzix Snowglobe die set, as well as the painted background. These techniques work great for any type of project: cards, tags, scrapbooking layouts, art journaling or maybe a canvas.
Here's the video, you can also watch it directly on YouTube. This video is pretty long, since there were many steps to show and since I made the video while doing the project, instead of finishing the project first and then just showing some of the steps, it is a little longer. I hope you enjoy it. Below, you'll find some close-up images and more info.

You can mix and match the houses to fit your project. I die cut mine from a variety of surfaces, to increase interest. It is also good time to use up some scraps.

One of my favourite parts of this project is the painted winter night background, and the fact that you can still feel the texture of the worn cover.

Grit Paste gave a snowy look to the houses and mountains. The trees were die cut from white Paper Leather.

Here's a better look at the snow-capped mountains, die cut from blue fabric.

I used Distress Micro Glaze to create a resist effect on the woodgrain houses and on the trees.

I die cut the doors from a different surface than the house, gluing it on top of the door on the house, and added some Grit Paste as snow.

I have used a word band on each of my December journals. Picked Fence paint was rubbed into the letters.

The word was die cut with the new Vintage Tidings set. Love the font used in this set. I also stamped a calendar page on a piece of manila cardstock left-over from the tags.

The Ring Binder was tied with Linen Ribbon and I hang some embellishments from the ribbon.

I drilled a hole through the deer to be able to attach a jump ring. White paint was rubbed into the key.

There is also a snowflake, heart charm and pinecone.

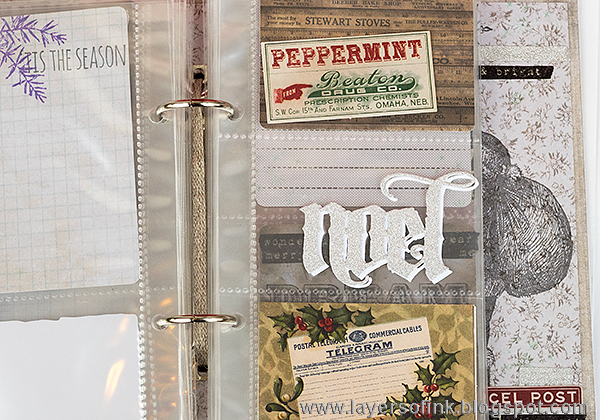
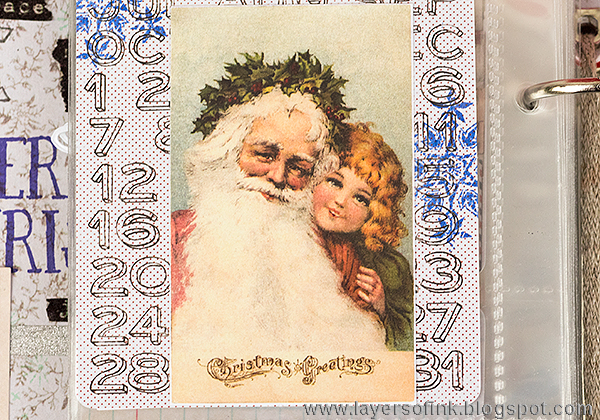
The inside covers were stamped too, using the same stamp sets as for the tags, and similar colours. I also added pieces of tape and some ephemera from the Festive set.

I love the design tape with the typewritten sentiments, and also cut some sentiments off to use on their own.

Here's the back cover with the large sketched Santa, stamped with Watering Can.


Ready to be filled with memories.
You can find my previous December Journals here:
Thank you so much for watching and I hope you enjoyed the tutorial!
Happy crafting!!
Anna-Karin
Supplies:

wowie zowie Anna-Karin, this is fabulous!
ReplyDeleteOh My! A fabulous idea that looks so great! A wonderful way to store your Christmas memories! Hugs, Chrisx
ReplyDelete