Hi and welcome! Today, the traditional Lucia celebrations take place in Sweden - you can read about it
here, if you are interested. Leo was a very cute little gingerbread man this year (wearing the outfit from
yesterday's layout). On this
shabby chic tag there's a photo of me from Lucia, when I was even younger than Leo is now.
I have a
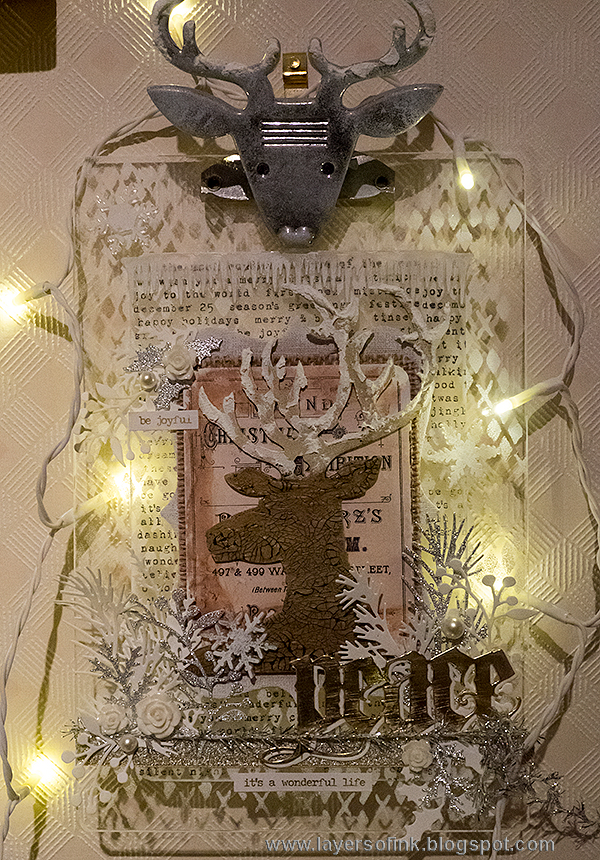
Sizzix tutorial to share with you today, for an acrylic clipboard, which I really enjoyed making.
As you might know, I love to use clear or translucent elements, and I wanted to make a Christmas decoration for myself using Tim Holtz's
Oh Deer Clipboard as my base. The clipboard is 6 x 9 in and very sturdy. Because it is transparent and reflective, photographing it was a little tricky. Here you see it against a grey background, so that the white parts are visible. I went with a white, brown, gold and silver look and used Tim's
Dashing Deer as my focal point.
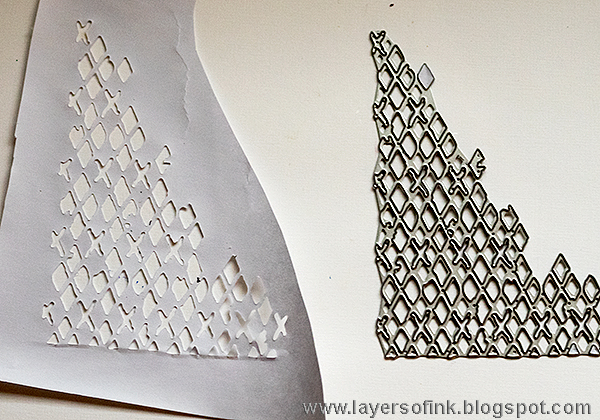
I used one of the dies from the
Christmas Mixed Media set to make my own stencil. It was die cut from
Eclipse Masking Tape.
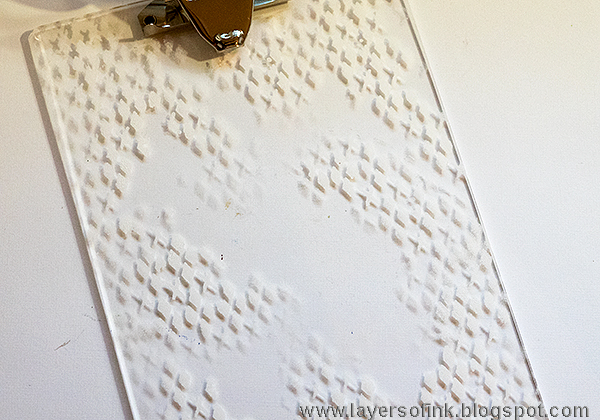
I am sorry about the poor quality of this photo, it gets dark so much earlier in the afternoons now and I didn't realize quite how dark it was when I took it. Place the homemade stencil on the clipboard and sponge white paint through it with a mini blending tool.
Repeat until you have covered as much of the clipboard as you want. The Eclipse tape sticks to the background, which makes it easy to apply the paint, but is also easy to remove and leaves no residue. You can also use printer paper and hold it in place.
Dry-brush white paint on the deer.
Die cut the Dashing Deer from grungeboard, using this sandwich: Cutting Pad, die facing up, grungeboard, second Cutting Pad. Paint it white. You might need to give it two coats.
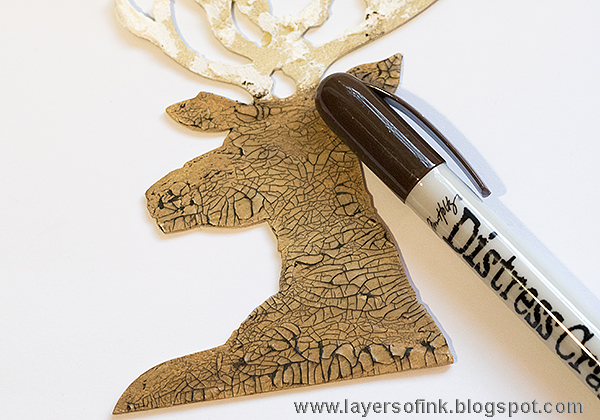
Paint the deer with Antique Linen.
Use two shades of brown on the body, and add a little dry-brushed brown paint to the antlers.
Coat the body with Distress
Crazing Medium and let dry. Add some
Grit-Paste to the antlers as snow.
Rub Ground Espresso Distress Crayon (or another brown Distress Crayon) into the cracks. Remove excess with a slightly moist cloth.
Die cut branches and leaves with the
Mini Holiday Greens set. I die cut mine from white
Paper Leather, which is very durable and works great with these detailed dies, and from silver Deco Sheet. Adhere the Deco Sheet to cardstock first.
Glue a piece of
fabric to mat board and when dry, die cut using the
Ornamental die. Paint white paint around the edges.
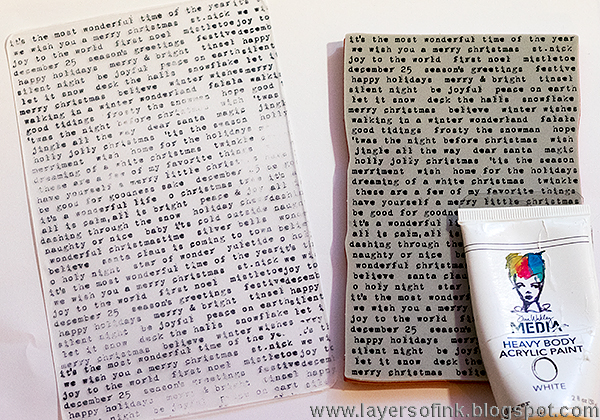
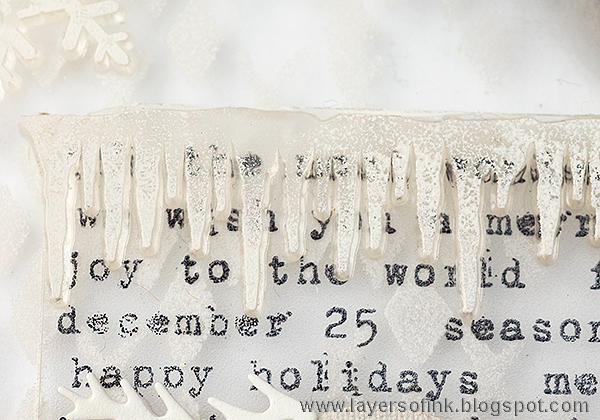
Stamp a piece of Frosted Film with a background stamp. I really like
this stamp. Paint the edges white.
I also added some Grit-Paste to the antlers of the clipboard deer.
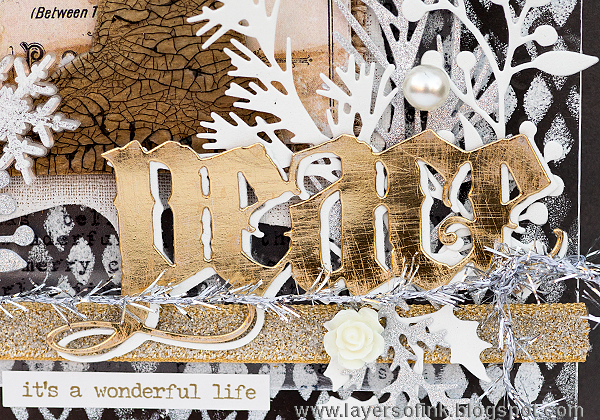
Die cut a word with the
Vintage Tidings set, from gold Metallic Kraft-Core paper and from white Paper Leather. Sand the metallic word slightly and layer together. I used Distress Matte Medium to glue most of the elements to the clipboard. Branches were tucked behind the word.
You could also use only white branches, or die cut some from gold Deco Sheet, or from gold metallic paper.
Layer the Frosted Film, Ornamental die cut, a piece of burlap (with the corners rounded) and an ephemera piece (edges sanded). Glue the deer on top. I like the mix of different surfaces and textures. If you don't have Frosted Film, you could also use vellum.
Paint a
Frozen Alpha Part icicle with white paint, as well as three snowflakes. Glue the icicles at the top of the Frosted Piece.
Grit-Paste makes wonderful snow. I also used it to create snow in my
Winter Village Journal video.
The Crazing Medium and Distress Crayon add great texture to the deer.
Glue some
Heirloom Roses and
baubles among the branches. I also used a soft gold
glittery ribbon.
I love the branches in the Mini Holiday Greens set. They are so delicate and detailed. Sentiments were added with metallic stickers.
Another sentiment, underneath the die cut word.
Against the dark background, you can see the sponging better, and that the edges of both the Frosted Film and the clipboard were painted white.
You could also colour the Heirloom Roses with alcohol ink, but I decided to keep them white for this project.
The title against a dark background.
Here you can see the clipboard against a white background, when the background pattern looks subtle. My wall is cream and the clipboard looks nice on it. Although this clipboard is Christmas themed, I think I will keep it up a bit longer, since it works well during the whole of winter.
I had a left-over battery-driven string of led lights and tried placing it around the clipboard. It would probably look nicer with smaller lights, placed closer together.
I hope you enjoyed this tutorial and thank you so much for stopping by today!
Happy crafting!
Anna-Karin
Supplies (affiliate links):


Completely stunning Anna-Karin! x
ReplyDeleteCompletely blown away Anna!!!!! This clipboard is amazing!!!!!!!
ReplyDeleteThis project is gorgeous. I love it so very much.
ReplyDeleteOh, this is so frosty and elegant! It is beautiful with all the layers and your limited color palette. I love it! Thank you for the tutorial as well.
ReplyDeleteOh wow I loooooove this Anna-Karin!
ReplyDeleteAwesome. LOVE it
ReplyDeleteFabulous! this must have taken forever! Do you sleep?
ReplyDeleteAmazing,beautiful,great! I like it so much. And with the lights around it it is really a dream.
ReplyDeleteDear Greetings
Sabine
This really does look amazing! Chrisx
ReplyDelete