

Hi and welcome to my blog on this last Monday of August! We had a good weekend. Anton and I went to see Finding Dory, which just started to show here. The English shows were in the VIP theater, and we had fun with the added luxury of huge seats and tables. We wanted to see it in English, and not with Swedish voices. I prefer the original versions, and it is good practice for his English.
This week at the Simon Says Stamp Monday Challenge we have an It's a Stitch Up challenge. Such a fun theme, I can't wait to see all the creations by the participants.

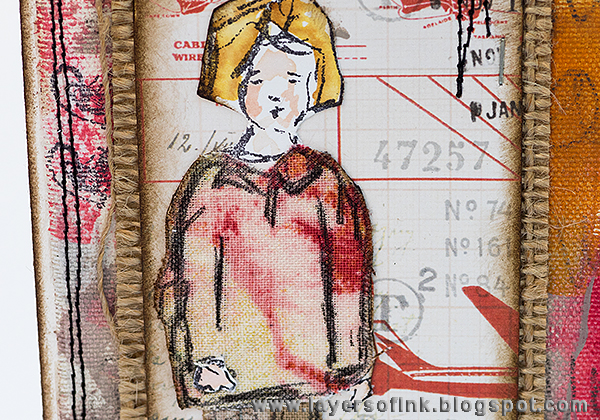
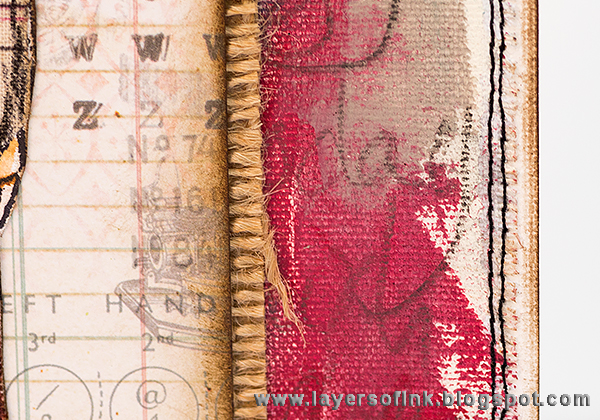
I made two cards and had fun using both fabric, canvas and some machine stitching. I was looking at Dina Wakley's Scribbly Girlies stamps and thought it would be fun to give the kids fabric clothing. My sewing machine is almost only used for paper projects, and I always liked the look of a stitched border or frame around projects, and of some fun messy stitching, where you don't need to worry about keeping it straight.
I took a few step photos.
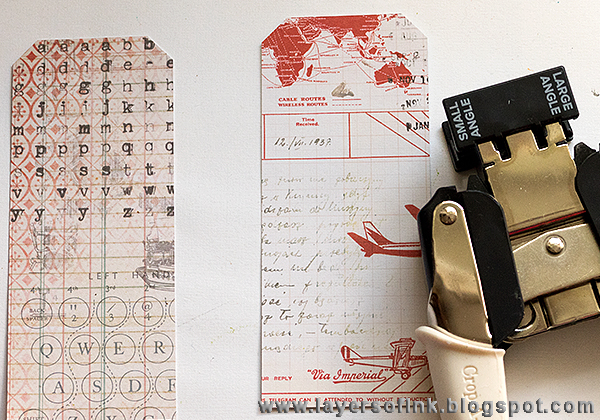
I have liked tag shapes ever since I started paper crafting, and before dies were widely available, I used to cut my own tags, or use templates (remember those?). Even though you can get a good angle by measuring and cutting, it takes a while and I was often annoyed by the angles of my tags being uneven. So when I saw the new Crop-a-Dile Corner Chomper Angle tool, I knew I had to have it. How I would have loved to have this tool 12 years ago. In a second, you can cut perfectly even angles on tags, or other projects. On these tags, I used the Large Angle, but there is also a Small Angle on the tool. The papers are from from Tim Holtz Correspondence pad.

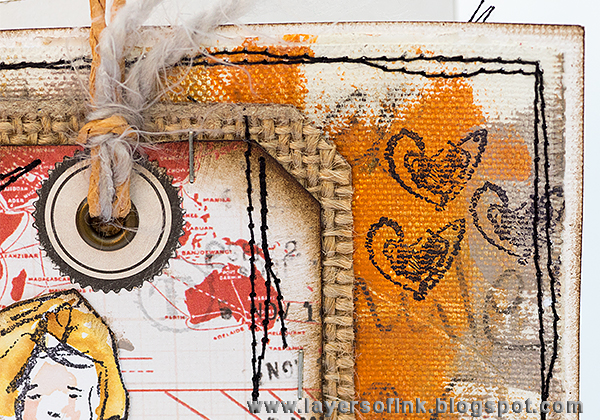
I took two pieces of sticky-back canvas and coated them with gesso. When that was dry, I applied Dina Wakley's paints with a palette knife. Wait until the paint is dry before stamping. The heart stamps are from Scribbly Girlies and the border stamps are from the Assorted Borders set.


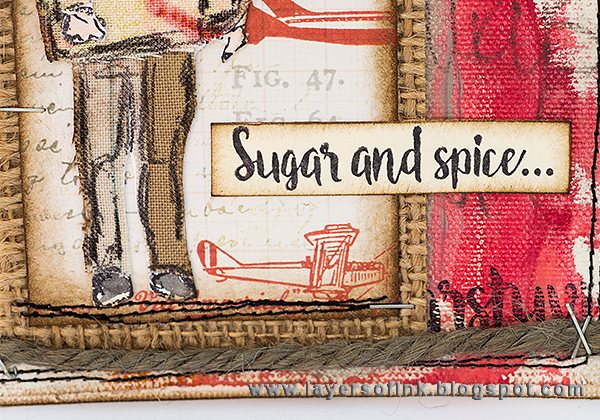
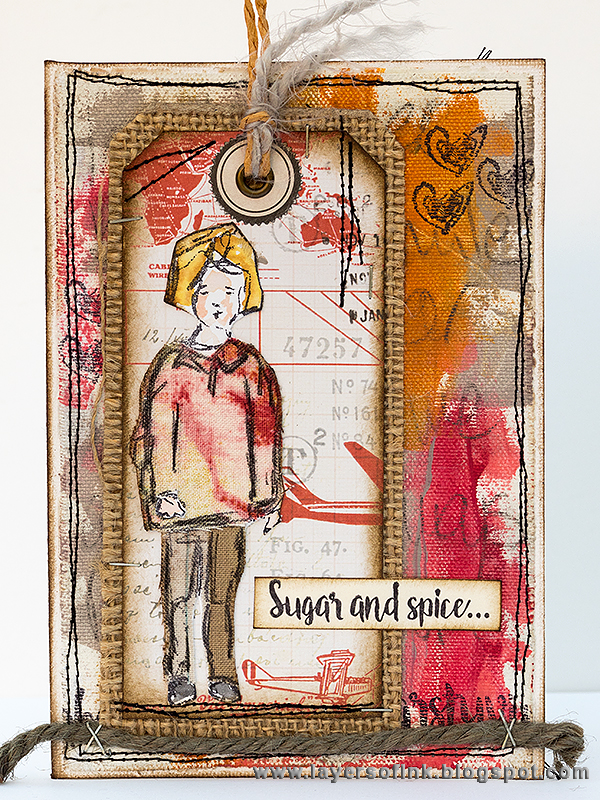


The sentiment on this card from from the Grungy Stars set. And more messy stitching.

I hope you will join us in our It's a Stitch Up challenge. As every week, you have a chance to win a $50 gift voucher from Simon Says Stamp. You have until Monday 8am Ohio time. 1pm UK time, 2 pm CET to join in.

If you want to, follow Simon Says Stamp on Instagram, they post great stuff daily.


Thank you so much for stopping by today!
Happy crafting!
Anna-Karin
Supplies:


Gorgeous cards Anna-Karin, both of them are fabulous and I love the step by step photos :-)
ReplyDeleteluv
Lols x x x
Fantastic pair of cards Anna-Karin! Your delicate touch is fantastic in every creation you make! x Zoey
ReplyDeleteThese are awesome, Anna-Karin! I love how you made the clothes, and I would not have thought they were both girls. You have such fabulous texture on these, and its fun to hear you tie them in to the movie you and Anton went to see! hugs, Maura
ReplyDeleteFAB cards, Anna-Karin! Love the way you applied color to them :)
ReplyDelete*mwah*
Steph
Simon Says Stamp!
Oj va' fint. I love your style! <3
ReplyDeleteI love the artsy scribbly look, and the great textures from all your different fabrics and papers. Gorgeous tags!
ReplyDeleteAlison x
Oh wow! Brilliant! Love everything you did, it turned out stunning!
ReplyDeleteYour creativity is always fantastic! your ideas always innovative! Love these tags and Dina's stamps are absolutely amazing! Barbara
ReplyDeleteI love your tags, Anna-Karin! The backgrounds are fantastic and I love the burlap backing.
ReplyDeleteCathie ♥
You rulez! What a great set! I love the colors you gave to the background in such a messy style! Hugs, Marzena
ReplyDeleteBrilliant cards showing off Dina's stamps. I love the personality you have given them.
ReplyDeleteI meant tags, not cards, lol. The wonky stitching and staples fit the theme so well, too.
ReplyDeletebeautiful tags Anna-Karin...what a wonderful idea to fabric piece the images and I love the wonky stitching too...hugs kath xxx
ReplyDeleteThese are such wonderful tags, Anna-Karin and I adore how you've matched the clothing to the background, really innovative and such great inspiration! :)
ReplyDeleteWow.. I love these gorgeous cards, Anna-Karin. The colors and the tag embellishments are fabulous. :)
ReplyDeleteWhat little masterpieces you've created! And how fun to see TWO projects! I loved how you did the paint splotches/smears in the background. Looks so abstract in the creation-process, but ends up perfect and lovely in the end products.
ReplyDeleteThese are amazing, Anna-Karin! Love them both! The backgrounds are stunning and love the colors. Hugs, Sandra
ReplyDelete