Hi friends! I have a tutorial to share with you today, made for
Eileen Hull's Inspiration Team. The team has been using two new great product by
Sizzix this month, Inksheets and Paper Leather, both of which you have already seen on my blog, since I really like them and the fun techniques you can do with them.
Today, I'll be combining Paper Leather and Inksheets, which I hadn't done before. I made a canvas using one of my favourite photos from a photo shoot we did on our recent visit to South Africa, with Alet Groenewald from Blessed Reflection Photography. I like the way Leo's hand is reaching out for mine on this photo.
The background panels are white Paper Leather and I used Eileen's dies and embossing folders together with black Inksheets to create the patterns. Inksheets turn your wafer thin dies and embossing folders into stamps, which is so cool, and now come in many different colours. The techniques here work great for any type of project. The cards would, for instance, also look great for pocket scrapbooking.
Start by die cutting six
Recipe Cards from white Paper Leather.
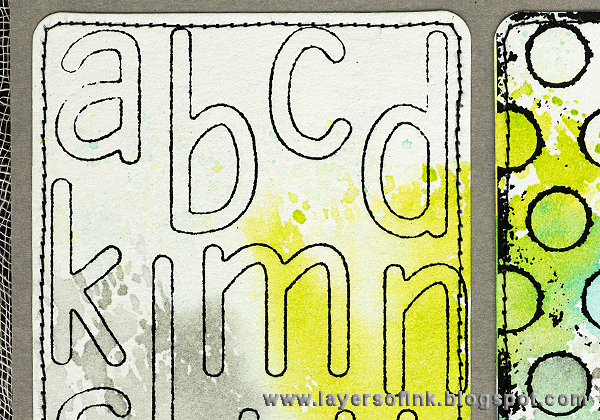
For the three alpha cards, I used the
Homemade die. Use this sandwich: Extended Multipurpose Platform Tab 2, Inksheets Transfer Pad, Paper Leather (or normal paper), Inksheet with the matte side down, die facing down, Cutting Pad. Run through your Big Shot or Vagabond.
This is the result and you can also see the Inksheets. Very cool.
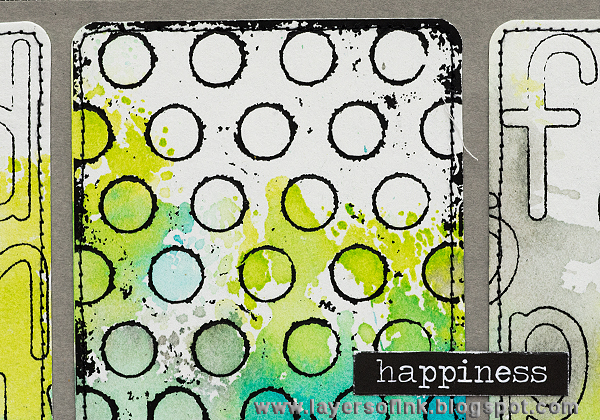
For the other three cards, I used embossing folders:
Polka Dots,
Sunburst, and
Travel Words. You can experiment a little with the sandwich, and you'll get different results depending on the thickness of the paper you use. I wanted a grungy look and used Tab 1 on the Multipurpose Platform. If you use the platform without any of the tabs, less ink will transfer. Sandwich: Multipurpose Platform Tab 1, Cutting Pad, embossing folder with Paper Leather inside, second Cutting Pad.
Smear Distress Inks on your craft sheet, mist with water and press the papers into the ink. Paper Leather takes ink and water beautifully.
I also used my favourite
Fringed 3-D Flower die and die cut flowers, again from white Paper Leather.
Colour them as before, using the same inks (or different ones!).
When dry, stamp with an alphabet background stamp, to add texture.
Crumble the flowers up to make them dimensional and layer together.
I also die cut some flowers from cheese cloth and added in between some of the layers. Keep them together with a brad.
The grey paper in the background is also Paper Leather. I glued the panels to the background and glued a piece of cheese cloth at the back. Make sure the glue is completely dry before using your sewing machine. I then glued everything to a painted canvas board.
I love the look of these distressed patterns from the embossing folders. If you used white Inksheets instead, you get a great resist effect, since the Inksheet transfers resists the ink. For more inspiration on that technique, check out this
Inksheets Resist tutorial of mine.
Here's a close up from the transfer from the
Travel Words folder.
At first, I was only planning to use the cards as my background, but there was a little bit of space left on the grey Paper Leather sheet and it made me think of these great mosaic tiles that I bought on this trip to South Africa. I decided to use them, since they worked well with both the theme and the colours of my canvas. They are made by
Earthly Mosaics. I used both glass tiles and a hand-carved tile.
Another two tiles, and the great pattern from the Sunbrust folder.
The flowers could be used for many other types of projects, and could be turned into wearable art too, since Paper Leather is very durable.
I hope you enjoyed this tutorial. For more ideas on Paper Leather, check out my
Fox Wall-Hanger tutorial,
Autumn Matchbox, and
Vibrant Mixed Media Journal Page. For inspiration on Inksheet, you can have a look at:
Kraft Resist Inksheets Tag,
Inksheets Tag,
Learn to Pause and
Falling For You.
Don't miss all the
wonderful inspiration posted by the other team members this month.
Happy crafting!
Anna-Karin
Supplies:


This is beautiful! I love the colors with the black and white. They really pop and look so fresh. And I love the cheese cloth and flowers. :)
ReplyDeletebeautiful!!!!
ReplyDeleteThe picture really pops on that background, great page, love it!
ReplyDeleteFantastic work! Full of amazing ideas! love the color palette and the pic is superb! BArbara
ReplyDeleteSo many great techniques and products! I love this wall hanging and the photo is beautiful, too. Those tiles look just right on it.
ReplyDeleteThis one looks so great again! Fun sunny colours and all works so good together! Great make!
ReplyDeleteThis caught my eye on instagram, loved the picture and all the different panels. I have been hearing about the ink sheets but seeing the effect you created with embossing folders has me excited to try it. Thank you for sharing your techniques.
ReplyDeleteBeautiful!!!!!amazing creativity
ReplyDeleteholy smokes!! That is wonderful!!!
ReplyDelete