Hi friends! I hope you are well! Today, I have a
Sizzix tutorial to share with you. It is a banner for my son's room and even though it is quite a large project, it is quick and easy to make.
Banners are hard to photograph since they tend to be long, even if mine only has three pennants. I wanted to make something that can hang over Leo's bed and paired up his name with some baby animal photos of mine, of course, starting with a lion cub since he is a little lion. The banner is larger than what it appears to be on this photo since each flag measures 7 5/8" x 11". I used my
Big Shot Plus and the
Banners #2 set to die cut the banners. This banner of course doesn't have to be a baby project, but can be made for any theme or season.
The Framelits Plus
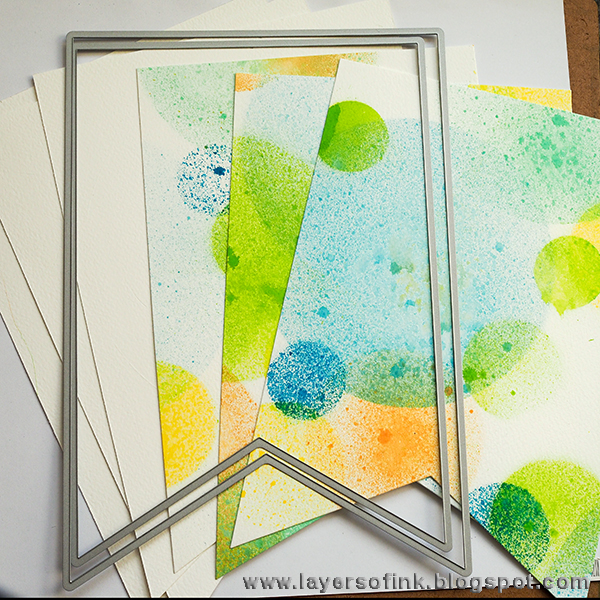
Banners #2 set comes with 16 banners ranging from 1/4" x 3/4" - 7 5/8" x 11". Don't they look nice all together like this? I used the two largest ones.
I also used the Framelits Plus
Circles set. I've been wanting a die set with large circles for a long time, and this set is very versatile since it has so many circles, namely 15 of them ranging from 1/2" x 1/2" - 7 1/2" x 7 1/2".
I die cut a whole bunch of circles from watercolour paper, which I will use for another project.
What I really wanted to use, were the negative circles, which will function as stencils.
Place the homemade stencils on watercolour paper and mist with various Distress Spray Stains. I used Tumbled Glass, Salty Ocean, Twisted Citron, Cracked Pistachio, Scattered Straw, Antique Linen, and Squeezed Lemonade. Let the papers dry in between to avoid mixing the colours too much.
When the mist is dry, die cut banners. I used the second largest die for the coloured banners and die cut a mat with the largest die and plain watercolour paper.
Stamp the banners with
circle, image and sentiment stamps. The stamps I used stamps are from
Hero Arts. The background was also stamped with the
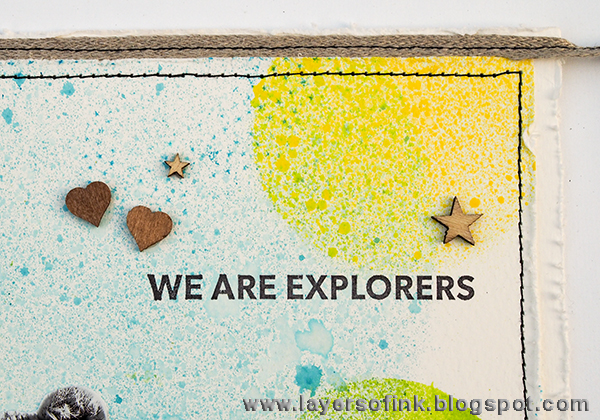
Tiny Stars background stamp, using light blue ink and only stamping it in a few places, to add texture. The paw of my lion cub is a little strange since there was something in front of it on the photo, but I let it be like that.
All the edges were distressed to give the banners more dimension and I love the look you get when distressing the edges of watercolour paper. The banners were stitched together and to hold all three of them together, I stitched a string of Linen Ribbon at the top, letting it hang off the sides.
I love this
sentiment stamp by Hero Arts. I also added some lace to the banners, since that fit with the baby theme.
The letters were die cut with Tim Holtz
Billboard Alphabet die, which cuts large letters. I glued black Paper Leather to mat board and die cut the letters from that. I found some Prima light bulbs in my stash and decided to use them too.
I just love this cute baby zebra. The misted circles give an interesting background, with quite a lot of colour, without being overwhelming.
On top of the letter, a little wooden potty person is standing. I also used some star, arrow and heart wooden embellishments.
Here you can see the blue stamped stars. Note how the Squeezed Lemonade and Cracked Pistachio circles form a green similar to Twisted Citron where they overlap.
The last banner features a baby rhino, and I hope this rhino is still alive since rhinos are being killed by poachers at an alarming rate in South Africa. I was thinking of painting shadows under the animals, but decided not too, since I wanted to keep these banner pretty simple.
I messed up the sentiment stamping on the background here, and had to redo it on another piece of paper and glue that on top of the messy stamping.
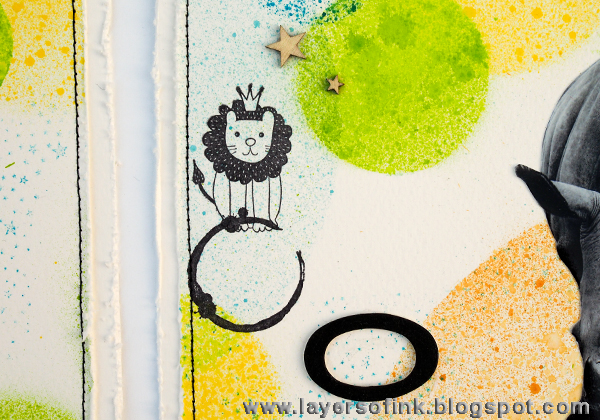
And of course, I had to use Hero Art's
cute lion stamp, which I have used on quite a few of Leo's projects already.
I hope you enjoyed this post and that it inspired you to make some banners. Banners are fun for lots of themes and for different holidays.
I am glad that you stopped by here today. Happy crafting!
Anna-Karin
Supplies:


Gorgeous! I love the colours you have chosen.
ReplyDeleteWow - how incredibly fun and fabulous; bright and happy; creativity deluxe! j.
ReplyDeleteWhat a fabulous banner and It's full of inspiring ideas! I'm sure Leo love it!
ReplyDeleteI loved it ! the circle bg with fresh colors look "Cool":)
ReplyDeleteI love circkles, stencils and making my own stencils, so you can imagen why I think these look so great!
ReplyDeleteWOW very nice banner...love colors and design. Your son is lucky to have a crafty mother...great project!
ReplyDeleteWonderful banner and so perfect for Leo! The black and white animals really stand out against the bright colors. You did really good with the graphics on this banner. This would be a fun book with different colors used throughout and printing black and white pictures of your family members posing/forming each alphabet letter.
ReplyDeleteA wonderful, happy banner. I love that it is not too busy, and the colors are so pretty. I watched a tv show on PBS about a baby black rhino and just fell in love. How sad they are hunted.
ReplyDelete