Hello friends! I have a Sizzix tutorial to share with you today. It's an alphabet notebook / journal, which could be used for many different things and is easy to make.

My oldest son is learning how to read, and the maybe even more difficult task of forming letters and I thought I'd make it more fun for him by making him his very own alphabet notebook, ready to be filled with letters, new words, drawings and stickers, or whatever else he can think of. He loves it and could almost not believe that he can write or draw anything that he wants on all those pretty papers. The book is made with Eileen Hull's Journal die, using the Deco alphabet die of Tim Holtz for the letters.
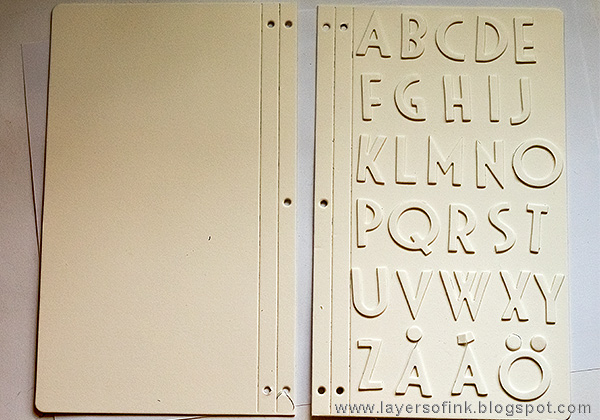
Start by die cutting two journal covers and one whole Deco alphabet from mat board. If you wonder about the three last letters, the Swedish alphabet has Å, Ä and Ö at the end. Since your book might end with the Z, you'll have space for something else in the corner.

Glue the letters with Matte Medium and add a layer over the top.
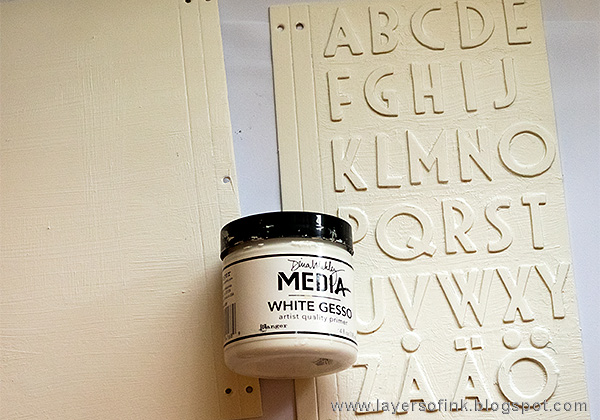
Cover with white gesso. I used a rough paint brush, to get some brush strokes, for texture.

Paint the cover with Distress Paint, blending as you go. Before the paint is completely dry, rub some of it off, especially on top of the letters, to reveal the white underneath.

On the inside and back cover, I painted and then rubbed some paint off through a Tim Holtz alphabet stencil and a bubble stencil.

Apply Crazing Medium around and inside the letters, varying the thickness for differently sized cracks.

Paint with watered-down Black Soot paint, and wipe off. You can also skip this step and go right to the next one.

I wanted more black in the cracks and more of a grungy feel, so I decided to rub Black Soot Distress Crayon into the cracks too. Again, wipe off with a slightly moist cloth.

For the inside pages, I used a mix of patterned and plain papers. Most of the papers came from various Prima A4 paper pads. Cut them to 21 x 21 cm or 8.2 x 8.2 in. Make three signatures of about six papers each.

Round the corners of the pages and stitch down the center. Stamp the inside with different alphabet stamps and give instructions or inspiration for what can be done on the pages. If you are making this for a different theme, you might want to use word or sentiment stamps instead.

I glued the spine with Matte Medium and placed under a heavy book. Bind with elastics according to the instructions on the die packaging. This photo comes from my Tree Sketch book, since I forgot to take a photo of this step.

Tie through a button and leave a length of elastic to use as a closure.
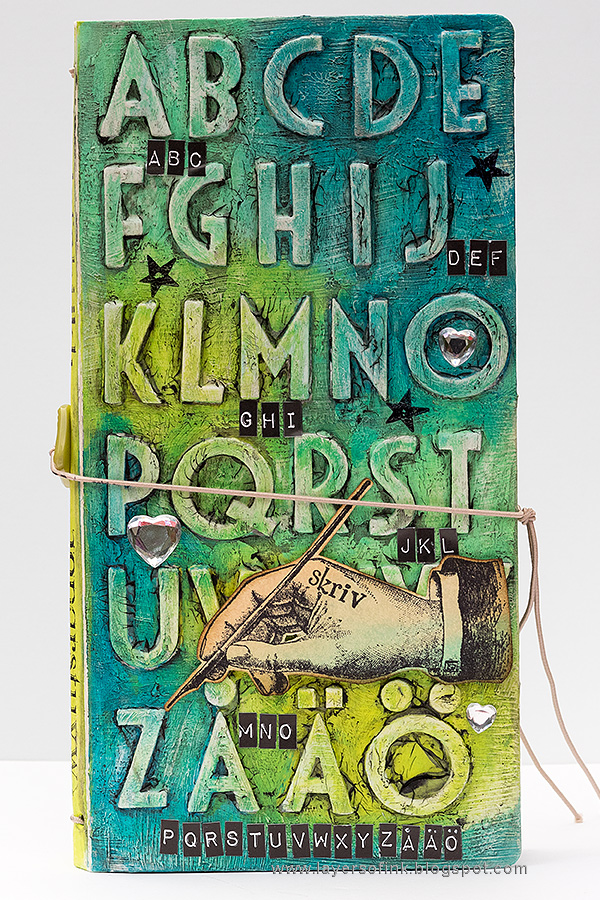
Embellish the front with stamped images, label letter stickers, more stamping and any embellishment that fits you theme.

I added the alphabet in label letters to, to get even more letters on the front.
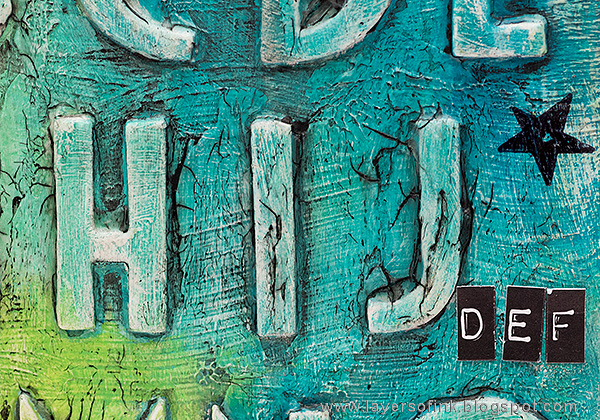
The small star stamp comes from the Tag Sentiments set.
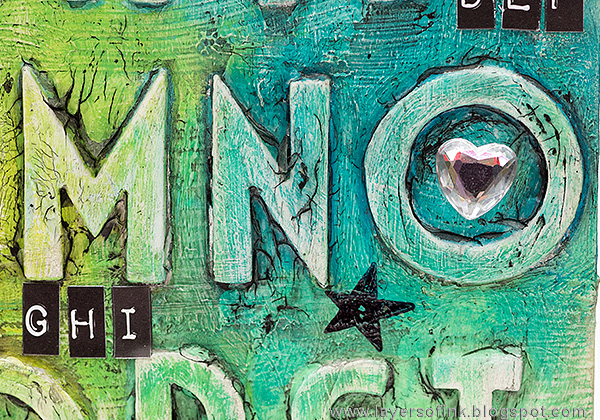
The crackle gives a cool effect and the letters appear to be embedded into the background. You can use the same technique with other types of die cut shapes too.

The hand comes from Tim's Typography set and was stamped on a piece of manila cardstock that I found in my scrap box. It already had some ink on. I wrote 'write' with alphabet letters.
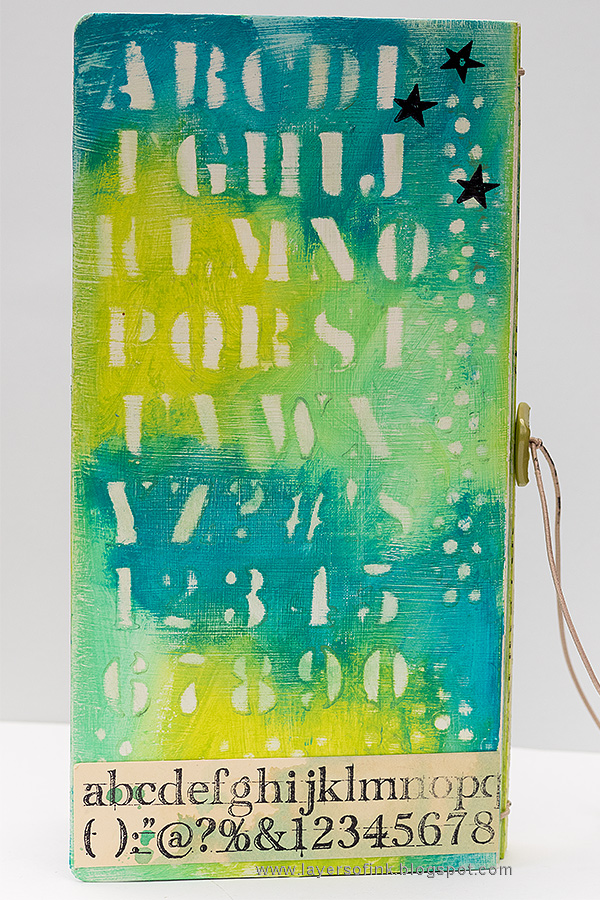
The back of the journal looks like this, with more alphabet stamping.

The white of the background was revealed by rubbing a slightly moist cloth through the stencils.

On the inside there is a tag die cut from scrap paper using the Tag Sentiments set by Lori Whitlock and stamped with a stamp from the same set.

More stamping on the inside cover.

I had such fun using a whole bunch of different alphabet stamp sets, some of which I hadn't used in a long time.
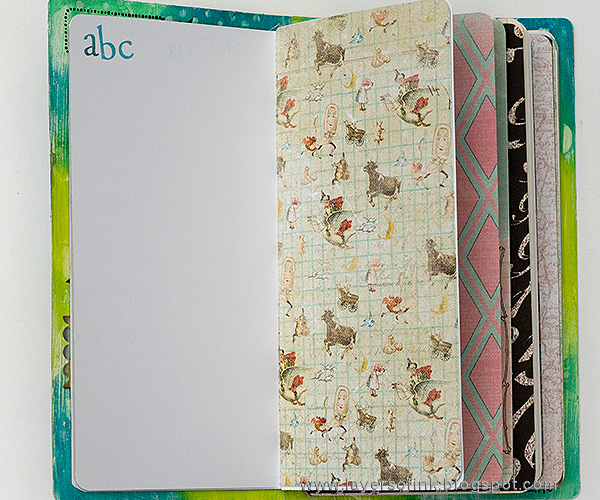
Most of the pages are plain enough so that he can write or draw on them, while some are more patterned. He can use them as inspiration or maybe glue something to them.

'Practice', practice and practice.

This paper from Prima' Bedtime Story is so sweet, placed at the center of a signature, so that the text in the middle can be read.
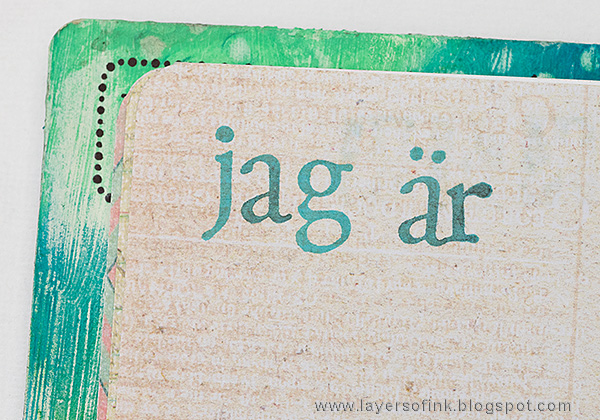
'I am'.

I had to include some numbers too, since he loves maths.
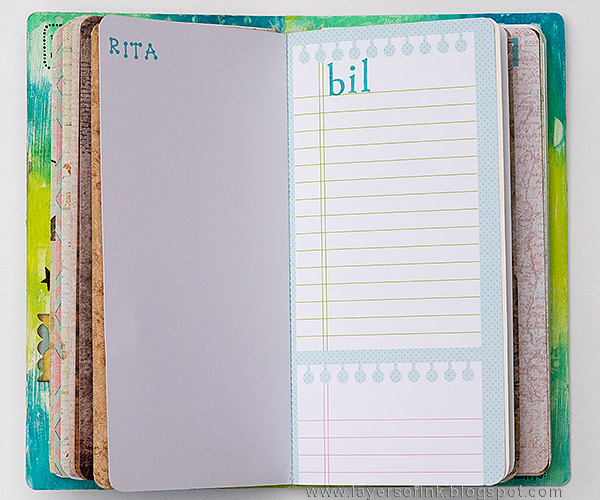
'Draw' and 'car'. I used both capital and lowercase letters.

Another Prima paper that fitted very well into this book, from Stationer's Desk.

'If I' and 'dreams'.
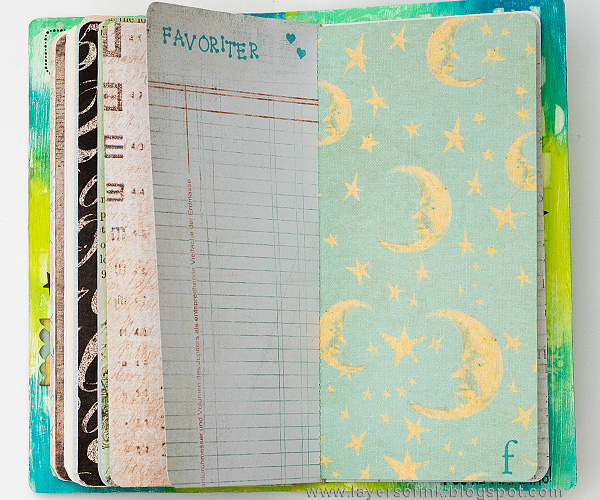
A place to write down some favourites.
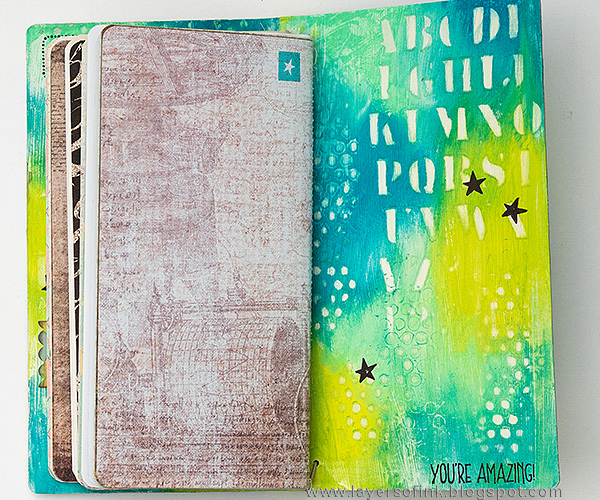
The back cover, with some more stamping.

I love the chunky look of these books and all the space that is there for you to fill. For more journal inspiration, check out my Seaside Journal and my Tree Sketchbook, as well as the fantastic Journal Treasury e-book, by Eileen Hull and friends.
Thank you so much for taking the time to visit today! I hope you were inspired to try some new techniques and/or to make a journal.
Happy crafting!
Anna-Karin
Supplies:
|
* Please note: the links are affiliate links, for which I receive a small percentage of sales generated by the link, at no extra cost to you.


Wauw, what a great notebook you've made! beautiful and a great tutorial! thanks for the inspiration,
ReplyDeleteGorgeous Anna-Karin, fabulous idea, beautifully executed. Tracy x
ReplyDeletethis is WONDERFUL Anna-Karin! What a special gift for your son. =) I hope it motivates him to practice a lot!
ReplyDeleteLove this take on the journal - I just bought that journal die too and you make my fingers itch to create with it!
ReplyDeleteIt's gorgeous and I think learning is now much easyer.
ReplyDeleteWhat a fabulous journal - full of learning possibilities as well as really beautiful!
ReplyDeleteAlison x
Aaaaw so special and gorgeous... I am sure your son loved it to bits!
ReplyDeleteBeautiful! The colors you used and all of that lovely texture on the color are perfection. Your son will have such fun with his journal.
ReplyDeleteOh my goodness !! Your creation is stunning !!
ReplyDeleteSuch a lovely gift for your son. I love the colors and stamping you did, too.
ReplyDeleteLove how you made this Anna-Karin, it is gorgeous!
ReplyDelete