Monday, September 23, 2024

Monochrome tag yellow

Hello friends! I hope you are well and had a great weekend! We had some frustrations with technology this weekend which took up way too much time without being solved.

Please note: this post has affiliate links, for which I receive a small percentage of sales generated by the link, at no extra cost to you.



This week we have a Monochrome theme at the Simon Says Stamp Monday Challenge Blog. I am very fond of monochrome projects. Don't miss the lovely card by our September guest designer Kerry B.

Layers of ink - Yellow Monochrome Tag Tutorial by Anna-Karin Evaldsson.

I picked sunny yellow as my color for this tag, just adding a bit of orange for interest. Since yellow is a naturally light color, you can't get as many shades form yellow as you can from, for example, blue. I used a resist technique for the background and both the background and the flowers were watercolored.

Layers of ink - Yellow Monochrome Tag Tutorial by Anna-Karin Evaldsson. Stamp with Simon Says Stamp Just Because.

Start by white embossing Simon Says Stamp Just Because on a tag cut from watercolor paper. This stamp is from the STAMPtember® collection.

Layers of ink - Yellow Monochrome Tag Tutorial by Anna-Karin Evaldsson. Paint with watercolors.

Paint the background with watercolor paint. The embossing will resist the ink.

Layers of ink - Yellow Monochrome Tag Tutorial by Anna-Karin Evaldsson. Ink through Simon Says Stamp Plaid stencil set.

Sponge ink through one of the Stripes and Plaid Builder stencils to underline some of the sentiments. 

Layers of ink - Yellow Monochrome Tag Tutorial by Anna-Karin Evaldsson. Die cut Simon Says Stamp Lily Duo.

Die cut the Lily Duo from watercolor paper. You can die cut both flowers in one go.

Layers of ink - Yellow Monochrome Tag Tutorial by Anna-Karin Evaldsson. Paint with watercolors.

Paint with watercolors. Leave some of the white paper showing as highlights.

Layers of ink - Yellow Monochrome Tag Tutorial by Anna-Karin Evaldsson.

Shape the flowers slightly and glue them together with Simon glue.

Layers of ink - Yellow Monochrome Tag Tutorial by Anna-Karin Evaldsson. Die cut the sentiment from various papers.

The Simon Says Stamp Fancy Create word was die cut from white glimmer cardstock, color-blend cardstock and Lemon glitter cardstock. I like the combination of the shimmery, glossy and glittery papers. The stamped sentiment comes from the Simon Says Stamp Create stamp set and was die cut with the coordinating die

Layers of ink - Yellow Monochrome Tag Tutorial by Anna-Karin Evaldsson.


Layers of ink - Yellow Monochrome Tag Tutorial by Anna-Karin Evaldsson. Glue leaves and flowers to the tag.

Leaves were die cut from the Lemon glitter paper using the Simon Says Stamp Windswept Leaves die. Glue the two flowers on top of the leaves, but tuck them in under the sentiment.

Layers of ink - Yellow Monochrome Tag Tutorial by Anna-Karin Evaldsson.

Distress the edges of the tag. Don't worry about stray embossing powder, it just adds texture and interest.

Layers of ink - Yellow Monochrome Tag Tutorial by Anna-Karin Evaldsson.

I dyed May Arts Wrinkled Faux Silk Ribbon in two shades of yellow Distress Ink and used two organza ribbons which I have had in my stash for a very long time. 

Layers of ink - Yellow Monochrome Tag Tutorial by Anna-Karin Evaldsson.

The Lily Duo flowers are so pretty. You can make them in many different colors.

Layers of ink - Yellow Monochrome Tag Tutorial by Anna-Karin Evaldsson. Add Pawsitively Dazzling jewels

I really like the Dazzling Gems. Adding a sprinkle of sequins, brads, buttons, pearls or jewels here and there on a project has been one of my favorite ways to finish a project for many years. 

Layers of ink - Yellow Monochrome Tag Tutorial by Anna-Karin Evaldsson.


Join us this week in our Monochrome challenge! You have a chance to win a $25 gift voucher to do some fun shopping at Simon Says Stamp. You have until Monday 8am Ohio time. 1pm UK time, 2 pm CET to join in.

Don't miss all the surprises and inspiration during STAMPtember®! You can find the Simon Says Stamp Exclusive release here.


STAMPtember


Do you use Instagram? If so please add #sssmchallenge so we can see your entries there too.


Thank you so much for stopping by here today! See you again soon!

Happy crafting!

Anna-Karin

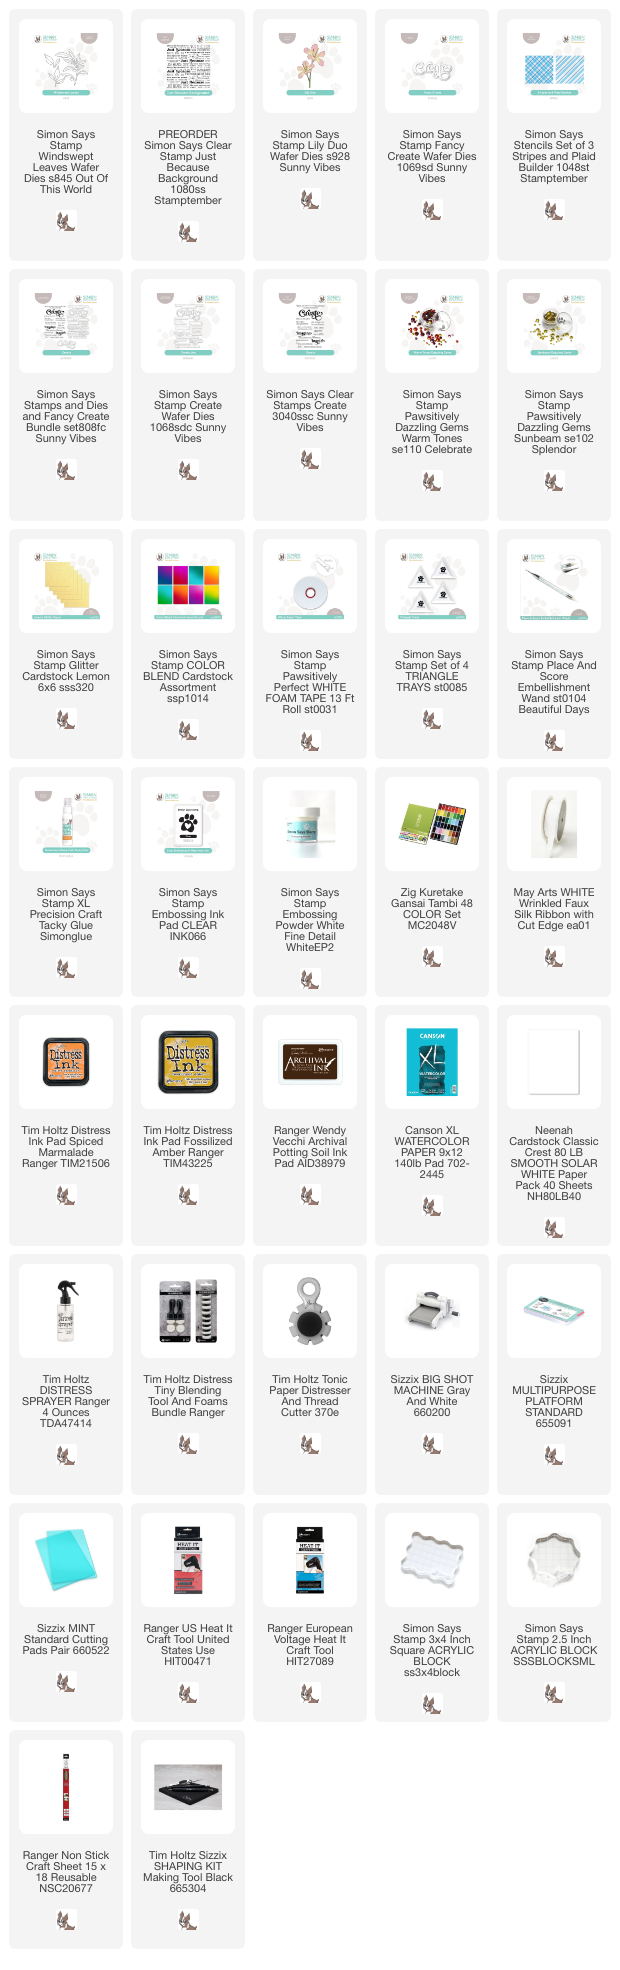
Supplies:

* Please note: the links are affiliate links, for which I receive a small percentage of sales generated by the link, at no extra cost to you.


Friday, September 20, 2024

Floral Mixed Media Tag

Hello crafters! STAMPtember® continues at Simon Says Stamp. Today I have a tag to share with dimensional flowers and a mixed media background.

Please note: this post has affiliate links, for which I receive a small percentage of sales generated by the link, at no extra cost to you.

Layers of ink - Floral Mixed Media Tag Tutorial by Anna-Karin Evaldsson.

I wanted a textured background with soil instead of grass at the bottom. The background is easy to make with gesso and Distress Paint. All you need is patience for the gesso and paint to dry. For the flowers, I used Simon Says Stamp Crimped Floral Embossing Folder and Cutting dies and combined it with a stem die from another flower set.

Layers of ink - Floral Mixed Media Tag Tutorial by Anna-Karin Evaldsson. Coat with gesso and paint with Distress Paint.

Start by coating the tag with gesso using a palette knife. Create soil at the bottom and press and lift the knife into the gesso to create texture. Make lines into the gesso at the top with the palette knife. When the gesso is dry, paint with Distress Paint and mist with water to blend.

Layers of ink - Floral Mixed Media Tag Tutorial by Anna-Karin Evaldsson. Die cut Simon Says Stamp Crimped Flowers.

Die cut one of the four flowers from watercolor paper. I like the shape of this flower.

Layers of ink - Floral Mixed Media Tag Tutorial by Anna-Karin Evaldsson. Emboss in the coordinating folder.

Mist the flowers with water and emboss in the coordinating folder. You can dry emboss more than one flower at once.

Layers of ink - Floral Mixed Media Tag Tutorial by Anna-Karin Evaldsson. Watercolor with Distress Ink.

Smear Distress Inks on a non-stick craft sheet and mist with water. Watercolor the flowers with a paint brush.

Layers of ink - Floral Mixed Media Tag Tutorial by Anna-Karin Evaldsson. Die cut Simon Says Stamp Iceland Poppies.

Die cut the stems from Simon Says Stamp Iceland Poppies, also from watercolor paper.

Layers of ink - Floral Mixed Media Tag Tutorial by Anna-Karin Evaldsson. Watercolor with Distress Ink.

Watercolor with Distress Ink.

Layers of ink - Floral Mixed Media Tag Tutorial by Anna-Karin Evaldsson. Watercolor with Distress Ink. Stamp sentiments with Simon Says Stamp Just Because background.

The sentiments were stamped with Simon Says Stamp Just Because Background stamp and cut into strips. The paper had been inked with Antique Linen and Frayed Burlap Distress Ink.

Layers of ink - Floral Mixed Media Tag Tutorial by Anna-Karin Evaldsson. Add dazzling gems to the flower centers.

Give the flowers some shape and then glue them to the background. Add a Simon Says Stamp Pawsitively Dazzling Gems to the flowers.

Layers of ink - Floral Mixed Media Tag Tutorial by Anna-Karin Evaldsson. Textured Background.

Scorched Timber turns into a gorgeous grey/brown shade when mixed with blues.

Layers of ink - Floral Mixed Media Tag Tutorial by Anna-Karin Evaldsson.

If you want to, you can make the flowers even more dimensional by layering more than one flower.

Layers of ink - Floral Mixed Media Tag Tutorial by Anna-Karin Evaldsson.

The stems were colored in shades of green and blue so that they would partly blend into the background and let flowers shine.

Layers of ink - Floral Mixed Media Tag Tutorial by Anna-Karin Evaldsson.

The paint moves along the textures of the gesso creating interesting effects. 'Thinking of you' also comes from the Just Because background stamp.

Layers of ink - Floral Mixed Media Tag Tutorial by Anna-Karin Evaldsson. Dyed ribbon.

May Arts Faux Silk Ribbon was dyed with Distress Ink to coordinate with the tag.

Layers of ink - Floral Mixed Media Tag Tutorial by Anna-Karin Evaldsson.

I hope you enjoyed this tutorial! See you again soon!

STAMPtember


Don't miss all the surprises and inspiration during STAMPtember®! You can find the Simon Says Stamp Exclusive release here.


Thank you so much for stopping by here today! Have a good weekend!

Happy crafting!

Anna-Karin

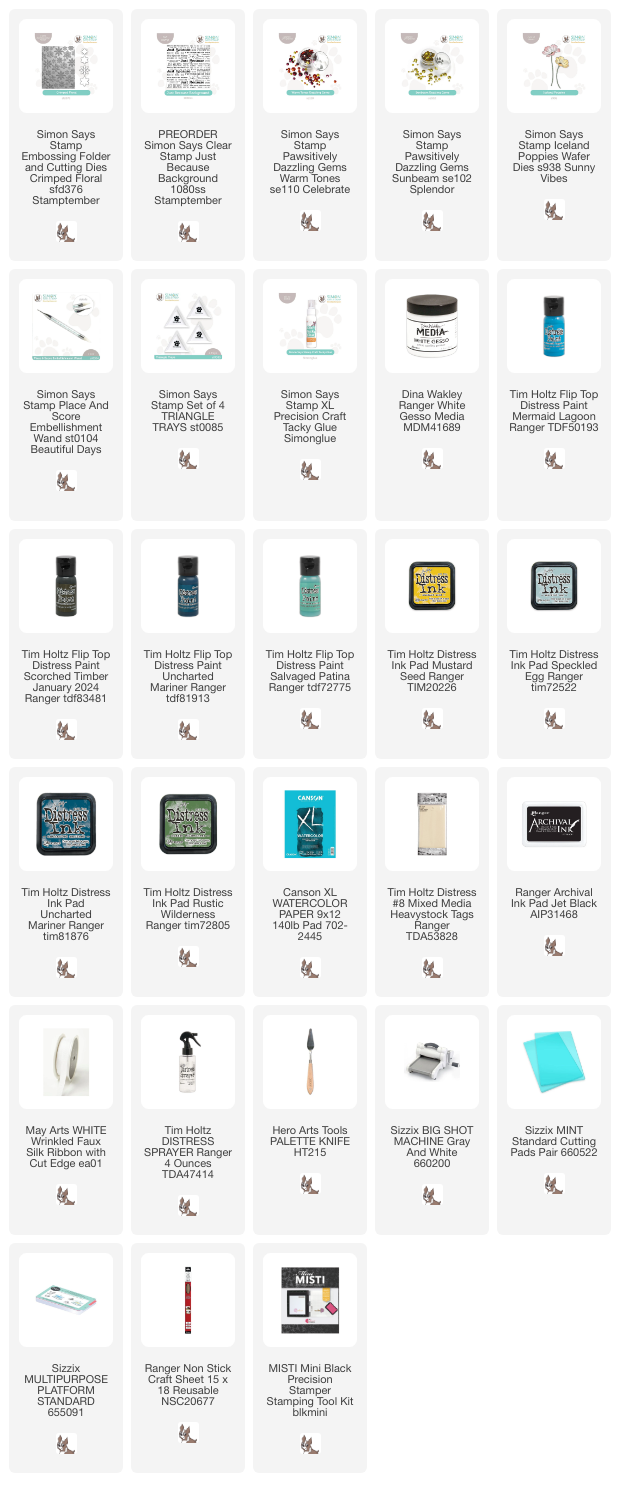
Supplies:

* Please note: the links are affiliate links, for which I receive a small percentage of sales generated by the link, at no extra cost to you.


Monday, September 16, 2024

Watercolor Flowers ATCs

Hello friends! I hope you are well and had a good weekend. It is starting to get chilly here, especially at night. 

Please note: this post has affiliate links, for which I receive a small percentage of sales generated by the link, at no extra cost to you.


Our theme this week at the Simon Says Stamp Monday Challenge Blog is 'Not a card'. Lots of options here! Don't miss the project by our September guest designer Kerry B.

Layers of ink - Watercolor Flowers Artist Trading Cards tutorial by Anna-Karin Evaldsson.

I made two Artist Trading Cards, which although the word 'card' is in the title, aren't really the type of cards we are talking about here (greeting cards). ATCs are 2.5 x 3.5 in and a really fun size to work with. I did no-line watercoloring using a stamp set by Simon Says Stamp. I used lighter colors than normally when coloring, aiming for an airy and almost see-through look.

Layers of ink - Watercolor Flowers Artist Trading Cards tutorial by Anna-Karin Evaldsson. Stamp Simon Says Stamp Wild & Free Flowers.

Cut two ATCs from watercolor paper and stamp flowers from Simon Says Stamp Wild & Free Flowers with Lost Shadow Distress Ink.

Layers of ink - Watercolor Flowers Artist Trading Cards tutorial by Anna-Karin Evaldsson. Watercolor with Gansai Tambi paints.

I watercolored the images with Zig Kuretake Gansai Tambi paints. Start by deciding which colors to use and then mix with water on a palette. The aim is to make quite light colors. Start coloring the outlines and then pull the paint into the petals. You might need to rinse the brush to avoid getting too much pigment in the center of the petals. Do the same for the leaves.

Layers of ink - Watercolor Flowers Artist Trading Cards tutorial by Anna-Karin Evaldsson. Deepen the colors.

Use a more concentrated version of the same colors and darken som of the areas, still keeping most of the flowers very lightly colored. I couldn't help but to add some texture and splattered a little green paint along the bottom of the cards. Round the corners with a Corner Chomper

Layers of ink - Watercolor Flowers Artist Trading Cards tutorial by Anna-Karin Evaldsson. Add white highlights.

Stamp sentiments with grey ink. Add a few highlights with a white gel pen.

Layers of ink - Watercolor Flowers Artist Trading Cards tutorial by Anna-Karin Evaldsson.

I finished the cards with a few pearls. The purple flower might be my favorite. 

Layers of ink - Watercolor Flowers Artist Trading Cards tutorial by Anna-Karin Evaldsson.

Some of the Lost Shadow stamped lines will still show and add details and movement to the flowers. They look like pencil marks, which I like.

Layers of ink - Watercolor Flowers Artist Trading Cards tutorial by Anna-Karin Evaldsson.

The sentiment comes from Simon Says Stamp Forest Scenery.

Layers of ink - Watercolor Flowers Artist Trading Cards tutorial by Anna-Karin Evaldsson.

Next, the pink flowers, which have more greenery and also some flower buds. 

Layers of ink - Watercolor Flowers Artist Trading Cards tutorial by Anna-Karin Evaldsson. Pink flower.

I added just a few dots with the white gel pen, as you can see here. I often add more.

Layers of ink - Watercolor Flowers Artist Trading Cards tutorial by Anna-Karin Evaldsson. Stamp sentiment with grey ink.

The sentiment comes from Simon Says Stamp Create stamp set. I filled in the 'w' a little with a grey marker since it didn't show well.

Layers of ink - Watercolor Flowers Artist Trading Cards tutorial by Anna-Karin Evaldsson. Add pearls.

Don't worry about getting the coloring perfect. The flowers are meant to have a loose and imperfect look.

Join us this week in our Not a Card challenge! You have a chance to win a $25 gift voucher to do some fun shopping at Simon Says Stamp. You have until Monday 8am Ohio time. 1pm UK time, 2 pm CET to join in.

STAMPtember


Don't miss all the surprises and inspiration during STAMPtember®! You can find the Simon Says Stamp Exclusive release here.


Do you use Instagram? If so please add #sssmchallenge so we can see your entries there too.


Thank you so much for stopping by here today! 

Happy crafting!

Anna-Karin

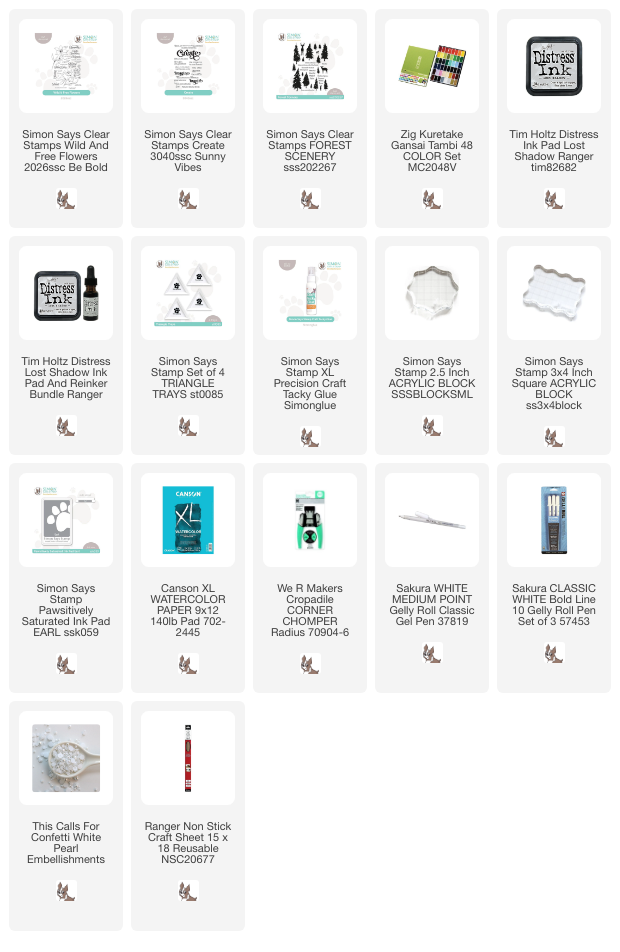
Supplies:

* Please note: the links are affiliate links, for which I receive a small percentage of sales generated by the link, at no extra cost to you.