Monday, June 24, 2024

Bike Art Journal Tutorial

Hi stampers! It is a new week. Here in Sweden we celebrated Midsummer Eve on Friday and the weather was beautiful. It is an outdoor celebration, making weather pretty important. 

Please note: this post has affiliate links, for which I receive a small percentage of sales generated by the link, at no extra cost to you.


This week we have a Transport It theme at the Simon Says Stamp Monday Challenge Blog. I hope you will join us! Don't miss the project by our June guest designer Thom Santilla.


Layers of ink - Bike Art Journal Tutorial by Anna-Karin Evaldsson.

I made an art journal page with a bike as the focal point. The stenciled wheel was a left-over from a tutorial that I made for the Simon Says Stamp store blog and the bike stamp fit so perfectly in the center. I built the design around that, placing the sentiments vertically, with horizontal stamps and dies leading to them. The page was done in the Dylusions Square Ledger Journal.

Layers of ink - Bike Art Journal Tutorial by Anna-Karin Evaldsson.

I started with this piece. It was made with Tim Holtz Wheel stencil and Paper Artsy Infusions. You can find all the steps on the Simon Says Stamp Store blog. The paper was colored with Distress Ink Antique Linen and Frayed Burlap before doing the stencil technique.

Layers of ink - Bike Art Journal Tutorial by Anna-Karin Evaldsson. Stamp with Tim Holtz Purely Random.

Stamp the bike from Tim Holtz Purely Random in the center.

Layers of ink - Bike Art Journal Tutorial by Anna-Karin Evaldsson.

Plan the sentiments before stamping them. Later I added one additional word and two sentiment stickers.

Layers of ink - Bike Art Journal Tutorial by Anna-Karin Evaldsson.

Stamp the stars from Tim's Rock Star with Spring and Surf Simon Says Stamp Pawsitively Saturated Inks.

Layers of ink - Bike Art Journal Tutorial by Anna-Karin Evaldsson.

I also added a border on each side of the focal panel with Design Tape Trims.

Layers of ink - Bike Art Journal Tutorial by Anna-Karin Evaldsson.

The circles come from Simon Says Stamp Mix and Match Circles and were stamped with Surf and Spring ink. I also die cut arrows with Tim's Vault World Travel, from Simon Says Stamp cardstock in coordinating colors.

Layers of ink - Bike Art Journal Tutorial by Anna-Karin Evaldsson. Stamp with Tim Holtz Purely Random.

Extend the lines under the bike with a black pen.

Layers of ink - Bike Art Journal Tutorial by Anna-Karin Evaldsson.

This negative or 'stamped' impression of the stencil has great detail and texture.

Layers of ink - Bike Art Journal Tutorial by Anna-Karin Evaldsson.


Layers of ink - Bike Art Journal Tutorial by Anna-Karin Evaldsson. Stamp with Simon Says Stamp Mix and Match Circles.

Some of my favorites in one place: stars, circles and arrows.

Join us this week in our  Transport It challenge! You have a chance to win a $25 gift voucher to do some fun shopping at Simon Says Stamp. You have until Monday 8am Ohio time. 1pm UK time, 2 pm CET to join in.


Do you use Instagram? If so please add #sssmchallenge so we can see your entries there too.


Thank you so much for stopping by here today! 

Happy crafting!

Anna-Karin

Supplies:

* Please note: the links are affiliate links, for which I receive a small percentage of sales generated by the link, at no extra cost to you.


Sunday, June 23, 2024

Lily of the Valley Tag

Hello crafters! Today I have a Lily of the Valley tag to share made with Simon Says Stamp new Sunny Vibes release. 

Please note: this post has affiliate links, for which I receive a small percentage of sales generated by the link, at no extra cost to you.

Simon Says Stamp Sunny Vibes

Sunny Vibes is a big release filled with dies, stamps, stencils, paper products and tools, perfect for summer time crafting.

Layers of ink - Lily of the Valley Tag Tutorial by Anna-Karin Evaldsson.

I love Lily of the Valley flowers and particularly when areas of the forest are filled with them. I made a tag with shades of green, a bit of blue and three plants. The hill for the flowers was made with the Happy Rainbow stencil set, also from the Sunny Vibes release.

Layers of ink - Lily of the Valley Tag Tutorial by Anna-Karin Evaldsson. Die cut Simon Says Stamp Lily of the Valley.

Start by die cutting three Lily Of the Valley Stems from watercolor paper.

Layers of ink - Lily of the Valley Tag Tutorial by Anna-Karin Evaldsson. Color with Distress Ink.

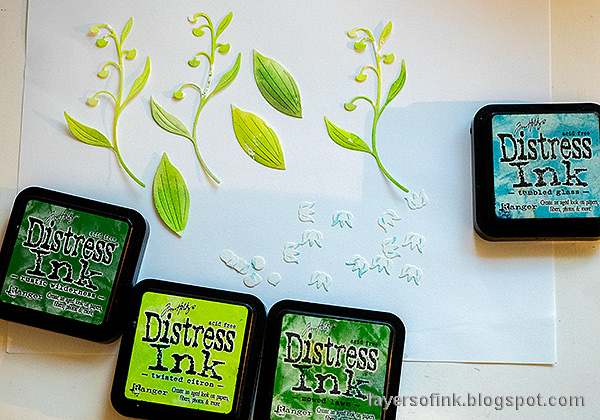
Smear green shades of Distress Ink on a non-stick craft sheet, mist with water and press the stems into the ink. Watercolor the flowers with just a tiny bit of Tumbled Glass Distress Ink.

Layers of ink - Lily of the Valley Tag Tutorial by Anna-Karin Evaldsson.

Let dry and repeat until you are happy with the look. Add a tiny bit of Twisted Citron Distress Oxide Ink to the last layer.

Shape the flowers and buds with Tim Holtz Shaping Kit on a Simon Says Stamp Perfect Craft Pad.

Layers of ink - Lily of the Valley Tag Tutorial by Anna-Karin Evaldsson. Ink tag with Distress Ink.

Ink a heavystock tag with Distress Ink.

Layers of ink - Lily of the Valley Tag Tutorial by Anna-Karin Evaldsson. Mist with water.

Drop some water on the tag.

Layers of ink - Lily of the Valley Tag Tutorial by Anna-Karin Evaldsson.

When dry, ink through one of the Happy Rainbows stencils with Unchartered Mariner och Rustic Wilderness. Add some of the dots to the top of the tag too. This is a very versatile stencil set. The stencils are 6x9 in.

Layers of ink - Lily of the Valley Tag Tutorial by Anna-Karin Evaldsson. Add more ink.

Ink the edges of the tag.

Layers of ink - Lily of the Valley Tag Tutorial by Anna-Karin Evaldsson. Stamp with Simon Says Stamp Stained Glass.

For a little more texture, stamp with Simon Says Stamp Stained Glass Background.

Layers of ink - Lily of the Valley Tag Tutorial by Anna-Karin Evaldsson.

Shape the larger leaves too and then glue the flowers to the tag. Use foam tape for some of the flowers.

Layers of ink - Lily of the Valley Tag Tutorial by Anna-Karin Evaldsson. Dye ribbon.

Dye May Arts Wrinkled Faux Silk Ribbon with Distress Ink.

Layers of ink - Lily of the Valley Tag Tutorial by Anna-Karin Evaldsson.

This Lilly Of the Valley stem die creates such sweet flowers. You can add more buds if you want too, or leave them out all together.

Layers of ink - Lily of the Valley Tag Tutorial by Anna-Karin Evaldsson. White emboss sentiment on vellum.

The sentiments come from the Simon Says Stamp Beachcombing set, also from Sunny Vibes. They were white embossed on Simon Says Stamp vellum.

Layers of ink - Lily of the Valley Tag Tutorial by Anna-Karin Evaldsson.

The Distress Oxide adds an interesting effect to the leaves. Even though it was Twisted Citron, it created an opaque blue color.

Layers of ink - Lily of the Valley Tag Tutorial by Anna-Karin Evaldsson.

I hope you enjoyed this tutorial! You can of course make a card instead of a tag. Don't miss the inspiration gallery for the Sunny Vibes release.


Thank you so much for stopping by here today! See you again tomorrow!


Anna-Karin

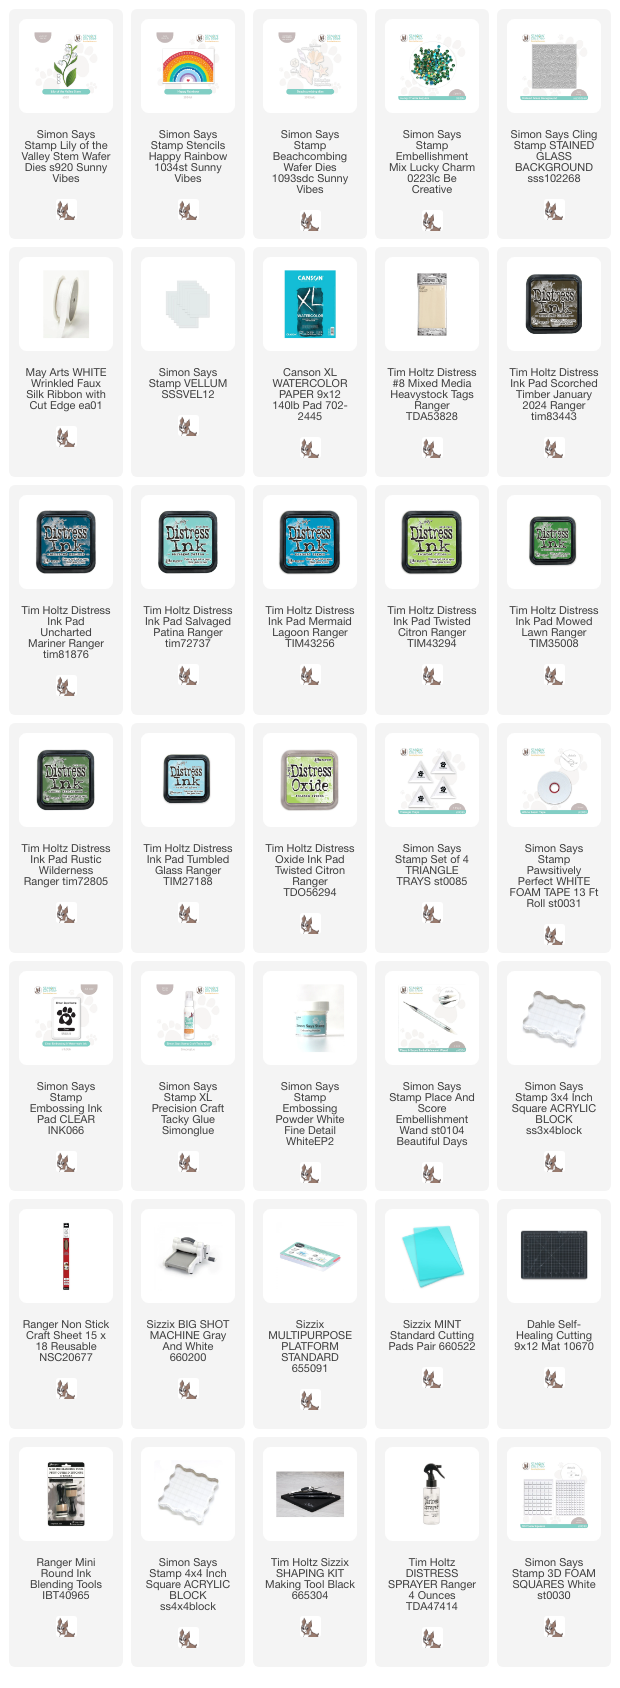
Supplies:

* Please note: the links are affiliate links, for which I receive a small percentage of sales generated by the link, at no extra cost to you.


Monday, June 17, 2024

Mixed Media Seascape Tutorial

Hello friends! It is a new Monday, the best day of the week since there is also a new Simon Says Stamp Monday Challenge. This week our theme is Let's Paint.

Please note: this post has affiliate links, for which I receive a small percentage of sales generated by the link, at no extra cost to you.


I hope you will join us in the challenge and don't miss the project by our June guest designer Thom Santilla.


Layers of ink - Mixed Media Seascape Tutorial by Anna-Karin Evaldsson.

I painted a scene with Distress Paint in one of my Small Creative Journal. The colors were inspired by the colors of the sky on one of my evening walks this week. I snapped a photo of the sky to remember to use it as inspiration for my project. Lots of textures and stamped sentiments here. The boats were cut from Tim Holtz Eclectic Elements fabric. 

Layers of ink - Mixed Media Seascape Tutorial by Anna-Karin Evaldsson. Apply texture paste.

Coat the page with gesso and when dry, add texture paste through Simon Says Stamp Clouds for Days. Also add paste to the base of the page as the beach.

Layers of ink - Mixed Media Seascape Tutorial by Anna-Karin Evaldsson. Add cheese cloth.

Glue cheese cloth to the beach with matte medium. You can also use Tim's Mummy Cloth.

Layers of ink - Mixed Media Seascape Tutorial by Anna-Karin Evaldsson. Paint with distress paint.

Use Simon Says Stamp Very Very Low Tack tape to mask the sea from the sky. Paint the clouds.

Layers of ink - Mixed Media Seascape Tutorial by Anna-Karin Evaldsson.

Paint the sky and then remove the tape. Add it back but on the sky instead of the sea and then paint the sea (I forgot to take a photo of that step).

Layers of ink - Mixed Media Seascape Tutorial by Anna-Karin Evaldsson.

Paint the beach with watered-down Distress Paint: Antique Linen, Frayed Burlap and Ground Espresso.

Layers of ink - Mixed Media Seascape Tutorial by Anna-Karin Evaldsson. Darken the colors.

Add darker blue to the sky and the sea. The light comes from the right, so the sea is darker on the left-hand side. Mist with water and let the paint run, but only a little. I also let it run into the beach area. Add some more Dried Marigold too.

Layers of ink - Mixed Media Seascape Tutorial by Anna-Karin Evaldsson. Make fabric boats.

Cut the sails from Tim Holtz Memoranda Fabric. Cut the boats from brown cardstock.

Layers of ink - Mixed Media Seascape Tutorial by Anna-Karin Evaldsson. Add Sizzix Luster Wax.

Add Sizzix Gold Luster Wax to the cheese cloth.

Layers of ink - Mixed Media Seascape Tutorial by Anna-Karin Evaldsson. Add stickles glitter gel.

Add Moon Dust Stickles to the clouds and to a few areas in the sea.

Layers of ink - Mixed Media Seascape Tutorial by Anna-Karin Evaldsson.

Here you can see the stickles on the clouds. I stamped sentiments both directly on the background and on paper and cut into strips.

Layers of ink - Mixed Media Seascape Tutorial by Anna-Karin Evaldsson. Stamp with Simon Says Stamp Forest Scenery.

Repeat 'summer' three times without reinking. The birds come from Hero Arts Sunset Over Waves.

Layers of ink - Mixed Media Seascape Tutorial by Anna-Karin Evaldsson.

Sand the boats. Connect the sail to the boat with a black pen.

Layers of ink - Mixed Media Seascape Tutorial by Anna-Karin Evaldsson. Fabric and paper boat.

I cut this sail so that the word 'transfer' would be clearly visible.

Layers of ink - Mixed Media Seascape Tutorial by Anna-Karin Evaldsson.

Summer dreaming comes from Simon Says Stamp Dandelion Messages.

Layers of ink - Mixed Media Seascape Tutorial by Anna-Karin Evaldsson.

The combination of texture paste and cheese cloth gives a great texture. Here I only added a few strands of thread onto the background.

Layers of ink - Mixed Media Seascape Tutorial by Anna-Karin Evaldsson. Beach textures.

The sentiment comes from Tim Holtz Odds & Ends. The Luster Wax adds a really nice texture and shine to the cheese cloth.

Layers of ink - Mixed Media Seascape Tutorial by Anna-Karin Evaldsson.

The paint will run into the cheese cloth texture in interesting ways.

Layers of ink - Mixed Media Seascape Tutorial by Anna-Karin Evaldsson.

I added pebbles with a black pen.

Layers of ink - Mixed Media Seascape Tutorial by Anna-Karin Evaldsson.

The last sentiment comes from Simon Says Stamp Forest Scenery.

Join us this week in our  Let's Paint challenge! You have a chance to win a $25 gift voucher to do some fun shopping at Simon Says Stamp. You have until Monday 8am Ohio time. 1pm UK time, 2 pm CET to join in.


Do you use Instagram? If so please add #sssmchallenge so we can see your entries there too.


Thank you so much for stopping by here today! 

Happy crafting!

Anna-Karin

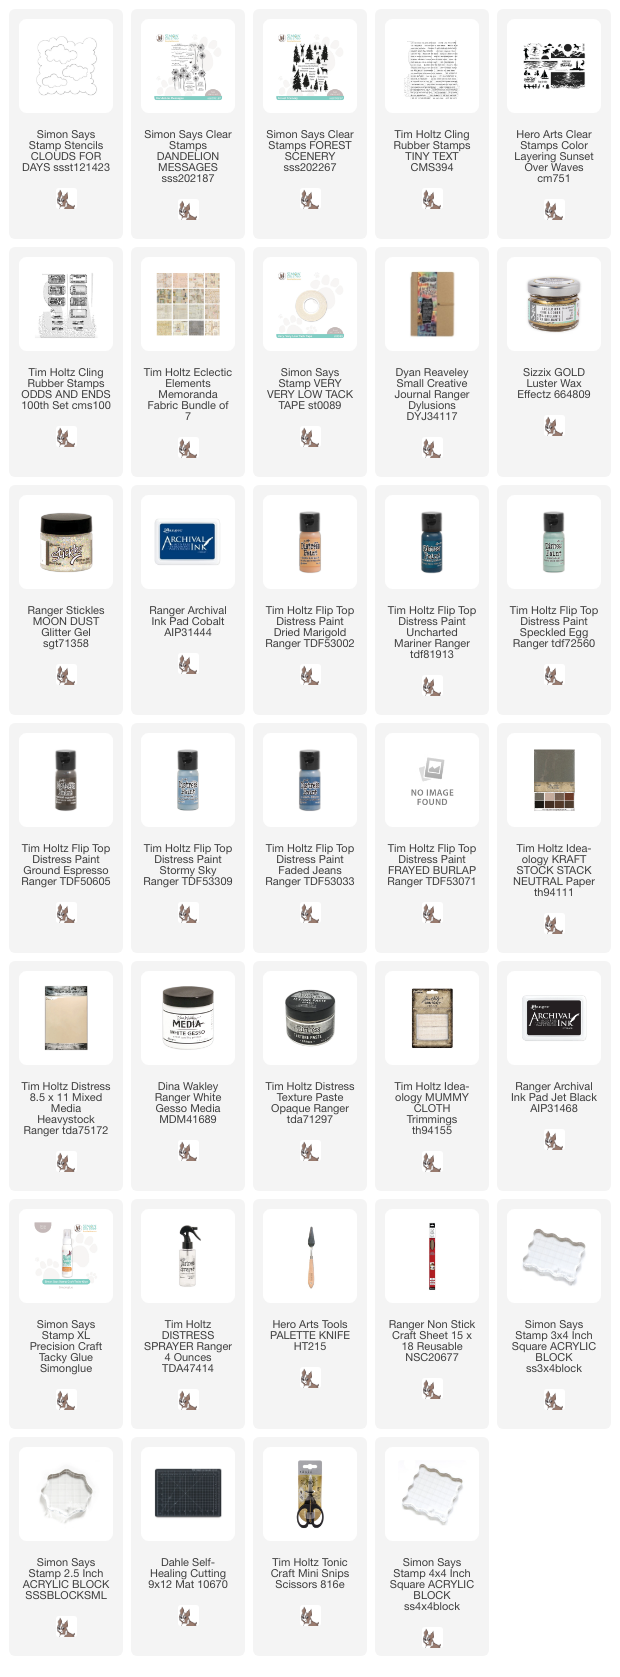
Supplies:

* Please note: the links are affiliate links, for which I receive a small percentage of sales generated by the link, at no extra cost to you.