Saturday, July 18, 2020

Speckled Egg Vintage Tag

Hello friends! Today I have a tag to share using several different Speckled Egg Distress media. You can of course also do the techniques with other colors, but since I recently got Speckled Egg, I wanted to use it as my main color here. I started with this tag basically as soon as I had opened the parcel containing Speckled Egg.

Layers of ink - Speckled Egg Vintage Tag Tutorial by Anna-Karin Evaldsson.

I love a textured Distress Ink background and here I also added some Distress Oxide ink and of course stamping. I also used Speckled Egg Distress Paint, Distress Spray Stain and Embossing Glaze.

Layers of ink - Speckled Egg Vintage Tag Tutorial by Anna-Karin Evaldsson.

I love blue and Speckled Egg is such a pretty light blue. It complements the other blue shades in the Distress line very well and I had been wanting a light blue without the turquoise/teal tint of Tumbled Glass. I love Tumbled Glass and use it all the time, but sometimes I want a more neutral light blue.

Layers of ink - Speckled Egg Vintage Tag Tutorial by Anna-Karin Evaldsson. Ink with Distress Ink.

I smeared Speckled Egg Distress Ink and a little Pumice Stone on a craft sheet and pressed a tag into the ink. Dry and repeat.

Layers of ink - Speckled Egg Vintage Tag Tutorial by Anna-Karin Evaldsson. Ink with Distress Oxide Ink.

Next, I did the same with just a little Distress Oxide ink, adding the chalky color here and there.

Layers of ink - Speckled Egg Vintage Tag Tutorial by Anna-Karin Evaldsson. Stamp with Flower Shop.

One of the flowers from Flower Shop was stamped on the tag with Ground Espresso Archival ink and then colored lightly with colored pencils.

Layers of ink - Speckled Egg Vintage Tag Tutorial by Anna-Karin Evaldsson.

The script stamp from Flower Shop was stamped here and there on the background with Vintage Photo Archival Ink.

Layers of ink - Speckled Egg Vintage Tag Tutorial by Anna-Karin Evaldsson. Emboss with Speckled Egg Embossing Glaze.

Here's a cool way of coloring the Theories Quote Chips which are white. Press onto an embossing ink pad and emboss with Speckled Egg Embossing Glaze. It gives a great glossy effect.

Layers of ink - Speckled Egg Vintage Tag Tutorial by Anna-Karin Evaldsson. Die cut crochet piece and mist with Distress Spray.

Die cut a Crochet piece from watercolor paper and mist with both Distress Spray Stain and a little Distress Oxide Spray.

Layers of ink - Speckled Egg Vintage Tag Tutorial by Anna-Karin Evaldsson. Paint heirloom roses.

Color three Heirloom Roses with Speckled Egg Distress Paint.

Layers of ink - Speckled Egg Vintage Tag Tutorial by Anna-Karin Evaldsson.

I also added Specimen remnant rubs and Clippings stickers. Here you can see the beautiful blue shades in the background.

Layers of ink - Speckled Egg Vintage Tag Tutorial by Anna-Karin Evaldsson.

You just need to add a little bit of color to the stamped rose.

Layers of ink - Speckled Egg Vintage Tag Tutorial by Anna-Karin Evaldsson.

Sand the rub-ons slightly to give them a distressed look. Here you can see the mix of Distress Ink and the more opaque and chalky Oxide Ink.

Layers of ink - Speckled Egg Vintage Tag Tutorial by Anna-Karin Evaldsson. Theories Quote Chips.

Layer two die cut Crochet pieces under the Quote Chip and add another Clippings Sticker.

Layers of ink - Speckled Egg Vintage Tag Tutorial by Anna-Karin Evaldsson.

I also misted the roses with Perfect Pearls powder mixed into water. You can see that glimmer effect here. It collects in the grooves.

Layers of ink - Speckled Egg Vintage Tag Tutorial by Anna-Karin Evaldsson.

Here you can see the glossy look of the embossing glaze, and since the glaze is transparent you can still read the word perfectly. With normal colored embossing powder, the text would have been covered up.


Thank you so much for taking the time to visit my blog today!  

Happy crafting!

Anna-Karin

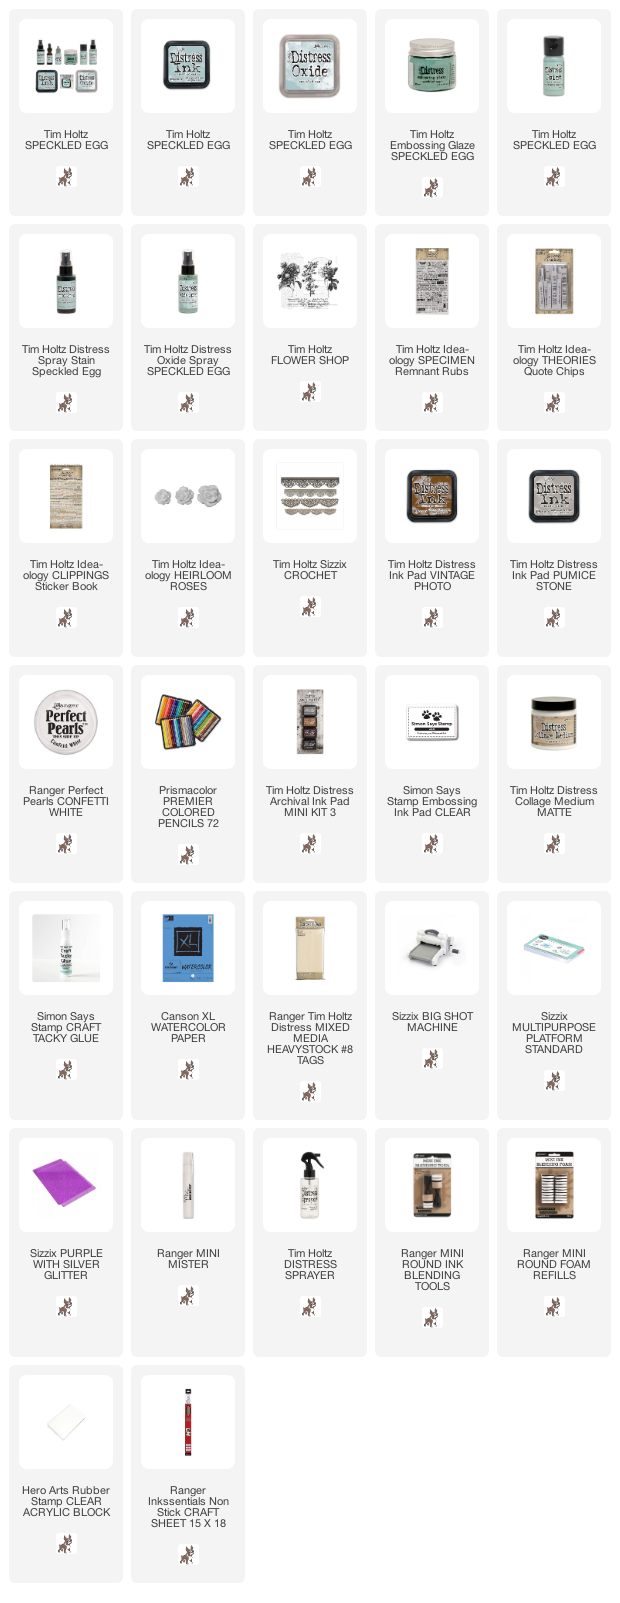
Supplies:

* Please note: the links are affiliate links, for which I receive a small percentage of sales generated by the link, at no extra cost to you.


Tuesday, July 14, 2020

Winter Mitten Tutorial

Hello crafters! I have a Christmas in July project to share today, a winter mitten holder made with a die by Eileen Hull, texture paste, paint and a stencil.

Layers of ink - Winter Mitten Tutorial by Anna-Karin Evaldsson.

I wanted lots of texture on the mittens, since mittens normally are textured. The holder can be used for pens, pencils, a little gift or something similar. You could also use just the mittens and make card. The techniques work well on other types of projects too. The holder was made with the Mitten Box die. The Eileen Hull Inspiration Team is sharing projects with the Mitten Box and the Snowman Box this month.

Layers of ink - Winter Mitten Tutorial by Anna-Karin Evaldsson. Die cut Eileen Hull Mitten Box.

Start by die cutting two mittens, a box part and some hearts from mat board. I ended up not using the zigzag piece.

Layers of ink - Winter Mitten Tutorial by Anna-Karin Evaldsson. Apply gesso.

Coat with gesso, adding extra texture to the wristlet part of the mitten.

Layers of ink - Winter Mitten Tutorial by Anna-Karin Evaldsson.

Place a piece of Simon Says Stamp Masking Paper over the wristlet. Apply Texture Paste through the Tim Holtz Nordic stencil.

Layers of ink - Winter Mitten Tutorial by Anna-Karin Evaldsson.

Repeat until you have covered one side of each mitten. Make sure it is the opposite sides, since we want the texture part to be outwards. I fixed the spot I had missed on one of the thumbs later.

Layers of ink - Winter Mitten Tutorial by Anna-Karin Evaldsson. Paint with Distress Paint.

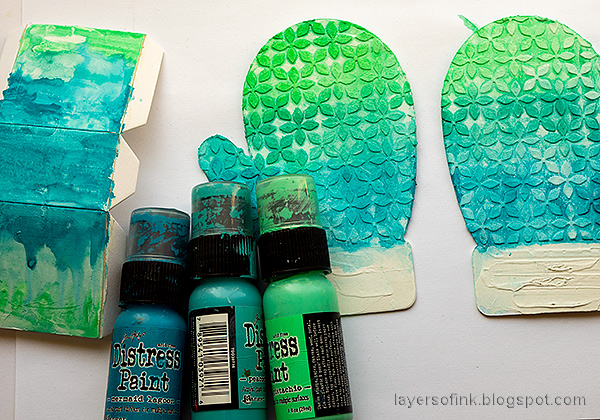
When dry, paint with slightly watered-down Distress Paint, in an ombre fashion.

Layers of ink - Winter Mitten Tutorial by Anna-Karin Evaldsson.

I painted the insides too. The gesso gives a cool texture on its own.

Layers of ink - Winter Mitten Tutorial by Anna-Karin Evaldsson.

Paint the lower part of the mittens brown and dry-brush some brown around the edges of the mittens.

 Layers of ink - Winter Mitten Tutorial by Anna-Karin Evaldsson. ink the hearts.

Ink the hearts with Distress Ink. You can paint them too, but the ink is quicker.

Layers of ink - Winter Mitten Tutorial by Anna-Karin Evaldsson. Apply stickles.

Cover them with Nebula and Moon Dust Stickles.

Layers of ink - Winter Mitten Tutorial by Anna-Karin Evaldsson.

Assemble the box according to the instructions on the packaging, using a strong adhesive.

Layers of ink - Winter Mitten Tutorial by Anna-Karin Evaldsson.

Tie some fibers around the base of the holder. Stamp sentiments from Tim Holtz Modern Christmas on white paper with Forget-Me-Not Archival Ink. Cut out.

Layers of ink - Winter Mitten Tutorial by Anna-Karin Evaldsson.

 Here's a look at the texture. Before the paint dries completely, you can dab some of it off with a paper towel, creating lighter areas.

Layers of ink - Winter Mitten Tutorial by Anna-Karin Evaldsson.

The new Stickles jars have larger pieces of glitter inside. The Nebula jar, for example, has little stars.

Layers of ink - Winter Mitten Tutorial by Anna-Karin Evaldsson.

I used another sentiment on the other side of the mitten.

Layers of ink - Winter Mitten Tutorial by Anna-Karin Evaldsson. Made with Eileen Hull Mitten Box die.

I hope you enjoyed this post! Thank you so much for stopping by today!


Happy crafting!

Anna-Karin

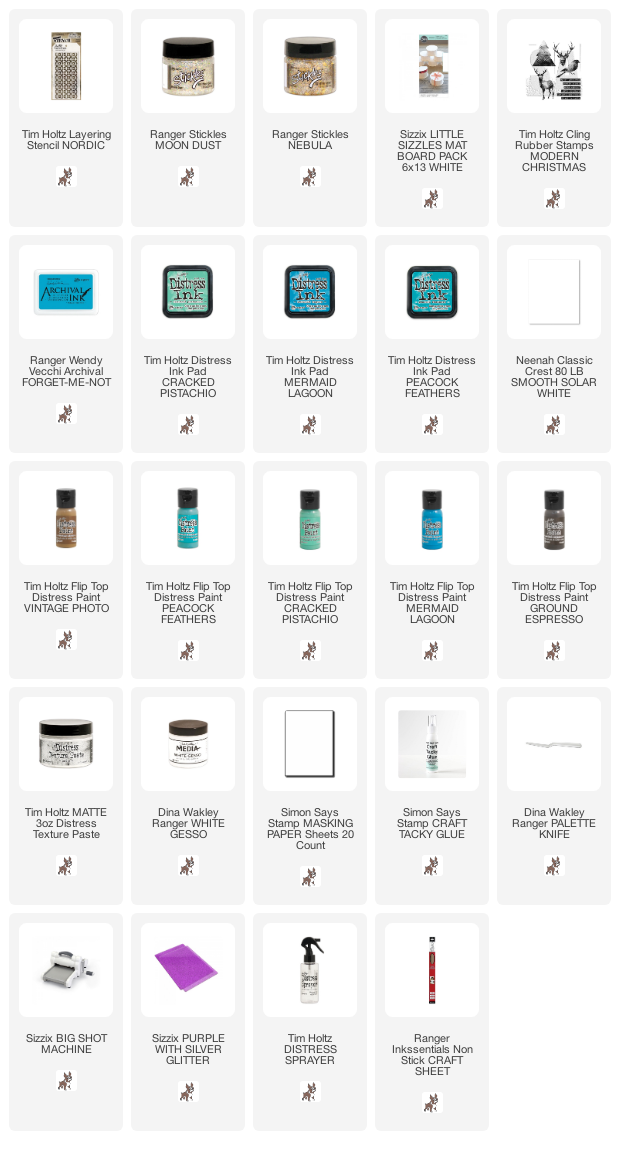
Supplies:

* Please note: the links are affiliate links, for which I receive a small percentage of sales generated by the link, at no extra cost to you.


Additional supplies:
Eileen Hull Sizzix Mitten Box XL die.

Monday, July 13, 2020

Distress Ink Blocks Card Tutorial

Hello crafters! I hope you are well. Today I have a fun blocked design to share with you, with Speckled Egg Distress Ink and other soft colors, stamping and a cute bird.

We have had a rainy two weeks and the boys are hoping for better weather. In the meantime, they are crafting or building a lot. The forest is full of blueberries and my walks now always include about three stops for picking blueberries. 


It is Monday and this week we have an Early Bird challenge at the Simon Says Stamp Monday Challenge Blog. Don't miss the project by our July guest designer Sheila Wy with her beautiful blog Sheila Wy's 216 Alchemy Lane.

Layers of ink - Distress Ink Blocks Card Tutorial with Bird and Stamping by Anna-Karin Evaldsson.

I needed a birthday card, but this technique would also look great in an art journal. I have always liked a background created from different squares and here the soft colors, stamping and inking keep the squares together to form a unified background. I used a mix of Simon Says Stamp Send Happiness and Tim Holtz products here.

Layers of ink - Distress Ink Blocks Card Tutorial by Anna-Karin Evaldsson. Ink with Distress Ink.

Speckled Egg arrived in my mailbox last week and I have really enjoyed crafting with this pretty blue shade. For this project, I made a variety of backgrounds from watercolor paper. Some have only Speckled Egg Distress Ink, some have a mix of Speckled Egg, Pumice Stone and Antique Linen and some have a bit of Speckled Egg Distress Oxide Ink too. Smear on a non-stick craft sheet, mist with water and press the paper into the ink. Let dry and repeat until you are happy with the look.

Layers of ink - Distress Ink Blocks Card Tutorial by Anna-Karin Evaldsson. Die cut with Stacked Squares.

Tim Holtz Stacked Squares die set contains square dies in five different sizes, five of each. Pick one of the sizes and die cut squares with it. You will have lots of inky paper left over for future projects.

Layers of ink - Distress Ink Blocks Card Tutorial by Anna-Karin Evaldsson.

Ink the edges subtly by dragging just the edge against a Pumice Stone ink pad. I didn't want heavy inking, but just that thin line separating the squares.

Layers of ink - Distress Ink Blocks Card Tutorial by Anna-Karin Evaldsson. Glue the squares.

Glue them to another piece of watercolor paper with matte medium.

Layers of ink - Distress Ink Blocks Card Tutorial by Anna-Karin Evaldsson. Stamp with Thoughtful Flowers.

Ink four of the flower stamps from the SSS Thoughtful Flowers set with either Pumice Stone or Hickory Smoke. Mist about three times with water before stamping, for a watercolor effect.

Layers of ink - Distress Ink Blocks Card Tutorial by Anna-Karin Evaldsson. Die cut Feathered Friends from Journal Cards.

Die cut one of the Feathered Friends from Journal Cards. I have had Tim's Journal Cards on my desk lately and I have been using them a lot, as background, to stamp on, for die cutting and more. They are perfect small pieces of patterned paper and have such interesting vintage designs.

Layers of ink - Distress Ink Blocks Card Tutorial by Anna-Karin Evaldsson. Die cut Leafy Branch.

Die cut the beautiful SSS Leafy Branch from white and light grey SSS cardstock.

Layers of ink - Distress Ink Blocks Card Tutorial by Anna-Karin Evaldsson.

Ink the edges of the bird, assemble and add a black eye with a pen. I also added a few lines for shadows. Place her on a nest made from mummy cloth. For more Feathered Friends inspiration check out my DIY Notebooks tutorial.

Layers of ink - Distress Ink Blocks Card Tutorial by Anna-Karin Evaldsson. Simon Says Stamp Thoughtful Flowers.

The sentiments comes from the Thoughtful Flowers set and were stamped with brown ink. Distress the edge and mount on SSS slate grey cardstock. Stitch around the block with a sewing machine. You will find more Thoughtful Flowers inspiration in my Thoughtful Flowers Watercolor Garden project from last week.

Layers of ink - Distress Ink Blocks Card Tutorial by Anna-Karin Evaldsson.

The watercolor stamping gives a soft and subtle look to the flowers and makes them a part of the background. Stamping them in two shades of Distress Ink adds variation.

Layers of ink - Distress Ink Blocks Card Tutorial by Anna-Karin Evaldsson.

Here you can see that the stamping looks a little different on the various blocks, depending on the colors underneath. The stem and the flower looks like they are stamped in two different colors, but they are not.

I hope you will join us this week in our Early Bird challenge. You have a chance to win a $25 gift voucher to do some fun shopping at Simon Says Stamp. You have until next Monday 8am Ohio time. 1pm UK time, 2 pm CET to join in.


Don't forget to follow Simon Says Stamp on Instagram, they post great stuff daily. 


Do you use Instagram? If so please add #sssmchallenge so we can see your entries there too.


Thank you so much for taking the time to visit my blog today!  

Happy crafting!

Anna-Karin

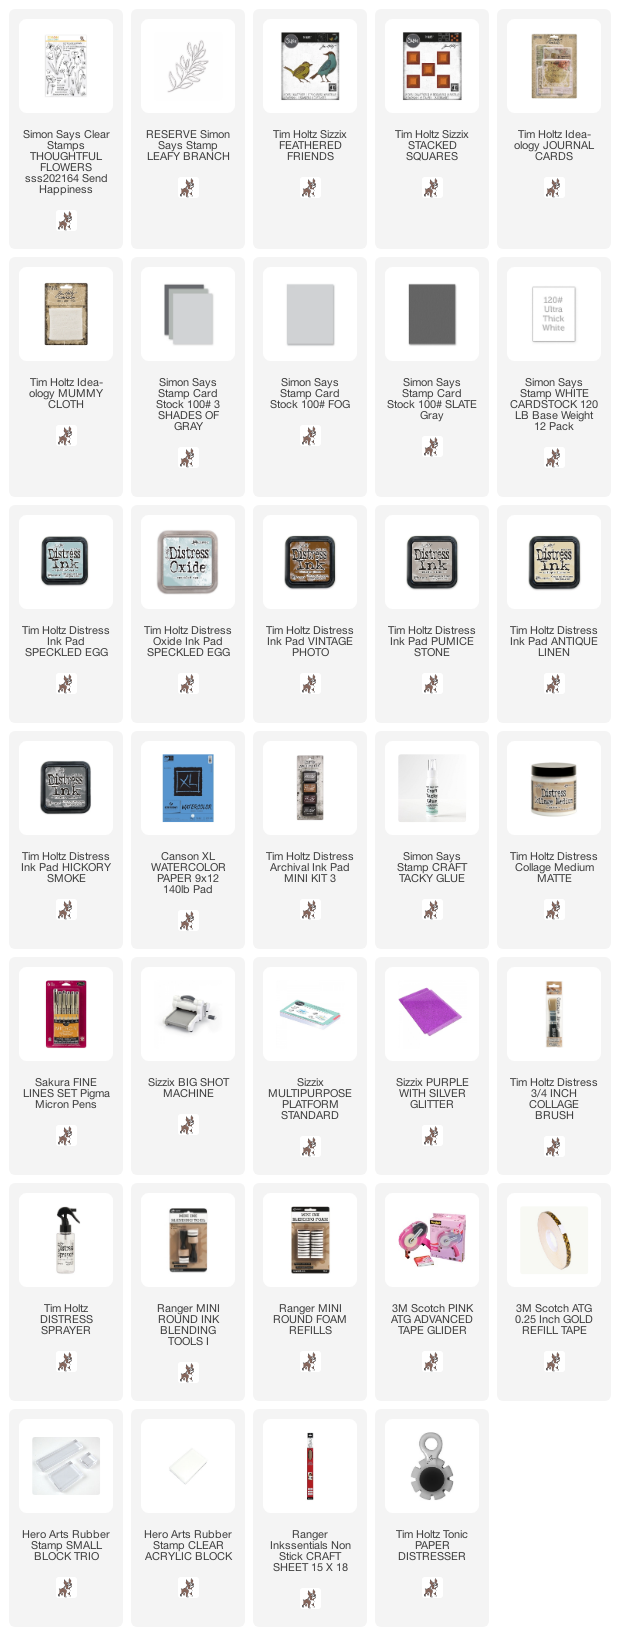
Supplies:

* Please note: the links are affiliate links, for which I receive a small percentage of sales generated by the link, at no extra cost to you.