Monday, June 22, 2020

Starry Sky Background

Hello crafters! I hope you are well! We had beautiful weather this weekend and went swimming every day. Today I have a scrapbooking layout to share with a star background. The background works great for cardmaking and art journaling too. 


This week we have a Shoot for the Stars theme at the Simon Says Stamp Monday Challenge Blog. Don't miss the beautiful project by our June guest designer Sandra Rupp.

Layers of ink - Starry Sky Background Tutorial by Anna-Karin Evaldsson.

I was in the mood for a scrapbooking layout and found this photo from a little more than a year ago. Leo loves costumes, especially super hero customs. This is also one of the rare masks that actually sits well and doesn't fall down, cover his eyes or something similar. The background was done with the Starry Night Background stamp by Darkroom Door, embossing powder and lots of ink.

Layers of ink - Starry Sky Background Tutorial by Anna-Karin Evaldsson. Stamp, emboss and mist the background.

First the Starry Night stamp was embossed with Ranger's Flurries Speckle Embossing Powder, several times. Always be very careful when using a heat gun so that you don't burn yourself. I worked on watercolor paper. Next, I smeared Distress Inks on a craft sheet and pressed the paper into the ink, but the effect was a too light for what I was aiming for, so I reached for Distress Spray Stains instead and misted the background. Some of the original Distress Ink still shows through, especially towards the edges.

Layers of ink - Starry Sky Background Tutorial by Anna-Karin Evaldsson. Splatter with white acrylic mist.

When dry (or in this case, semidry, since I was in a hurry), splatter some White Gloss acrylic spray on the background.

Layers of ink - Starry Sky Background Tutorial by Anna-Karin Evaldsson. Stamp labels.


Layers of ink - Starry Sky Background Tutorial by Anna-Karin Evaldsson.

The SSS Clipping Heart die was die cut from light gold metallic kraft stock paper. I glued some of the hearts into the frame.

Layers of ink - Starry Sky Background Tutorial by Anna-Karin Evaldsson. Stamp sentiments.

I die cut the SSS You're A Star die from black metallic kraft stock paper. The stamped sentiments comes from the SSS Tabbed Sentiments and Paper Artsy Travels & Journeys. The Spinner Trail under the photo was die cut from SSS Crimson Glitter Paper.

Layers of ink - Starry Sky Background Tutorial by Anna-Karin Evaldsson.

The paper under the photo comes from Tim's Abandoned Paper Stash. It looked a bit like a net, so I thought it fit well. The journaling is on a die cut tag behind the patterned paper. I also used one of Tim's Numeric set.

Layers of ink - Starry Sky Background Tutorial by Anna-Karin Evaldsson.

The Flurries powder has speckles and some glitter in it, which might be hard to spot on the photos, but it adds a lot to the starry sky. I also like the soft cream color of this powder.

Layers of ink - Starry Sky Background Tutorial by Anna-Karin Evaldsson.

The white splatters will pick up some ink from the background, which gives them a varied look.


I hope you will join us this week in our Shoot for the Stars challenge. You have a chance to win a $25 gift voucher to do some fun shopping at Simon Says Stamp. You have until next Monday 8am Ohio time. 1pm UK time, 2 pm CET to join in.


Don't forget to follow Simon Says Stamp on Instagram, they post great stuff daily. 


Do you use Instagram? If so please add #sssmchallenge so we can see your entries there too.


Thank you so much for taking the time to visit my blog today!  

Happy crafting!

Anna-Karin

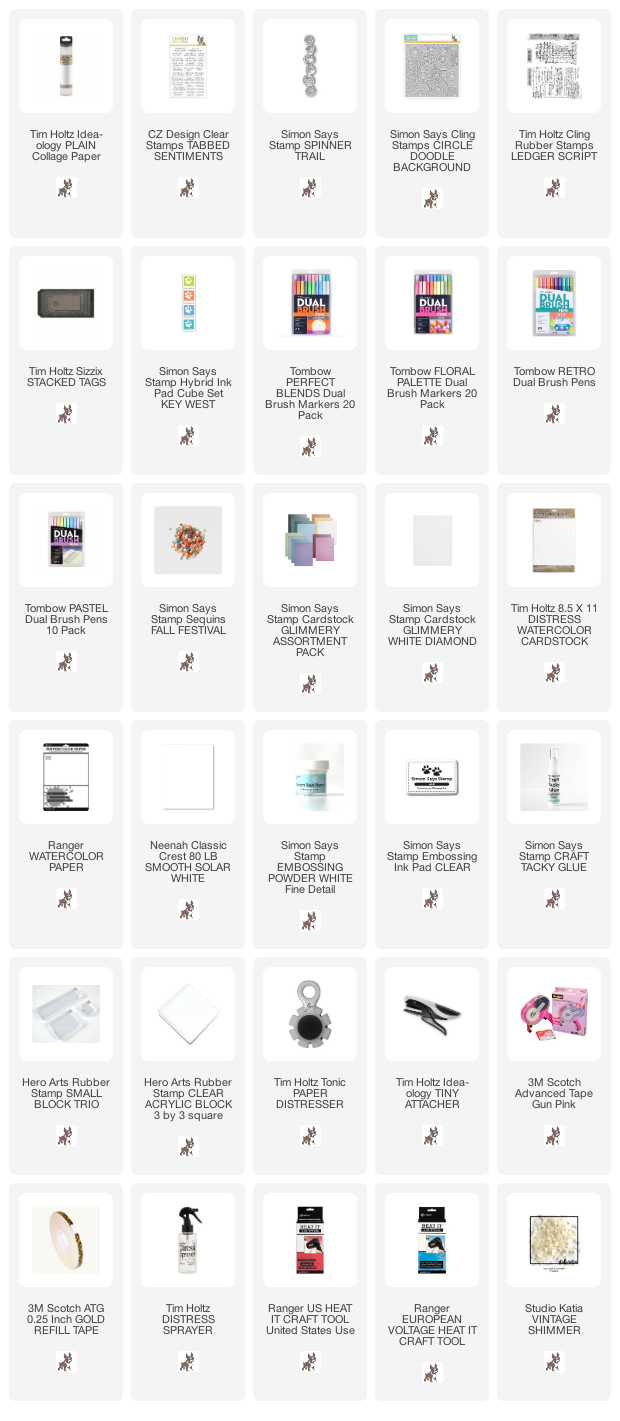
Supplies:

* Please note: the links are affiliate links, for which I receive a small percentage of sales generated by the link, at no extra cost to you.


Friday, June 19, 2020

Tombow Blocks Background Tutorial

Hello stampers! I have a fun tutorial to share with you using Tombow pens and acrylic blocks to create backgrounds, and also for collage or tissue paper flowers.

Today we are celebrating Midsummer's Eve in Sweden. It's a very traditional celebration of summer, usually involving dancing and singing around a maypole. All that has been cancelled this year. But at least the sun is shining and we will perhaps go and swim in a lake.

Layers of ink - Tombow Dual Brush Pens Block Background and Tissue Paper Flowers Tutorial by Anna-Karin Evaldsson.

Recently, I found my old Tombow Dual Brush Pens and was impressed to see that they were still juicy and working perfectly. I bought those first pens very long ago in South Africa. I only had a few, so I decided to get more shades and I am having fun with them now. For today's tutorial I used them together with acrylic stamp blocks to create backgrounds. It is a fun and easy technique and I couldn't stop so I ended up making two projects. It is also a great technique if you want to play around with color combos and color mixing. 

You can get a similar look with Mini Distress Inks, but you have more control with the markers. Mix and match the acrylic blocks that you have at home to get different sizes.

Layers of ink - Tombow Dual Brush Pens Block Background Tutorial by Anna-Karin Evaldsson.

Start by scribbling three colors Tombow Dual Brush Pens on an acrylic block.

Layers of ink - Tombow Dual Brush Pens Block Background Tutorial by Anna-Karin Evaldsson.

Mist fairly generously with water.

Layers of ink - Tombow Dual Brush Pens Block Background Tutorial by Anna-Karin Evaldsson. Stamp the block on watercolor paper.

Stamp the block on a piece of watercolor paper. This could be the base for a mini summer scene on a card. I used Tim Holtz watercolor paper, working on the textured side.

Layers of ink - Tombow Dual Brush Pens Block Background Tutorial by Anna-Karin Evaldsson.

Continue with three shades of orange and yellow, using a small block.

Layers of ink - Tombow Dual Brush Pens Block Background Tutorial by Anna-Karin Evaldsson.

Add blocks until you are happy with the look. You can use blocks in the same size only too.

Layers of ink - Tombow Dual Brush Pens Block Background Tutorial by Anna-Karin Evaldsson.

I also made a tag, using shades of pink, purple and blue. 

Layers of ink - Tombow Dual Brush Pens Block Background Tutorial by Anna-Karin Evaldsson. White emboss circle doodles.


Layers of ink - Tissue Paper Flowers Tutorial by Anna-Karin Evaldsson.

I wanted some big, fluffy flowers on these projects and decided to make tissue paper flowers. It is a favorite technique that I hadn't used for a while. Fold up a piece of Tim Holtz Plain Collage Paper

Layers of ink - Tissue paper Flowers Tutorial by Anna-Karin Evaldsson.  Cut circles for the flowers.

Cut a rough circle from the folded up paper. Do the same thing with a smaller fold of paper, until you have circles in three sizes.

Layers of ink - Tissue paper Flowers Tutorial by Anna-Karin Evaldsson.

Assemble a whole bunch of circles together and staple them in the center.

Layers of ink - Tissue paper Flowers Tutorial by Anna-Karin Evaldsson.

Start scrunching up the center of the flower. It looks nicer if you work one or two tissue papers at a time.

Layers of ink - Tissue paper Flowers Tutorial by Anna-Karin Evaldsson.

Continue until you are happy with the look of the flowers.

Layers of ink - Tissue paper Flowers Tutorial by Anna-Karin Evaldsson. Color the tissue paper flowers.

Use Tombow pens to add a bit of color to the edges of the tissue paper flowers.
 Layers of ink - Tombow Dual Brush Pens Block Background and Tissue Paper Flowers Tutorial by Anna-Karin Evaldsson.

I used the two smaller flowers for the tag and added a piece of lace trim underneath them. The sentiments come from the SSS Tabbed Sentiments set and was stamped with blue SSS Hybrid Ink from the Key West set. The tag was die cut from watercolor paper.

Layers of ink - Tissue paper Flowers Tutorial by Anna-Karin Evaldsson.

You can also make tissue paper flowers from recycled gift tissue paper.

Layers of ink - Tombow Pens Background Tutorial by Anna-Karin Evaldsson.

Experiment with the amount of misted water on the blocks. More water gives a more watery, blended look, while less water gives more texture. It also depends on the surface you use and you need more water on a textured surface such as the watercolor paper that I used here. On smooth (hot-press) watercolor paper, you need less water.

Layers of ink - Tombow Pens Background Tutorial by Anna-Karin Evaldsson.

You can also line up or overlap the blocks, but here I left a small space in between them.

Layers of ink - Tombow Pens Background Tutorial by Anna-Karin Evaldsson.

I already had the small flower from before, with a yellow brad in the center. It was made with gift wrap tissue paper, which is a little thinner than Tim's Collage Paper.

Layers of ink - Tombow Pens Background Tutorial by Anna-Karin Evaldsson.

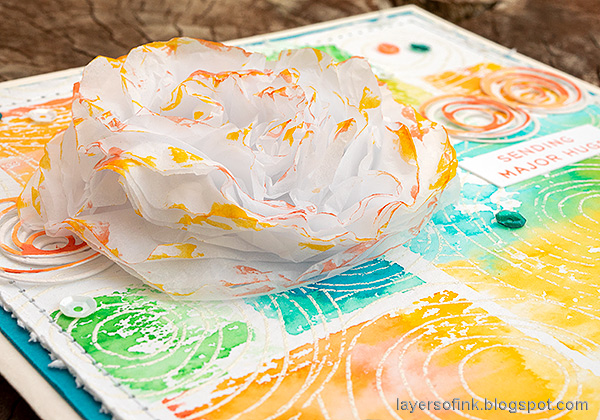
The tissue paper flowers are fluffy, delicate and dimensional.

Layers of ink - Tombow Dual Brush Pens Block Background and Tissue Paper Flowers Tutorial by Anna-Karin Evaldsson.

The second panel was turned into a square 6 x 6 in card. I like the color combo on this one and the texture from the white embossed circles.

Layers of ink - Tombow Pens Background Tutorial by Anna-Karin Evaldsson. Spinner Trail.

The Spinner Trail die was die cut from Neenah cardstock and from white SSS Glimmery paper. I colored the Neenah piece with the same Tombows as used for the background. The sentiment was stamped with one of the SSS Hybrid inks from the Key West set.

Layers of ink - Tombow Pens Background Tutorial by Anna-Karin Evaldsson.

I distressed the edges and stitched a border with my sewing machine.

Layers of ink - Tombow Pens Background Tutorial by Anna-Karin Evaldsson.

The sequins come from the SSS Fall Festival set.

Layers of ink - Tombow Pens Background Tutorial by Anna-Karin Evaldsson.

I used the largest flower on the card and this flower also has more layers of collage paper than the others.


Thank you so much for taking the time to visit my blog today!  

Happy crafting!

Anna-Karin

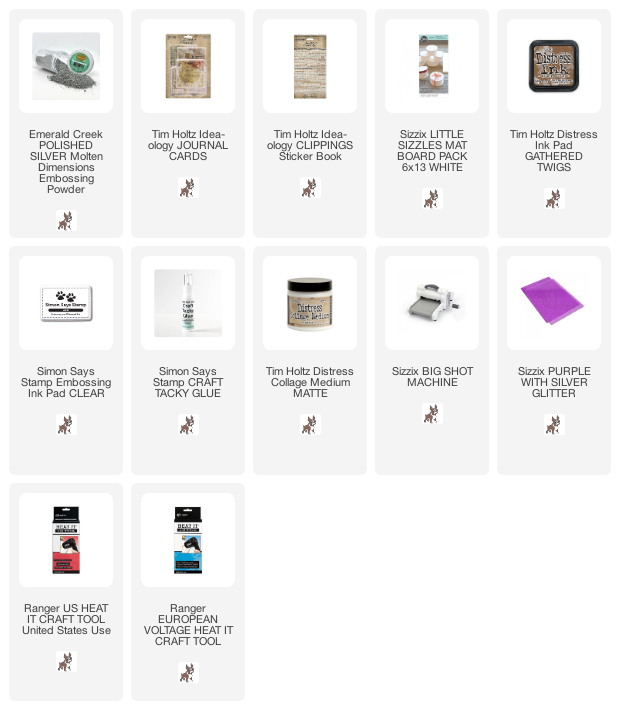
Supplies:

* Please note: the links are affiliate links, for which I receive a small percentage of sales generated by the link, at no extra cost to you.


Tuesday, June 16, 2020

Cork Mini Book

Hello friends! I have a mini book using cork and jeans fabric to share with you today. It's quick and easy.

Layers of ink - Cork Mini Book Tutorial by Anna-Karin Evaldsson.

The Eileen Hull Inspiration team is using cork fabric by Belagio this month, but since the international shipping times are very long at the moment, I didn't get my parcel yet. Instead I found a sheet of cork that I had kept from my decoupage days, bought in South Africa over fifteen years ago. I also used a piece from an old pair of jeans. So a bit of cork and a bit of fabric, instead of cork fabric.

Layers of ink - Cork Mini Book Tutorial by Anna-Karin Evaldsson. Die cut the mat board

Using Eileen's Tiny Book die, die cut all the shapes from mat board.

Layers of ink - Cork Mini Book Tutorial by Anna-Karin Evaldsson. Add the cork

Die cut the book from cork too and glue on top of the mat board.

Layers of ink - Cork Mini Book Tutorial by Anna-Karin Evaldsson. Silver emboss the key.

Die cut the oval from a Tim Holtz Journal Card. Emboss the key with several layers of Eileen's Polished Silver Molten Dimensions powder and also emboss the edges of the oval. Be very careful when working with heat embossing. Never touch the melted powder until it has cooled down completely.

Layers of ink - Cork Mini Book Tutorial by Anna-Karin Evaldsson.

Die cut the corners from an old pair of jeans and glue to the mat board corners. Glue the corners and to the cover and also glue a strip of jeans to the spine of the book.

Layers of ink - Cork Mini Book Tutorial by Anna-Karin Evaldsson. Make signatures.

Cut pages from your favorite sketching paper and arrange into two signatures. Tie each signature with a piece of string around the cover.

Layers of ink - Cork Mini Book Tutorial by Anna-Karin Evaldsson.

I usually make holes in the cover for the strings, but since this is such a tiny book and since the jeans fabric partly holds the strings in place, I didn't do that here. For an example with holes for the binding check out my Tiny Flower Book.

Layers of ink - Cork Mini Book Tutorial by Anna-Karin Evaldsson.

Here you can see the book from above with the two signatures.
Layers of ink - Cork Mini Book Tutorial by Anna-Karin Evaldsson.

The embossing powder gives a very cool, dimensional look to the key.

Layers of ink - Cork Mini Book Tutorial by Anna-Karin Evaldsson.

Ink the edges slightly with brown Distress Ink.

Layers of ink - Cork Mini Book Tutorial by Anna-Karin Evaldsson.

I also added a Clippings Sticker.

Layers of ink - Cork Mini Book Tutorial by Anna-Karin Evaldsson.

Tie the book with a piece of string and you are done. The finished book measures 3x2.4 in. For more inspiration check out my Tiny Books Tutorial, with four different books.


Thank you so much for taking the time to visit my blog today!  

Happy crafting!

Anna-Karin

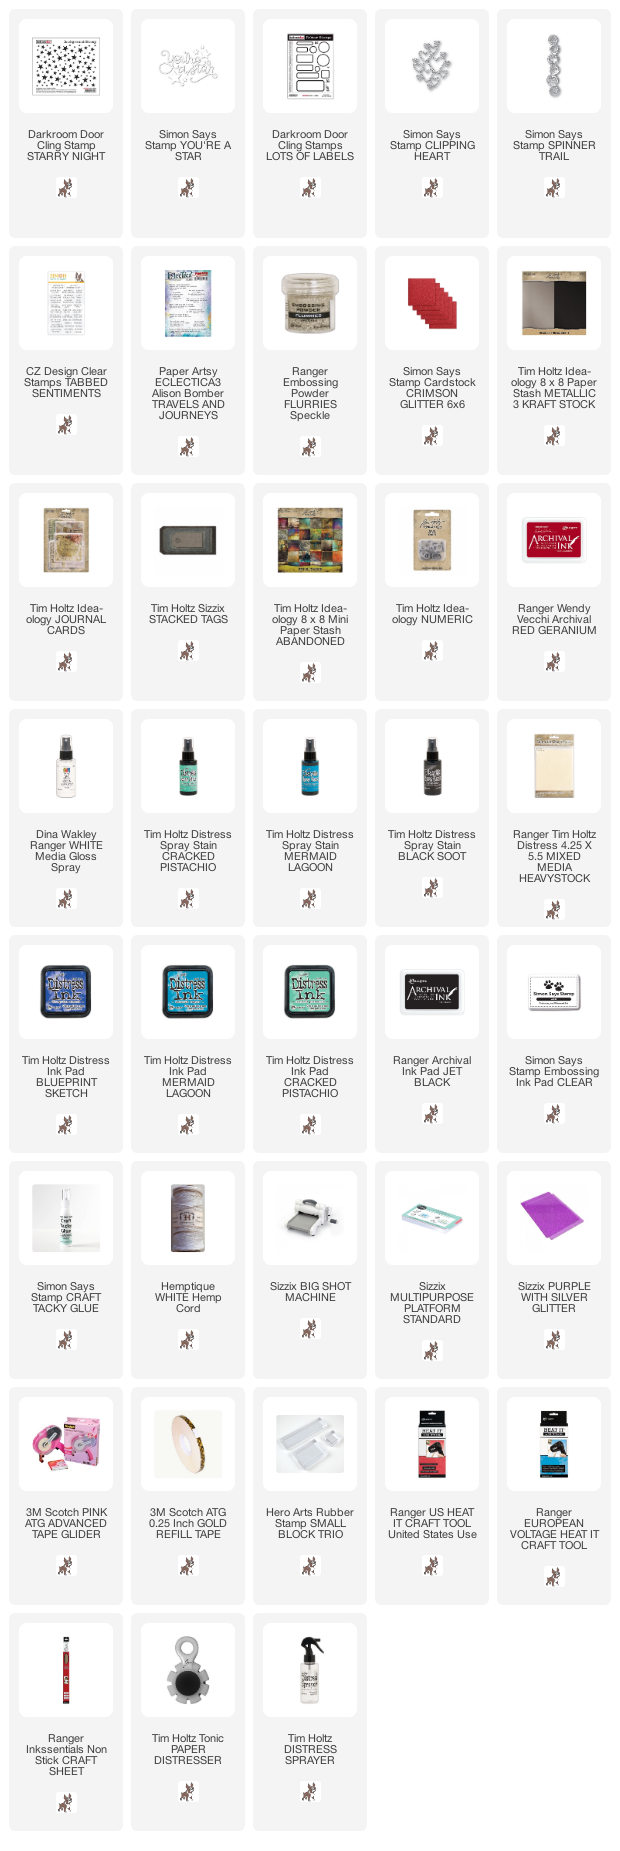
Supplies:

* Please note: the links are affiliate links, for which I receive a small percentage of sales generated by the link, at no extra cost to you.