Tuesday, July 29, 2025

Floral Art Journal Page

Hello friends! Today I have an art journal page to share, with a summertime field of flowers. You can also turn it into a card instead.

Please note: this post has affiliate links, for which I receive a small percentage of sales generated by the link, at no extra cost to you.

Layers of ink - Floral Art Journal Page Tutorial by Anna-Karin Evaldsson.

On one of my walks there is a gorgeous field of wildflowers and that field inspired this page. I wanted flowers in bright colors and with the addition of long grass. The page was done in my Stamperia Happiness Mixed Media Journal 8.5x4 in.

Stamp with Distress Ink and an acrylic block.

The background was done by smearing Distress Ink on an acrylic block, misting it with water and stamping on the background. Repeat for the lower half, leaving a thin white line.

Stamp flowers with Distress Ink.

When the background was dry, I stamped the page with various Tim Holtz Wildflowers and Mini Bouquet stamps. Ink with several Distress Inks, mist with water and stamp. Simon Says Stamp has recently released coordinating dies for both these stamp sets: Mini Bouquet and Wildflowers. You don't need them for this project, but they are great if you want to cut out these images.


Next, I added grass with the grass stamp from Tim's Spring Sprung set.

Stamp sentiments and Simon Says Stamp Crackle Background.

I used Simon Says Stamp Crackle Background to add a little texture to the page, focusing on the bottom area, where the soil would be.

White emboss flowers.

I thought the page needed another layer and a bit more white and white embossed some of the flowers, placing them lower on the page.


The main sentiment comes from Tim's Perspective set. I also used Small Talk and Clippings Stickers.


The inks will blend on the stamp and on the page. 


Using embossing powder is often a good idea if you want to add an element on top of an already busy background.


Some white embossing powder got stuck on the crackles, which added a nice effect. I initially stamped the sentiment from Curiosity Shop on the background, but it was hard to read, so I restamped it on watercolor paper and cut out.


Thank you for visiting! 

Happy crafting!

Anna-Karin

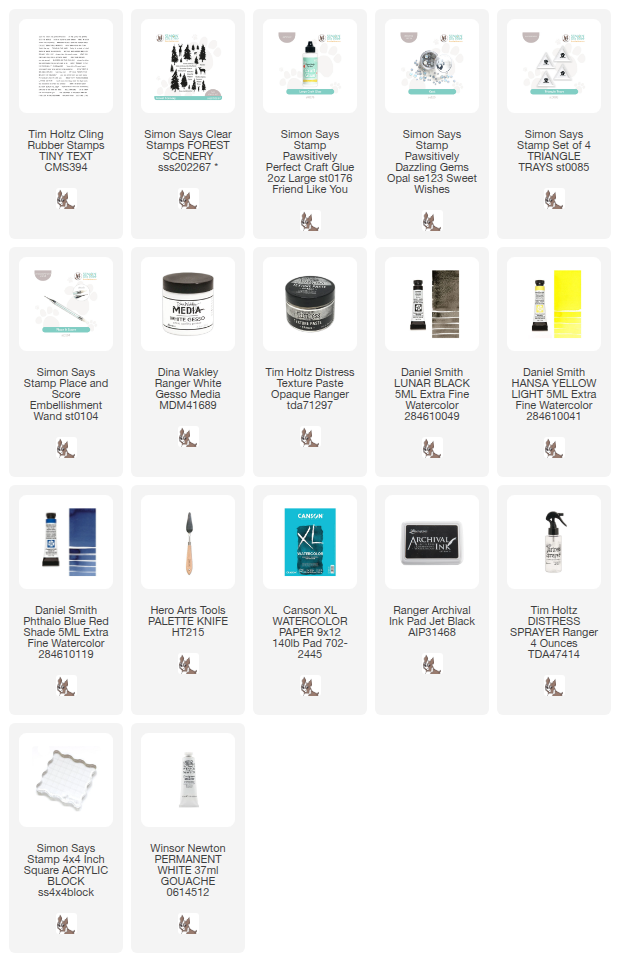
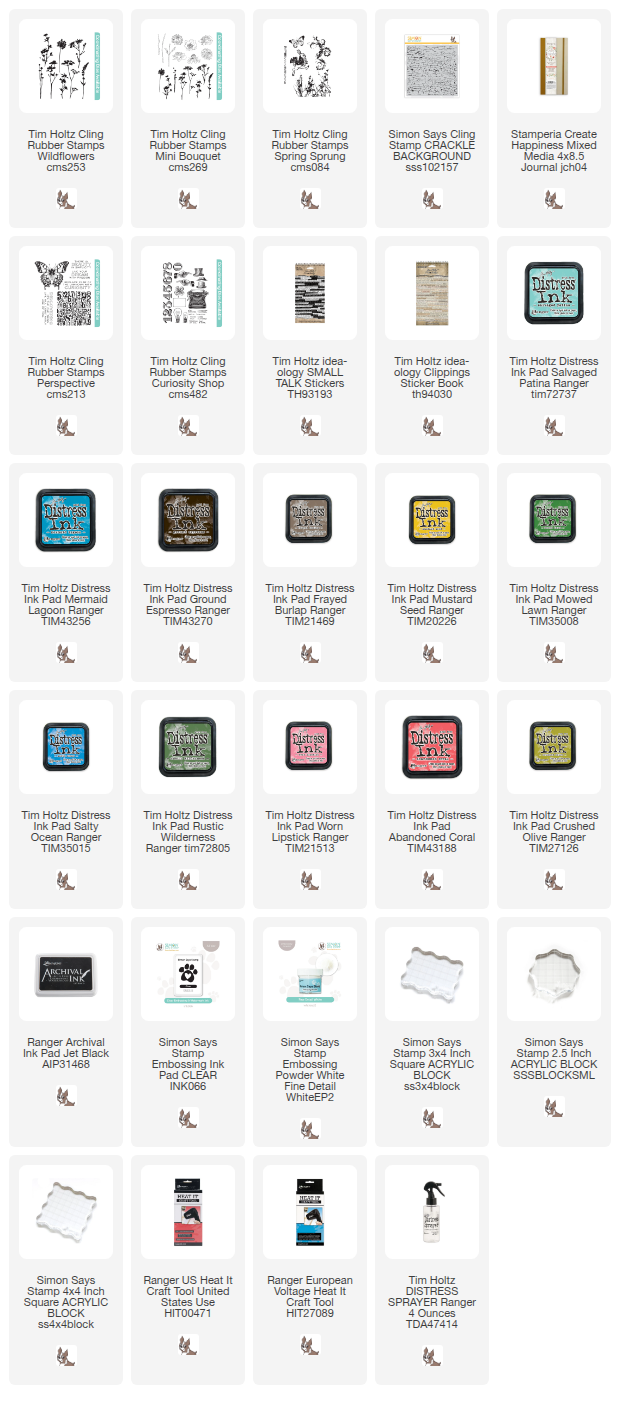
Supplies:

* Please note: the links are affiliate links, for which I receive a small percentage of sales generated by the link, at no extra cost to you.



Monday, July 28, 2025

Mixed Media Sea Tag

Hi crafters! It is Monday again! Time flies way too quickly during summer.

Please note: this post has affiliate links, for which I receive a small percentage of sales generated by the link, at no extra cost to you.

Summertime Blues is our theme this week at the Simon Says Stamp Monday Challenge Blog. I hope you will join us! Don't miss the last project by our July guest designer Thom Santilla.

Layers of ink - Mixed Media Sea Tag Tutorial by Anna-Karin Evaldsson.

I made a mixed media seaside tag using gesso, texture paste and watercolor paint, which is always a fun combination. There is a little boat on the sea going out on an adventure. 

Coat with gesso and texture paste.

Start by applying gesso to the tag, making marks with a palette knife. When dry, use texture paste to create the sea. 

Paint with watercolor paint.

Watercolor paint gives interesting effects on both gesso and texture paste. The paste is more absorbent. Mix paint, but don't use too much water. Start by painting the sky. Let the paints flow into each other. You can dab some paint off with a paper towel. Make the sky lighter towards the horizon. Then paint the sea. I used Daniel Smith watercolor paint. 

Wipe some paint off.

When dry, wipe some paint off with an almost dry paper towel, to increase the texture.

Splatter with gesso.


The birds were stamped with Hero Arts Sunset Over Waves.

Stamp sentiments with Simon Says Stamp Tiny Text.

Sentiments were stamped with Tim Holtz Tiny Text on the margins of the same old book paper used for the boat. Cut into strips. 


Watercolor on gesso creates very interesting textures, especially if you leave marks in the gesso.

Make a ship with old book paper.

The boat was made with old book paper, a black pen and a piece of left-over inky paper. I stamped 'summer' with Simon Says Stamp Forest Scenery.


Tie the tag with cheese cloth, twine and organza ribbon.

Layers of ink - Mixed Media Sea Tag Tutorial by Anna-Karin Evaldsson.


Join us this week in our Summertime Blues challenge! You have a chance to win a $25 gift voucher to do some fun shopping at Simon Says Stamp. You have until Monday 8am Ohio time. 1pm UK time, 2 pm CET to join in.


Do you use Instagram? If so please add #sssmchallenge so we can see your entries there too.


Thank you so much for visiting today! 

Happy crafting!

Anna-Karin

Supplies:

* Please note: the links are affiliate links, for which I receive a small percentage of sales generated by the link, at no extra cost to you.


Saturday, July 26, 2025

Watercolor Pencils Vintage Tag

Hello friends! I hope you are well! Today I have a vintage tag to share colored, with a combination of Distress Watercolor Pencils and Ink.

Please note: this post has affiliate links, for which I receive a small percentage of sales generated by the link, at no extra cost to you.

Layers of ink - Watercolor Crayon Vintage Tag by Anna-Karin Evaldsson.

I wanted to use this sweet collage stamp from Tim Holtz The Girls stamp set, together with some sentiments, gems and pretty ribbons.

Stamp Tim Holtz The Girls on a tag.

Start by stamping the image from The Girls on a heavystock tag, using Jet Black Archival Ink.

Color with Distress Watercolor Crayons.

Color the image with Distress Watercolor Pencils. Dip the pencil in water and pick up the pigment with a paint brush.

Ink with Distress Ink.

Ink with Distress Ink.


Stamp around the design with different grunge and texture stamps. Distress the edges and tie the tag with some pretty ribbons and twine. 

Add Simon Says Stamp Pawsitively Dazzling Gems.

I also splattered the tag with a dark pencil by flicking a paint brush against the tip of the pencil. The gems are Simon Says Stamp Pawsitively Dazzling Dusk and Bubblegum Gems.

Add Tim Holtz Clippings Stickers.

I added stamped sentiment and Clippings Stickers to the tag. 


I have found some of my old ribbons and fibers and it is fun to use them on projects.

Layers of ink - Watercolor Pencils Vintage Tag Tutorial by Anna-Karin Evaldsson.


I hope you enjoyed this post. Enjoy summer! Or winter, if you are in the southern hemisphere.


Thank you for visiting! 

Happy crafting!

Anna-Karin

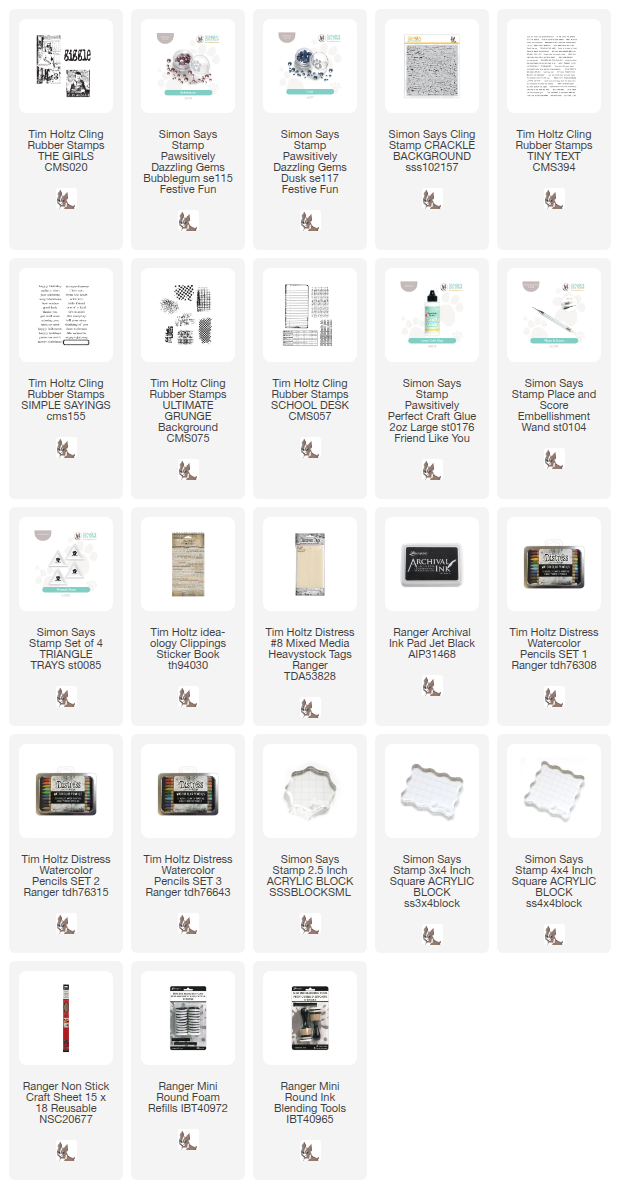
Supplies:

* Please note: the links are affiliate links, for which I receive a small percentage of sales generated by the link, at no extra cost to you.


Monday, July 21, 2025

Fresh Cut Floral Card

Hi friends! I hope you are enjoying summer (or winter if you are in the southern hemisphere). 

Please note: this post has affiliate links, for which I receive a small percentage of sales generated by the link, at no extra cost to you.

It is Monday and we have a new Simon Says Stamp Monday Challenge. This week our theme is Make Your Own Background. I made my own backgrounds almost all the time, it is one of my favorite things to do. Don't miss the project by our July guest designer Thom Santilla.

Layers of ink - Fresh Cut Floral Card Tutorial by Anna-Karin Evaldsson.

I made a background with several layers: watercolor, stencil-stamping with mist, heat embossing and script stamping. It was paired with two bright flowers and stamped sentiments. 

Watercolor the background.

I started out with this piece of paper which had been watercolored for another project - my Blue Shark Card, which you can find here.

Mist stencil and stamp on the background.

Using Tim Holtz Latticework, I misted through it with Distress Spritz Peacock Feathers and Tumbled Glass and then some Distress Spray Stain Salty Ocean. Turn the stencil around and stamp it on the watercolored background.

Mist stencil and stamp on the project.

I was doing the previous step outdoors and got a surprise visit by a curious dog, making my stamped impression not exactly as planned. I continued by misting through Tim's Linen stencil using Antique Linen Distress Spritz.

Die cut Simon Says Stamp Fresh Cut Floral.

The Simon Says Stamp Fresh Cut Floral Stem was die cut from various backgrounds in my scrap pile, most of these had been inked with Distress Ink, some were watercolored.

Stamp Simon Says Stamp Outline Hearts.

I cut off the edges of the background and then white embossed Simon Says Stamp Outline Hearts on the sky part.

Stamp with Simon Says Stamp Old Letter.

Stamp in a few places with Simon Says Stamp Old Letter and black ink.


Shape the petals before gluing them to the background. I also added Simon Says Stamp Pawsitively Dazzling Dusk Gems.

Stamp sentiments with Simon Says Stamp Retro Hearts.

The sentiments come from Simon Says Stamp Retro Hearts and were stamped with black and Guava ink. I also added a piece of lace trim and organza ribbon.


The background had layers, depth and textures, without overwhelming the flowers.

Layers of ink - Fresh Cut Floral Card Tutorial by Anna-Karin Evaldsson.

Join us this week in our Make Your Own Background challenge! You have a chance to win a $25 gift voucher to do some fun shopping at Simon Says Stamp. You have until Monday 8am Ohio time. 1pm UK time, 2 pm CET to join in.


Do you use Instagram? If so please add #sssmchallenge so we can see your entries there too.


Thank you so much for visiting today! 

Happy crafting!

Anna-Karin

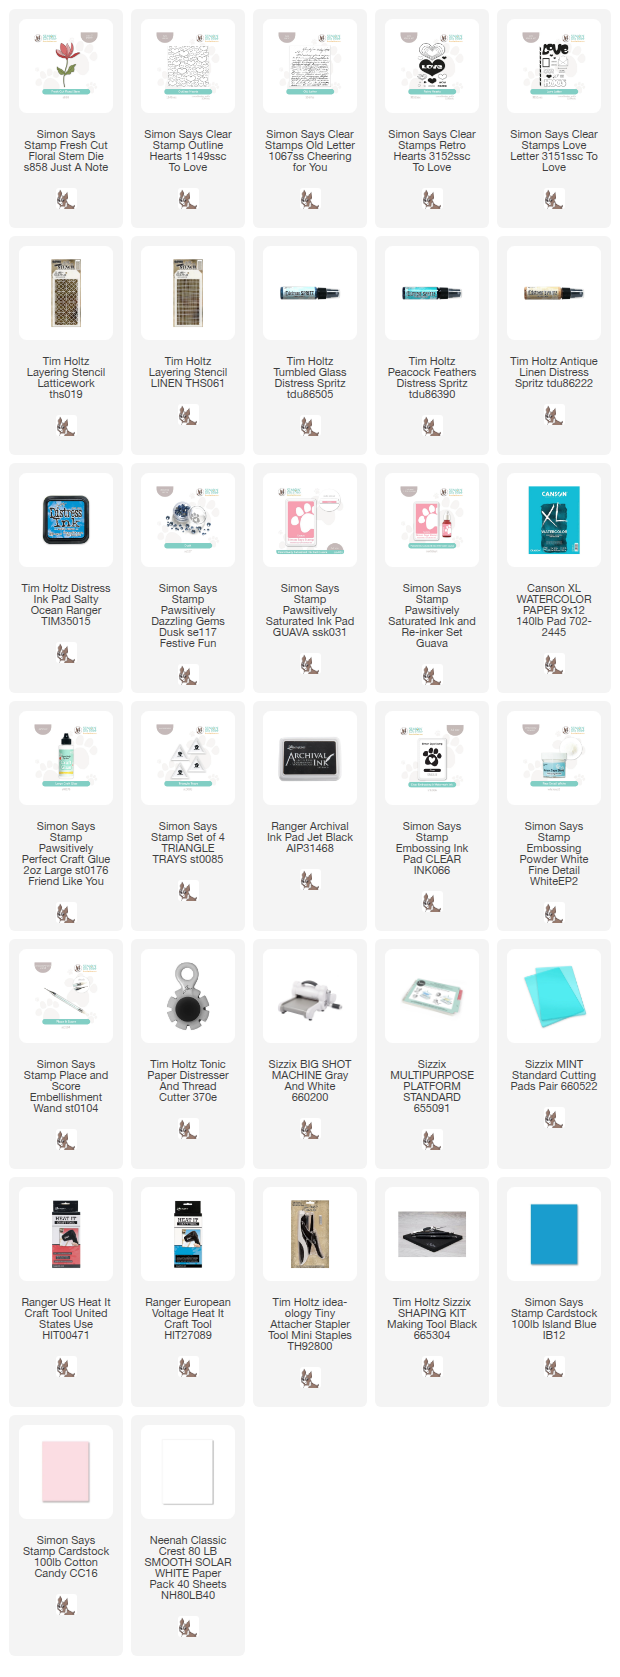
Supplies:

* Please note: the links are affiliate links, for which I receive a small percentage of sales generated by the link, at no extra cost to you.