Monday, June 16, 2025

Pastel Butterfly Journal Page

Hello crafters! Summer seems to have arrived here, with warm and sunny weather this weekend. 

Please note: this post has affiliate links, for which I receive a small percentage of sales generated by the link, at no extra cost to you.


This week we have a Spritz and/or Splatter theme at the Simon Says Stamp Monday Challenge Blog. I hope you will join us! Get messy! Don't miss the lovely project by our June guest designer Wanda Hentges.

Layers of ink - Pastel Butterfly Journal Page Tutorial by Anna-Karin Evaldsson.

I made an art journal page with summery, pastel colors, butterflies, Distress Paint, texture, paste and spray mists. The butterflies were misted with Distress Spray Stain and Distress Spritz. I also added some Spritz to the background. I worked in my Dylusions Small Creative Journal.

Paint with Distress Paint.

Start by applying gesso to the background. I had left-over paint from another project (coming later this week). Mist with water to blend.

Add texture paste through stencil.

Stamp three sentiments with Tim Holtz stamps and then apply texture paste through Tim's Harlequin stencil. I used Simon Says Stamp Very Very Low Tack tape to protect the background from the paste.

Stamp with Simon Says Stamp Old Letter.

Stamp here and there with Simon Says Stamp Old Letter.

Add Stickles.

Apply Orange Slice Stickles with a palette knife through the stencil.

Die cut Simon Says Stamp Stylized Butterfly.

Die cut Simon Says Stamp Stylized Butterfly from watercolor paper.

Spray with Distress Spritz.

Mist the butterflies. I used Mermaid Lagoon Distress Spray Stain, Saltwater Taffy, Peacock Feathers and Walnut Stain Distress Spritz. (I forgot to include the Peacock Feathers spritz in the photo). 


Mist a little Saltwater Taffy on the background too.


I also stamped butterflies using Simon Says Stamp Mandala Blossoms and Mother's Day sets. This sentiment comes from Tim's Perspective set.

Glimmery butterfly.

The butterflies are more shimmery than what you can see on the photos. 


Originally, I planned for the harlequin pattern to be white, but they disappeared a bit on the page, which is why I added the Stickles.


This butterfly covers a bit of the main sentiment. I stamped the sentiment before deciding which butterflies to use. The main sentiment comes from Tim's Warehouse District. 

Join us this week in our Spritz and/or Splatter challenge! You have a chance to win a $25 gift voucher to do some fun shopping at Simon Says Stamp. You have until Monday 8am Ohio time. 1pm UK time, 2 pm CET to join in.


Do you use Instagram? If so please add #sssmchallenge so we can see your entries there too.


Thank you so much for visiting today! 

Happy crafting!

Anna-Karin

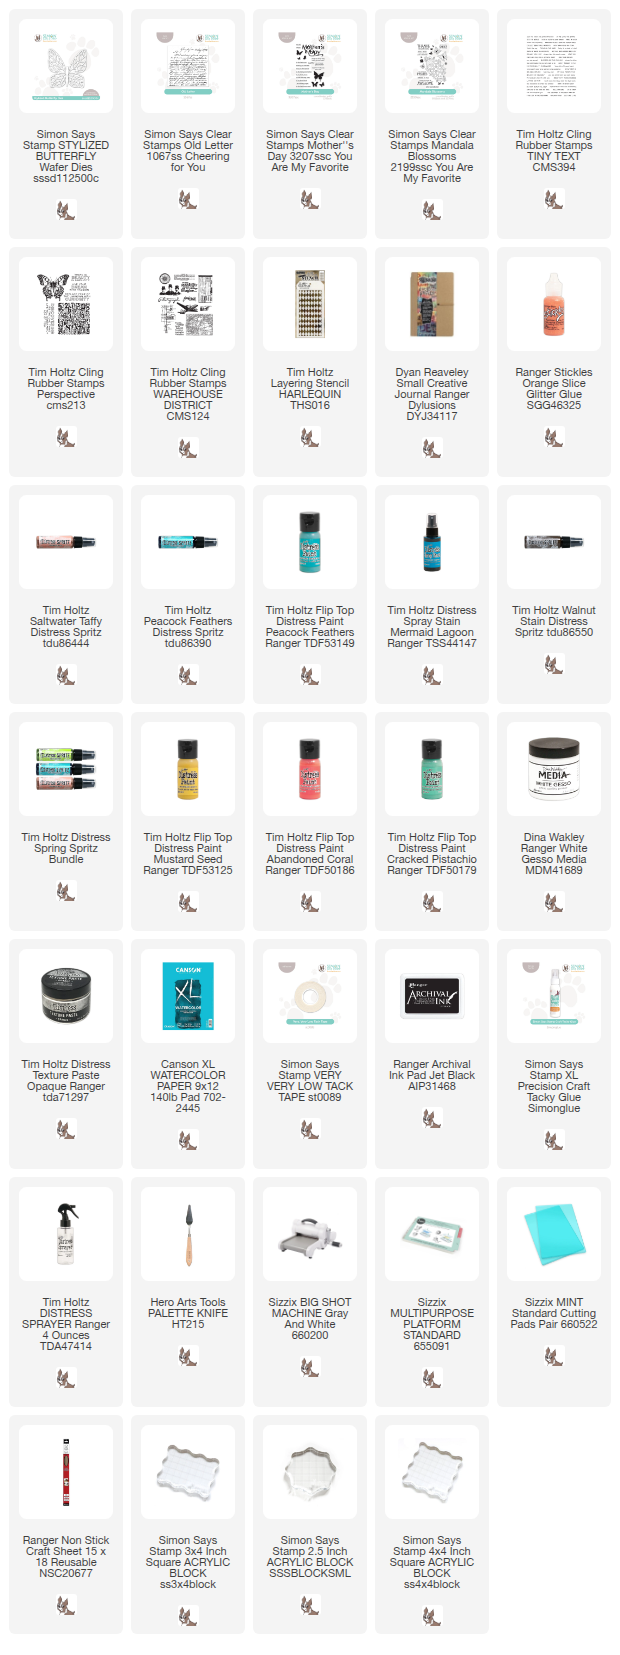
Supplies:

* Please note: the links are affiliate links, for which I receive a small percentage of sales generated by the link, at no extra cost to you.


Monday, June 9, 2025

Yellow Floral Tag

Hi friends! I hope you are well and had a good weekend! Today I have a tag to share with lots and lots of sunny yellow. 

Please note: this post has affiliate links, for which I receive a small percentage of sales generated by the link, at no extra cost to you.


This week we have a Monochrome theme at the Simon Says Stamp Monday Challenge Blog. I hope you will join us! Monochrome is a lot of fun! Don't miss the lovely project by our June guest designer Wanda Hentges.

Layers of ink - Yellow Floral Tag Tutorial by Anna-Karin Evaldsson.

I was inspired by the sun and used shades of yellow as my color, with just a little bit of brown. An almost entirely yellow project is always joyful. The background is both dry and heat embossed and I created dimensional flowers from different papers and shades of yellow. 

Emboss with Tim Holtz Sizzix Vault Flourish.

Start by dry embossing a tag in Tim Holtz new Vault Flourish ML folder. ML stands for multi-level. I applied embossing ink to some of the embossed parts and sprinkled with white embossing powder. The goal is not a perfect look, but a messy, shabby chic look. 

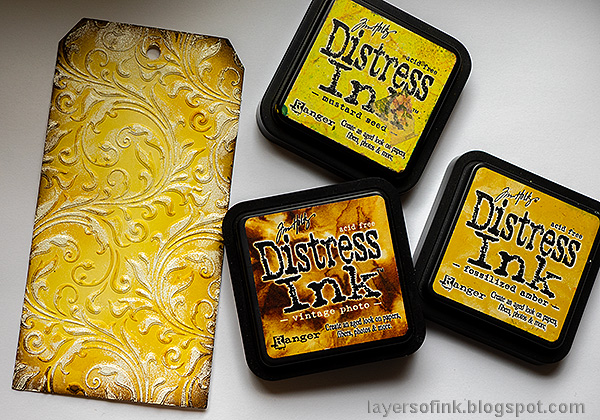
Ink with distress ink.

Ink the tag with Distress Ink. The white embossing will resist the ink.

Ink with Mustard Seed Distress Oxide ink.

Smear Mustard Seed Distress Oxide on a non-stick craft sheet and mist with water. Press the tag lightly into the ink.

Die cut Tim Holtz Rustic Layering Flower.

Die cut flowers using Simon Says Stamp Rustic Layering Flower and Morning Blossom. I used inky or watercolored paper in various shades of yellow, as well as Simon Says Stamp Ice Vellum.

Die cut Simon Says Stamp Poised Primula.

I also die cut some Simon Says Stamp Poised Primula flowers, from left-over inky paper and from Simon Says Stamp Color-Blend paper. The Color-Blend paper is glossy.

Shape the flowers.

Shape the flowers with Tim Holtz Shaping Kit.

Assemble the flowers.

Assemble the flowers and shape the small flowers too.


I wasn't careful at all when applying the embossing ink, since this is the look I was aiming for. 


The sentiments were stamped with Simon Says Stamp Create set and die cut with the coordinating dies.


I added Simon Says Stamp Pawsitively Dazzling Sunbeam Gems to the small flower centers and Prism Gems to the larger flowers.

Dimensional paper flowers.

The Ice Vellum has a really cool sparkly look. 

Double embossed background.

I glued cheese cloth under the flowers.


The Poised Primula flowers are so cute and such a great size. 


Here, you can better see that the yellow small flowers are glossy. Mixing different surfaces adds interest.


Join us this week in our Monochrome challenge! You have a chance to win a $25 gift voucher to do some fun shopping at Simon Says Stamp. You have until Monday 8am Ohio time. 1pm UK time, 2 pm CET to join in.


Do you use Instagram? If so please add #sssmchallenge so we can see your entries there too.


Thank you so much for visiting today! 

Happy crafting!

Anna-Karin

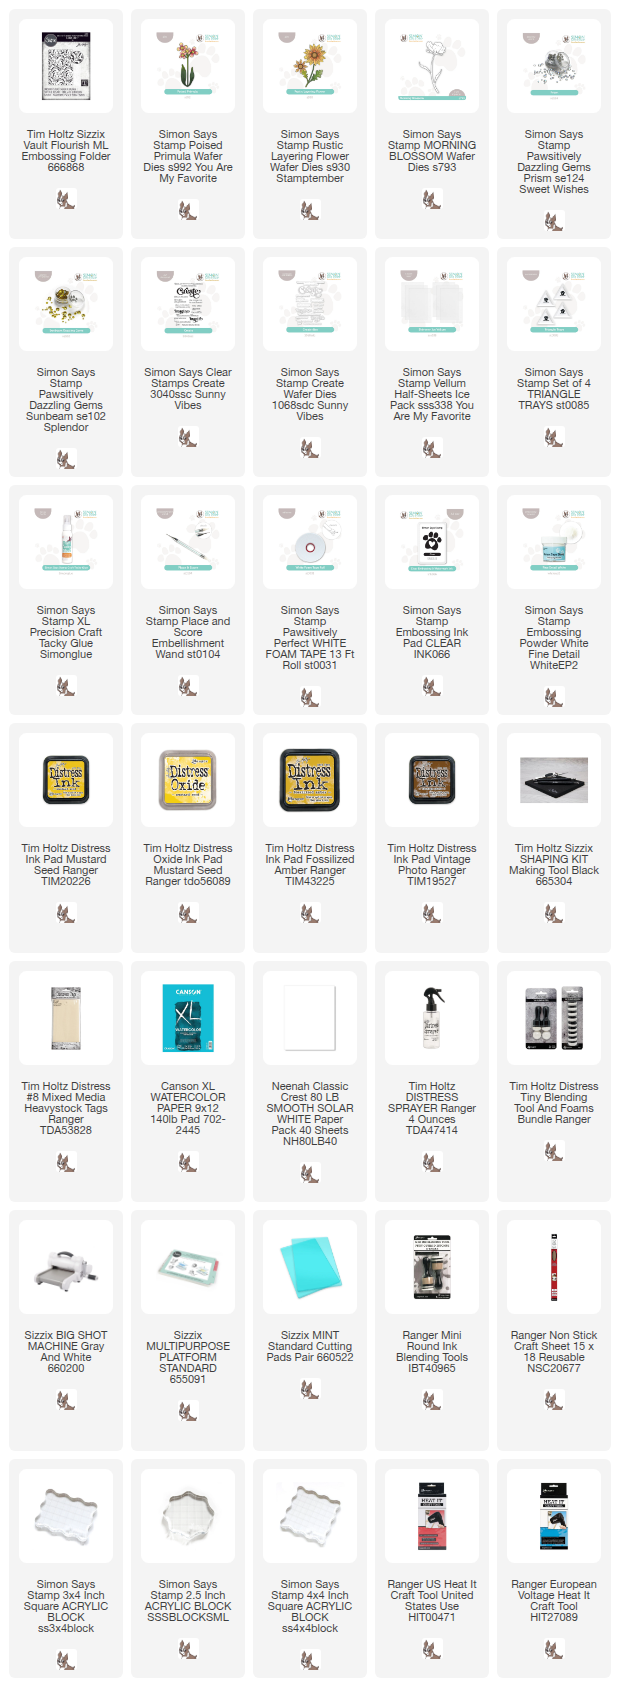
Supplies:

* Please note: the links are affiliate links, for which I receive a small percentage of sales generated by the link, at no extra cost to you.


Monday, June 2, 2025

Umbrella Man Tag

Hello crafters! We finally had some warmer weather here and I enjoyed a long walk in the city center yesterday. Can you believe that it is already June?

Please note: this post has affiliate links, for which I receive a small percentage of sales generated by the link, at no extra cost to you.


This week we have a Masculine theme at the Simon Says Stamp Monday Challenge Blog. I hope you will join us! Since it is the first Monday of a new month, the team is showcasing products by a specific designer/company and this week it is Tim Holtz. You can find Tim Holtz fantastic range of products here. 

We also have a new guest designer joining us and during June Wanda Hentges will design with us. Don't miss her gorgeous project.

Layers of ink - Umbrella Man Tag tutorial by Anna-Karin Evaldsson.

I made a tag this week, using the umbrella man from Tim Holtz Creative Muse as my focal point. I thought it was a fun idea to let him hold the umbrella over the main sentiment. The main sentiment and a part at the top left are highlighted by using bright yellow Distress Ink there, while the rest of the tag is blue and turquoise. 

Stamp man from Tim Holtz Creative Muse.

Stamp the umbrella man from Tim Holtz Creative Muse on a heavystock tag.

Stamp sentiment and a script stamp.

White emboss the text stamp from Life Adventure here and there. I stamped the sentiment from Urban Chic under the umbrella.

Ink with Distress Ink.

Ink the tag with Distress Ink. Start with Mustard Seed and then continue with the blue and brown shades. 

Stamp with Simon Says Stamp Ledger Background.

Stamp Simon Says Stamp Ledger Background in three places and then stamp sentiments from Tim Holtz Curiosity Shop there.

Add Simon Says Stamp Pawsitively Dazzling Gunmetal Gems.

I added Simon Says Stamp Pawsitively Dazzling Gunmetal Gems to the background too. The script stamp has postage addresses from South Africa, making it extra special for me. 

Die cut from Tim Holtz Vault World Travel.


The sentiments don't fit perfectly on the stamped lines, but almost.

Stamp sentiment from Tim Holtz Urban Chic.

I also stamped the diamond shape from Tim's Mini Muse here and there with Uncharted Mariner Distress Ink.

 
The number and arrows also come from Vault World Travel and were die cut from kraft core paper and from Tim's Silver metallic kraft core. The sentiment from Tiny Text was stamped on the margin of an old book page.

Join us this week in our Masculine challenge! You have a chance to win a $25 gift voucher to do some fun shopping at Simon Says Stamp. You have until Monday 8am Ohio time. 1pm UK time, 2 pm CET to join in.


Do you use Instagram? If so please add #sssmchallenge so we can see your entries there too.


Thank you so much for visiting today! 

Happy crafting!

Anna-Karin

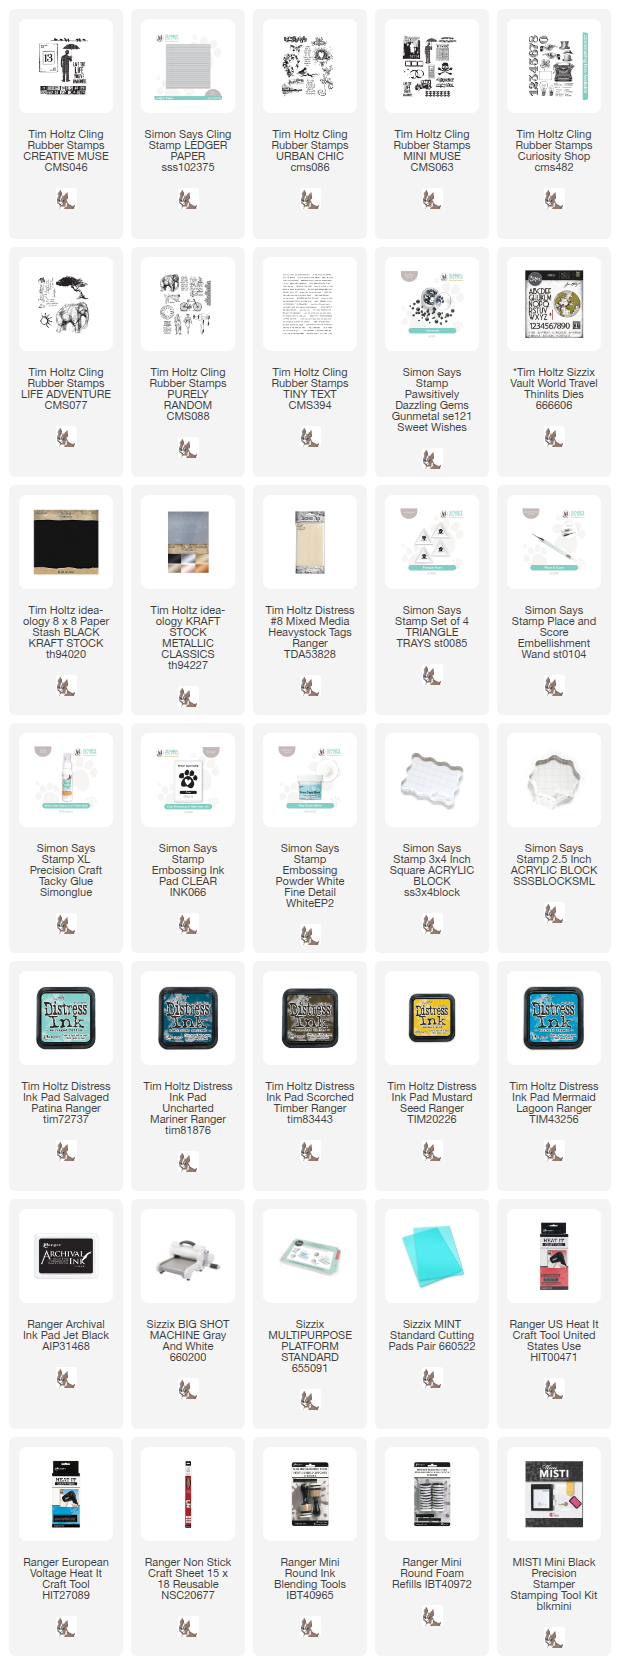
Supplies:

* Please note: the links are affiliate links, for which I receive a small percentage of sales generated by the link, at no extra cost to you.