Wednesday, July 17, 2024

Blue flowers in colored pencil

Hi friends! Today I have a card to share with a technique using colored pencils on patterned paper.

 Please note: this post has affiliate links, for which I receive a small percentage of sales generated by the link, at no extra cost to you.

Layers of ink - Blue flowers in colored pencil tutorial by Anna-Karin Evaldsson.

I used the new Simon Says Stamp Floral Trims dies which coordinate with Tim Holtz Floral Trims stamp set, making it very easy to cut out the design in one step instead of having to fussy cut the whole design with scissors. It also made it possible to die cut a shadow for the design and add dimension to the card. The dies are from the Sunny Vibes release.

Layers of ink - Blue flowers in colored pencil tutorial by Anna-Karin Evaldsson. Stamp Tim Holtz floral trim on patterned paper.

Start by stamping one of the the Floral Trims stamps on Tim's Backdrops Vol. 5 paper. Stamp the flower which has an additional die an extra time.

Layers of ink - Blue flowers in colored pencil tutorial by Anna-Karin Evaldsson. Color with Prismacolor pencils.

Color with colored pencils. I used Prismacolors. Use the white pencil to bland the colors.

Layers of ink - Blue flowers in colored pencil tutorial by Anna-Karin Evaldsson. Add details with a white and a black pen.

Die cut with the coordinating Simon Says Stamp Floral Trims dies. Add details and highlights with a white gel pen and a black pen.

Layers of ink - Blue flowers in colored pencil tutorial by Anna-Karin Evaldsson. Shape the flowers.


Layers of ink - Blue flowers in colored pencil tutorial by Anna-Karin Evaldsson. Adhere with foam  tape.

Place Simon Says Stamp Pawsitively Perfect Foam tape strategically under the flowers. Die cut the design one more time from black paper to use as a shadow. I also added two layers of foam tape under the lose flower. 

Layers of ink - Blue flowers in colored pencil tutorial by Anna-Karin Evaldsson. Ink through stencil.

Ink a piece of heavstock cardstock with Antique Linen and Frayed Burlap. Then ink through Tim's Deco Leaf stencil with Frayed Burlap and a little Scorched Timber.

Layers of ink - Blue flowers in colored pencil tutorial by Anna-Karin Evaldsson.

The black shadow die cut needs to be off-set a little. It might be hard to see, but the two layers of foam tape under the single die cut flower makes it stand out well from the rest of the design.

Layers of ink - Blue flowers in colored pencil tutorial by Anna-Karin Evaldsson.

The panel was matted on two shades of Simon Says Stamp blue cardstock and a folded piece of black cardstock.

Layers of ink - Blue flowers in colored pencil tutorial by Anna-Karin Evaldsson.

The title was die cut with Simon Says Stamp Scripty Hello from the same two blue papers used for the mat. Add a black die cut too and adhere with foam tape. The sticker comes from Tim's Small Talk set.

Layers of ink - Blue flowers in colored pencil tutorial by Anna-Karin Evaldsson.

The patterned paper will give a slight tint to the colored pencil and will also to some extent show through, adding texture and interest.

Layers of ink - Blue flowers in colored pencil tutorial by Anna-Karin Evaldsson.

I hope you enjoyed this tutorial.


Don't miss the new Sunny Vibes release.

Thank you so much for stopping by here today! 


Anna-Karin

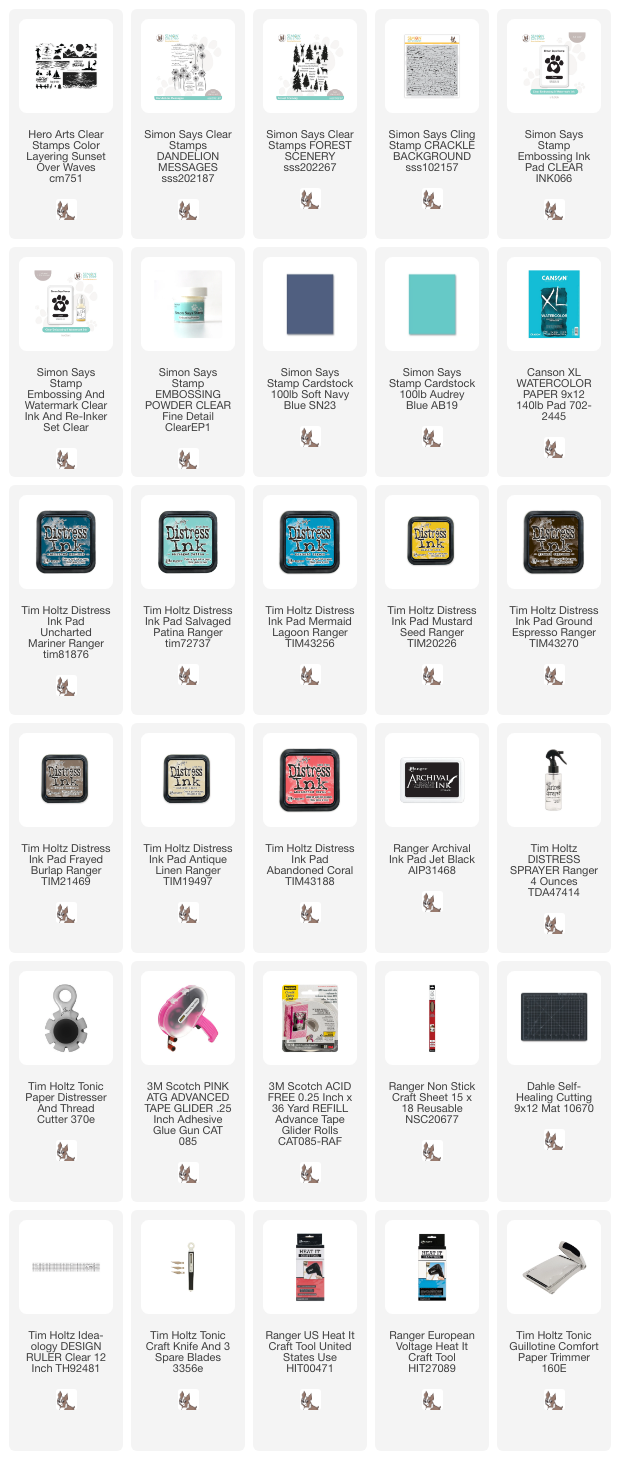
Supplies:

* Please note: the links are affiliate links, for which I receive a small percentage of sales generated by the link, at no extra cost to you.

Monday, July 15, 2024

Shabby Chic Scrap Card

Hello stampers! I hope you are well and that you are enjoying summer (or winter if you are in the southern hemisphere). 

Please note: this post has affiliate links, for which I receive a small percentage of sales generated by the link, at no extra cost to you.


This week we have a Lots of Layers theme at the Simon Says Stamp Monday Challenge Blog. Layers are always fun! Don't miss the beautiful project by our July guest designer Laura Cassina. 

Layers of ink - Shabby Chic Scrap Card by Anna-Karin Evaldsson.

I made a sweet little shabby chic card with lots of layers. It was made almost entirely with bits and pieces from my scrap piles or that I found on my desk. It's a lot of fun to make these types of projects and see what you can make by combining various small leftovers. I also like how these projects holds a bit of all those other projects in them.

Layers of ink - Shabby Chic Scrap Card by Anna-Karin Evaldsson. Collect scraps.

Start by collecting odds and ends. I added a few additional things after taking this photo. There is an inky piece of watercolor paper that didn't work for another project, old book paper, leftover die cuts, dyed cheesecloth, a torn piece of embossed vellum, old buttons, a leftover sentiment strip and a strip of gold glitter cardstock.

Layers of ink - Shabby Chic Scrap Card by Anna-Karin Evaldsson.

The cardbase and kraft paper were also found in a scrap box. I distressed all the edges and stitched the inky paper to the kraft paper and folded cardstock. I also tucked in some pearls here and there, adding one more layer.

Layers of ink - Shabby Chic Scrap Card by Anna-Karin Evaldsson. Add sentiment.

The sentiment is a mix of two leftovers, die cut with Simon Says Stamp Scripty Hello. The frames had been die cut with Simon Says Stamp Thin Frames. I also added a thin strip of paper stamped with Simon Says Stamp Old Letter, leftover from a notebook that I made. 

Layers of ink - Shabby Chic Scrap card

Tuck the buttons underneath some of the other layers to increase the dimension and the layering effect.

Layers of ink - Shabby Chic Scrap Card by Anna-Karin Evaldsson.

The vellum had been embossed in Simon Says Stamp Soft Snowfall embossing folder. The leaves are die cut from glossy cardstock which was first white embossed with Simon Says Stamp Old Letter and then inked with various Pawsitively Saturated inks. They were die cut with Simon Says Stamp Tattered Leaves and Budding Branches.

Join us this week in our Lots of Layers challenge! You have a chance to win a $25 gift voucher to do some fun shopping at Simon Says Stamp. You have until Monday 8am Ohio time. 1pm UK time, 2 pm CET to join in.


Do you use Instagram? If so please add #sssmchallenge so we can see your entries there too.


Thank you so much for stopping by here today! 

Happy crafting!

Anna-Karin

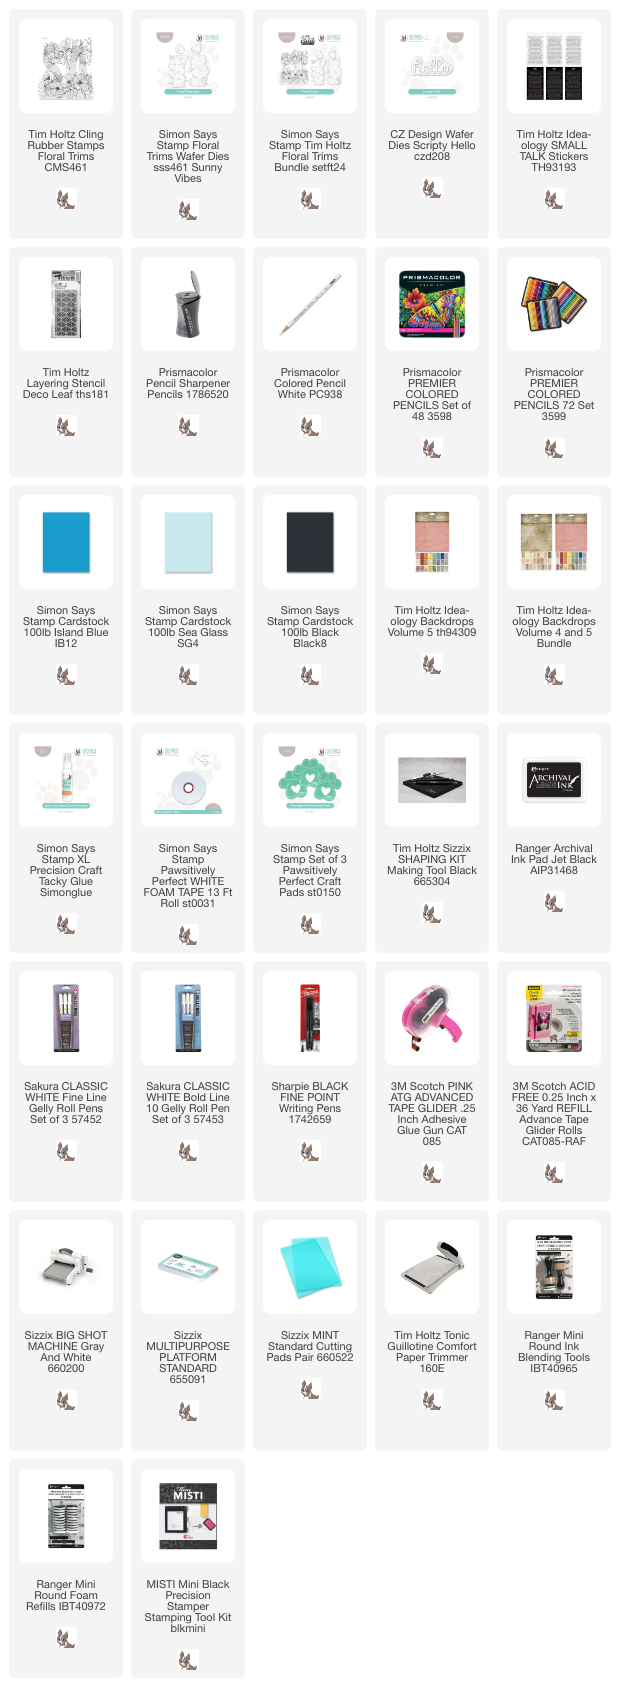
Supplies:

* Please note: the links are affiliate links, for which I receive a small percentage of sales generated by the link, at no extra cost to you.


Monday, July 8, 2024

Stamped Beach Card

 Hi friends! It is Monday again and I hope you had a good weekend!

Please note: this post has affiliate links, for which I receive a small percentage of sales generated by the link, at no extra cost to you.


This week we have a Summer Fun! theme at the Simon Says Stamp Monday Challenge Blog. I hope you will join us! Don't miss the beautiful project by our guest designer Laura Cassina. 

Layers of ink - Stamped Beach Card Tutorial by Anna-Karin Evaldsson.

I made a summery beach card with bright and happy colors. The card was mainly made with Hero Arts Color Layering Sunset over Waves stamp set and watercolor stamped with Distress Ink. 

Layers of ink - Stamped Beach Card Tutorial by Anna-Karin Evaldsson. Stamp with Hero Arts Sunset Over Waves.

Ink the cloud bank and the sun with Mustard Seed and Abandoned Coral. Mist the stamp with water before stamping. Let dry.

Layers of ink - Stamped Beach Card Tutorial by Anna-Karin Evaldsson. Clear emboss.

Restamp both images with Simon Says Stamp Clear Embossing Ink and emboss with clear powder. This step will protect the stamping from the next layers. Also clear emboss some ripples in the sea.

Layers of ink - Stamped Beach Card Tutorial by Anna-Karin Evaldsson. Stamp wit Distress Ink.

Stamp the sea with Mermaid Lagoon towards the back and Salvaged Patina towards the front. Mist with water before stamping.

Layers of ink - Stamped Beach Card Tutorial by Anna-Karin Evaldsson.

Stamp the sky by applying ink to an acrylic block and misting it heavily with water. stamp with the block.

Layers of ink - Stamped Beach Card Tutorial by Anna-Karin Evaldsson.

Repeat the shades of the sun and clouds in the sea.

Layers of ink - Stamped Beach Card Tutorial by Anna-Karin Evaldsson.

Stamp more ripples with Uncharted Mariner towards the back and Mermaid Lagoon towards the front.

Layers of ink - Stamped Beach Card Tutorial by Anna-Karin Evaldsson.

When dry, stamp the beach using the acrylic block. Add some white to the sea and to the clouds with a white paint pen. Add a little Unchartered Mariner to the upper part of the sky.

Layers of ink - Stamped Beach Card Tutorial by Anna-Karin Evaldsson.

Stamp the birds, the child and the sentiments with black ink. The birds and the silhouette of the child also comes from Hero Arts Sunset over waves.

Layers of ink - Stamped Beach Card Tutorial by Anna-Karin Evaldsson. Stamp with Simon Says Stamp Crackle Background.

I added texture to the sand with Simon Says Stamp Crackle Background.

Layers of ink - Stamped Beach Card Tutorial by Anna-Karin Evaldsson.

I also stamped 'summer' with Simon Says Stamp Forest Scenery. Distress the edges of the watercolor panel.

Layers of ink - Stamped Beach Card Tutorial by Anna-Karin Evaldsson.

Here you can see the ripples caused by the clear embossing better.

Layers of ink - Stamped Beach Card Tutorial by Anna-Karin Evaldsson.

Scribble a shadow for the child and castle.

Layers of ink - Stamped Beach Card Tutorial by Anna-Karin Evaldsson.

This sentiment comes from Simon Says Stamp Dandelion Messages.

Join us this week in our Summer Fun challenge! You have a chance to win a $25 gift voucher to do some fun shopping at Simon Says Stamp. You have until Monday 8am Ohio time. 1pm UK time, 2 pm CET to join in.


Do you use Instagram? If so please add #sssmchallenge so we can see your entries there too.


Thank you so much for stopping by here today! 

Happy crafting!

Anna-Karin

Supplies:

* Please note: the links are affiliate links, for which I receive a small percentage of sales generated by the link, at no extra cost to you.


Monday, July 1, 2024

Birds in Flight tag

Hi stampers! It is Monday again and I hope you had a good weekend. We got some much needed rain yesterday.

Please note: this post has affiliate links, for which I receive a small percentage of sales generated by the link, at no extra cost to you.


Our theme this week at the Simon Says Stamp Monday Challenge is Add Some Red/White and/or Blue. It is the first Monday of a new month and the team is showcasing products by a specific company/designer. This week it is AALL & Create. You can find their wonderful range of products here. You don't have to use their products to join, but it is fun if you do. 

We also have a new guest designer and during July Laura Cassina will be joining us. I hope you will check out the project that she has created for you.

Layers of ink - Birds in Flight tag tutorial by Anna-Karin Evaldsson.

I made a tag this with blue, red and white (and some brown and turquoise). I used the AALL & Create Wings of Glory stencil to create the background and added a bunch of sentiments to support the message.

Layers of ink - Birds in Flight tag tutorial by Anna-Karin Evaldsson. Ink with Distress Ink.

Start by inking a tag with Distress Ink.

Layers of ink - Birds in Flight tag tutorial by Anna-Karin Evaldsson.

Place the stencil on the background and ink the birds using Tiny Ink Blending tools.

Layers of ink - Birds in Flight tag tutorial by Anna-Karin Evaldsson. Stamp with Simon Says Stamp Stained Glass.

Stamp the sentiment from Tim Holtz Life Quotes and then stamp Simon Says Stamp Stained Glass with Frayed Burlap ink.

Layers of ink - Birds in Flight tag tutorial by Anna-Karin Evaldsson. Ink the edge brown.

Ink the edges.

Layers of ink - Birds in Flight tag tutorial by Anna-Karin Evaldsson. Add white dots to the birds.

Add highlights with a white gel pen.

Layers of ink - Birds in Flight tag tutorial by Anna-Karin Evaldsson. Add shading with colored pencils.

Add shading with colored pencils.

Layers of ink - Birds in Flight tag tutorial by Anna-Karin Evaldsson. Die cut the title with Tim Holtz Vault World Travel.

The title was die cut using Tim Holtz Vault World Travel set, from Simon Says Stamp Schoolhouse red cardstock and black glittery cardstock.

Layers of ink - Birds in Flight tag tutorial by Anna-Karin Evaldsson.

Sand the edges of Small Talk stickers and glue them to the tag.

Layers of ink - Birds in Flight tag tutorial by Anna-Karin Evaldsson.

Add white sequins here and there.

Layers of ink - Birds in Flight tag tutorial by Anna-Karin Evaldsson.

Off-set the letters a little so that the glitter cardstock forms a shadow.

Layers of ink - Birds in Flight tag tutorial by Anna-Karin Evaldsson.

Finish with a longer sentiment sticker at the bottom. All the sentiment stickers are lined up on the right-hand side.

Layers of ink - Birds in Flight tag tutorial by Anna-Karin Evaldsson.


Join us this week in our Add Some Red/White and/or Blue challenge! You have a chance to win a $25 gift voucher to do some fun shopping at Simon Says Stamp. You have until Monday 8am Ohio time. 1pm UK time, 2 pm CET to join in.


Do you use Instagram? If so please add #sssmchallenge so we can see your entries there too.


Thank you so much for stopping by here today! 

Happy crafting!

Anna-Karin

Supplies:

* Please note: the links are affiliate links, for which I receive a small percentage of sales generated by the link, at no extra cost to you.