Monday, February 12, 2024

Bird Nest Tag Tutorial

Hi stampers! We had a nice and quiet weekend here, lots of crafting and walking. My eldest baked a blueberry cheesecake which was delicious. 

Please note: this post has affiliate links, for which I receive a small percentage of sales generated by the link, at no extra cost to you.


This week we have a Tie it Up theme at the Simon Says Stamp Monday Challenge Blog. Use twine, fibers, ribbons and more. Don't miss the gorgeous project by our February guest designer Cassie Lynch.

Layers of ink - Bird Nest Tag Tutorial by Anna-Karin Evaldsson.

I used twine to make a circular frame / bird nest on this tag. I like the texture of twine and reach for it pretty often. A family of blue tits live in the nest. The mixed media background has a burlap texture created with paint, a stencil, paste and gold wax.

Layers of ink - Bird Nest Tag Tutorial by Anna-Karin Evaldsson. Paint the tag with acrylic paint.

Coat a tag with gesso and when dry, paint with Distress Paint. Mist with plenty of water. I used Antique Linen and a tiny bit of Frayed Burlap.

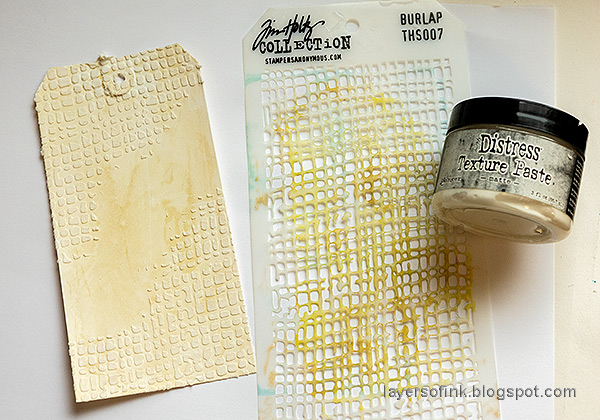
Layers of ink - Bird Nest Tag Tutorial by Anna-Karin Evaldsson. Add texture paste through stencil.


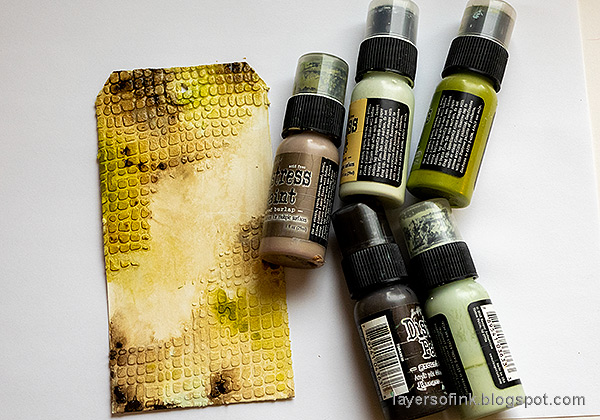
Layers of ink - Bird Nest Tag Tutorial by Anna-Karin Evaldsson. Paint with Distress Paint.

Paint with Distress Paint and mist with water.

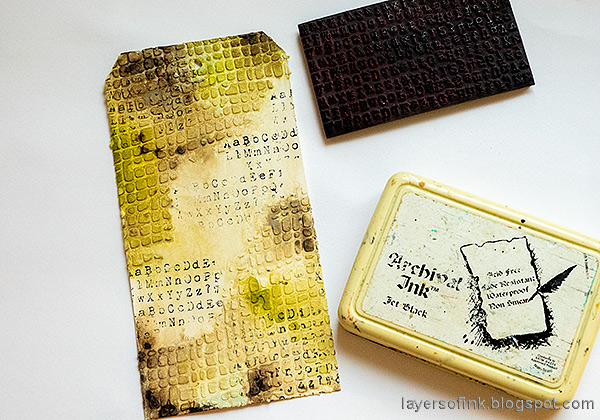
Layers of ink - Bird Nest Tag Tutorial by Anna-Karin Evaldsson. Stamp with Tim Holtz School Desk.

Stamp with the alphabet stamp from Tim Holtz School Desk. 

Layers of ink - Bird Nest Tag Tutorial by Anna-Karin Evaldsson. Apply Sizzix Gold Luster Wax.

Apply Sizzix Gold Luster Wax.

Layers of ink - Bird Nest Tag Tutorial by Anna-Karin Evaldsson. Make a bird nest from twine.

Make a circle with Simon Says Stamp craft glue and start winding twine around it. Add more glue as needed, but you want the twine to be a bit wild. Don't glue it down everywhere. I added a few staples here and there.

Layers of ink - Bird Nest Tag Tutorial by Anna-Karin Evaldsson.

Die cut Simon Says Stamp Standing Whirl Bird and Layered Bird Bunch from Ranger Heavystock paper.

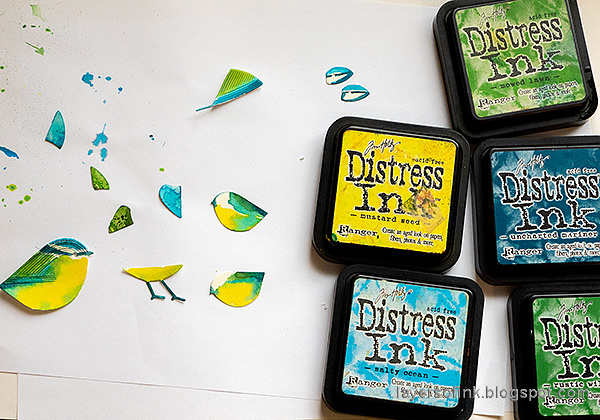
Layers of ink - Bird Nest Tag Tutorial by Anna-Karin Evaldsson. Paint the birds with Distress Ink.

Smear Distress Inks on a non-stick craft sheet. Mist with water and pick up with a paint brush. Watercolor the birds.

Layers of ink - Bird Nest Tag Tutorial by Anna-Karin Evaldsson.

I stamped sentiments using Tim's Tiny Text set.

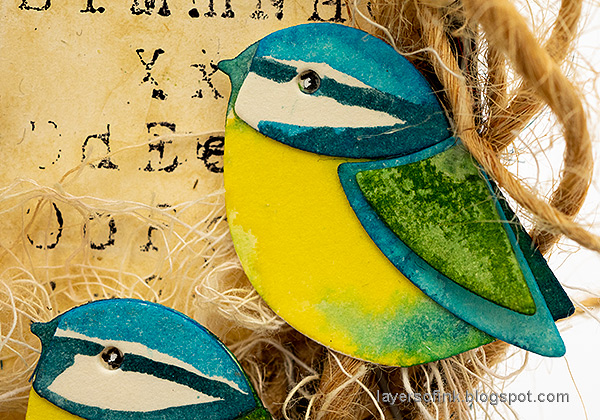
Layers of ink - Bird Nest Tag Tutorial by Anna-Karin Evaldsson. Blue Tit Birds.

The birds also got a little bit of mummy cloth / cheese cloth to make the nest cozier. They were adhered with both Simon Says Stamp Pawsitively Perfect foam tape and glue. 

Layers of ink - Bird Nest Tag Tutorial by Anna-Karin Evaldsson. Watercolor bird.

The blue tit is one of my favorite birds and you might have spottet it in my projects before. I often use a bird book when coloring, but don't worry about getting all the details right.

Layers of ink - Bird Nest Tag Tutorial by Anna-Karin Evaldsson.

Add a small dot to the eye with a white gel pen to make the birds look more alive.

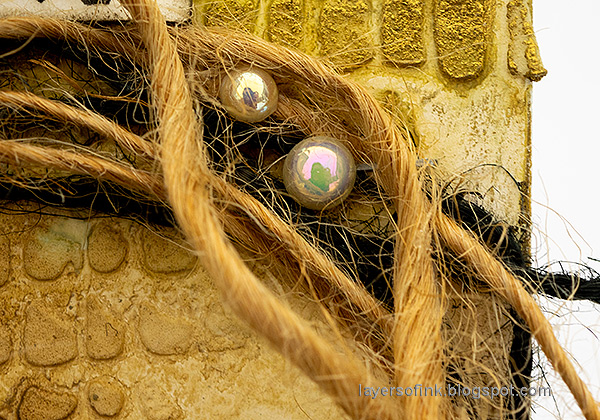
Layers of ink - Bird Nest Tag Tutorial by Anna-Karin Evaldsson. Add pearls.

I also glued a few pearls among the twine. 

Layers of ink - Bird Nest Tag Tutorial by Anna-Karin Evaldsson.

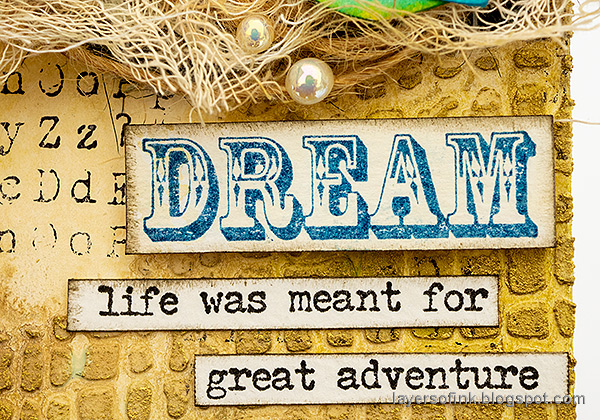
Dream was stamped with Archival Ink Cobalt blue and comes from Tim's Stuff to Say set. The Archival Ink Cobalt was one of the very first inks that I bought, a long time ago.

Layers of ink - Bird Nest Tag Tutorial by Anna-Karin Evaldsson.

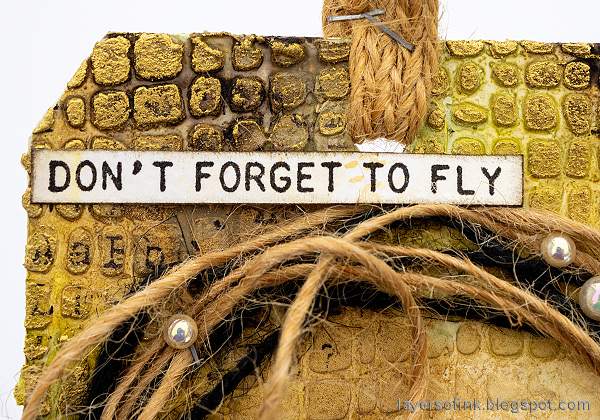
Here you see the effect of the gold wax better.

Layers of ink - Bird Nest Tag Tutorial by Anna-Karin Evaldsson.


I hope you will join us this week in our Tie It Up challenge. You have a chance to win a $25 gift voucher to do some fun shopping at Simon Says Stamp. You have until Monday 8am Ohio time. 1pm UK time, 2 pm CET to join in.


Do you use Instagram? If so please add #sssmchallenge so we can see your entries there too.


Thank you so much for stopping by here today! 

Happy crafting!

Anna-Karin

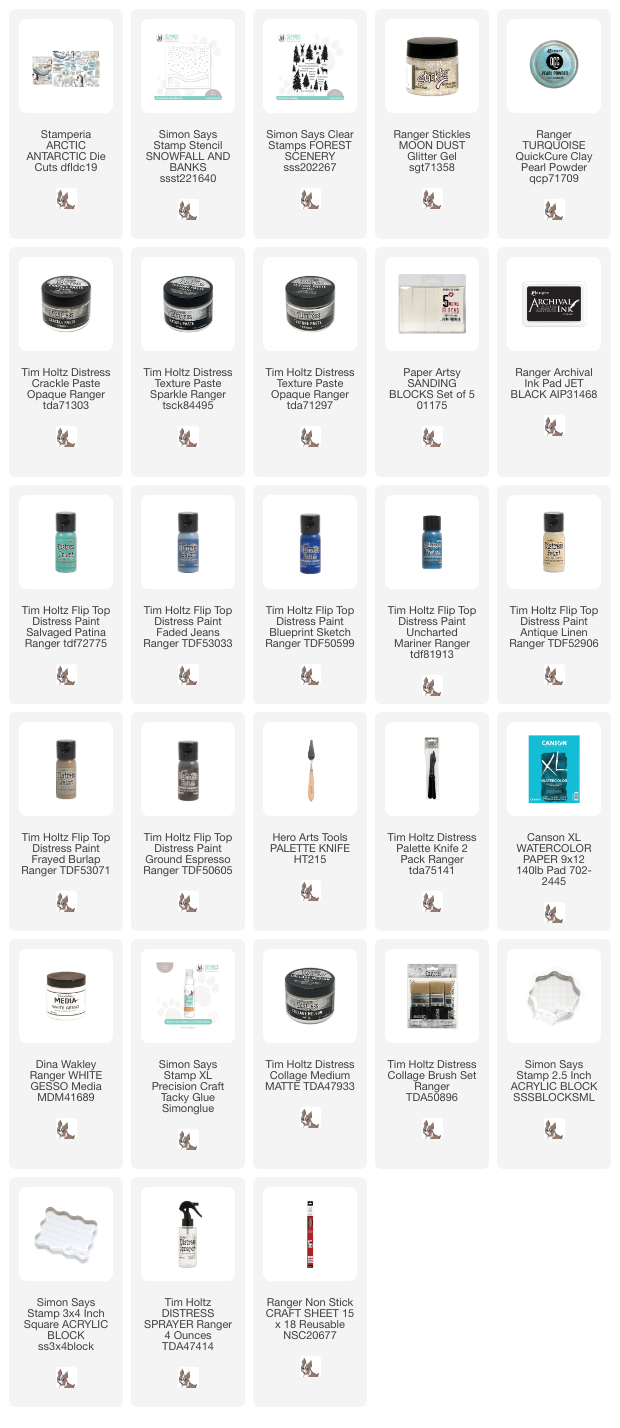
Supplies:

* Please note: the links are affiliate links, for which I receive a small percentage of sales generated by the link, at no extra cost to you.


Friday, February 9, 2024

Paper flowers with glitter

Hello stampers! Today I have a fun card with dimensional colorful and glittery flowers to share with you.

Please note: this post has affiliate links, for which I receive a small percentage of sales generated by the link, at no extra cost to you.

Layers of ink - Glitter Paper Flowers Card Tutorial - by Anna-Karin Evaldsson.

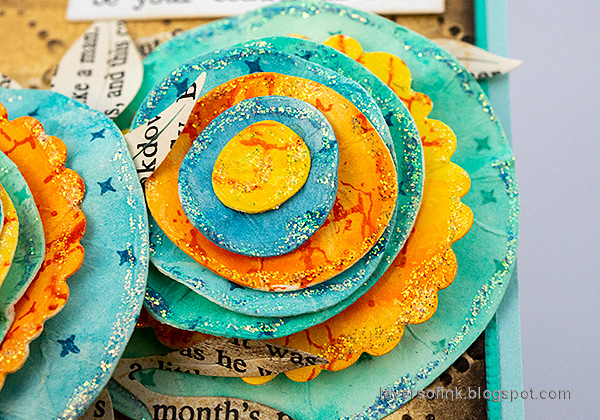
These layered flowers are fun to make and you can combine any patterns or colors. They are pretty dimensional, but if you want them flatter, just omit the foam tape. The background is dry embossed and inked. The flowers were colored with Distress Watercolor Pencils, but you can also use ink or paint.

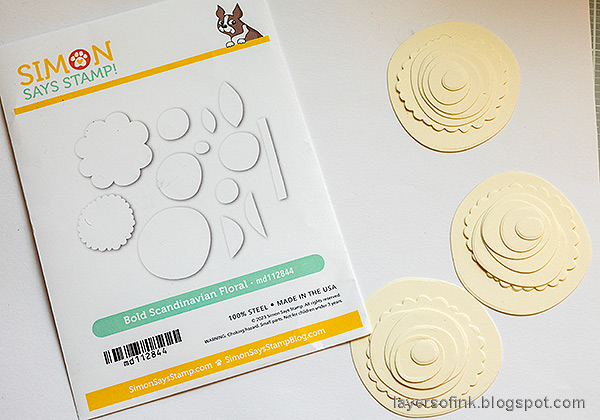
Layers of ink - Glitter Paper Flowers Card Tutorial - by Anna-Karin Evaldsson. Die cut Simon Says Stamp Bold Scandinavian Floral.

I thought it would be fun to make layered flowers with the Simon Says Stamp Bold Scandinavian Floral set. Die cut them from Ranger Heavystock paper.

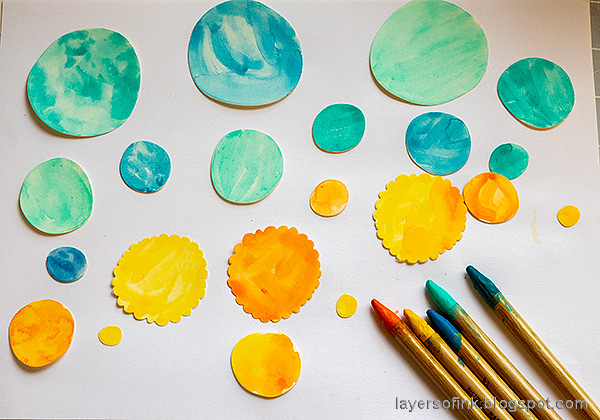
Layers of ink - Glitter Paper Flowers Card Tutorial - by Anna-Karin Evaldsson. Color the flowers with Distress Watercolor Pencils.

Watercolor the flowers with Distress Watercolor Pencils. I aimed for an uneven look.

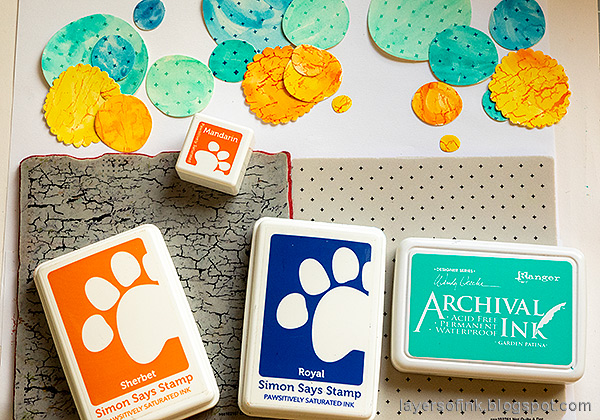
Layers of ink - Glitter Paper Flowers Card Tutorial - by Anna-Karin Evaldsson. Stamp with background stamps.

When dry, stamp them with two background stamps: Simon Says Stamp Crackle Background and Not Quite a Dot background. I used coordinating colors.

Layers of ink - Glitter Paper Flowers Card Tutorial - by Anna-Karin Evaldsson. Crumble the flowers.

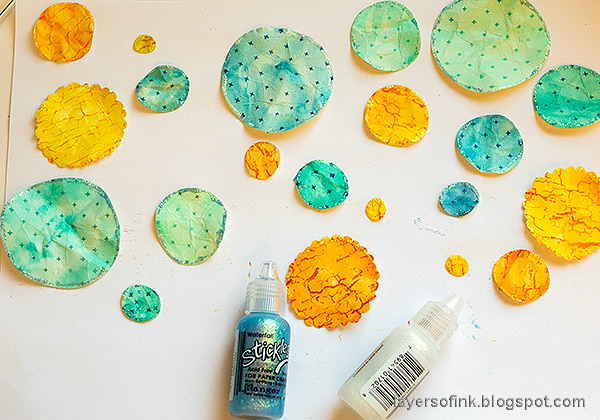
Crumble the flowers up.

Layers of ink - Glitter Paper Flowers Card Tutorial - by Anna-Karin Evaldsson. Add Stickles around the edges.

Add a thin line of Stickles around the edges. I used Waterfall and Diamond.

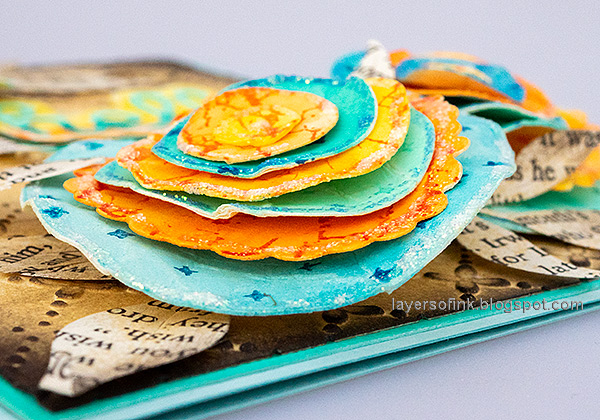
Layers of ink - Glitter Paper Flowers Card Tutorial - by Anna-Karin Evaldsson. Assemble the flowers with glue and foam tape.

Assemble the flowers. I added Simon Says Stamp Pawsitively Perfect Foam tape in between some of the layers.

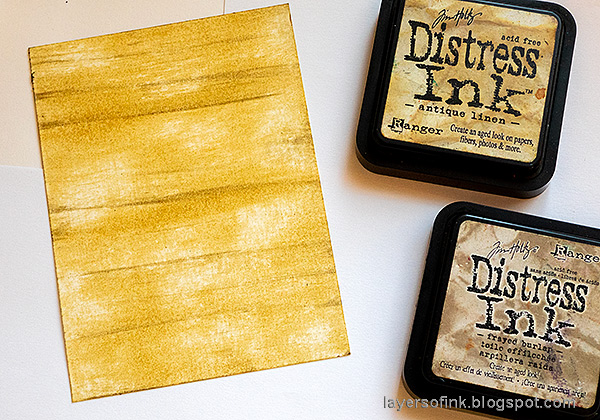
Layers of ink - Glitter Paper Flowers Card Tutorial - by Anna-Karin Evaldsson. Ink with Distress Ink.

I used heavystock paper for the background and dragged an Antique Linen pad over the background in both directions. Next. I did the same with Frayed Burlap, but only here and there. It makes for almost a linen look.

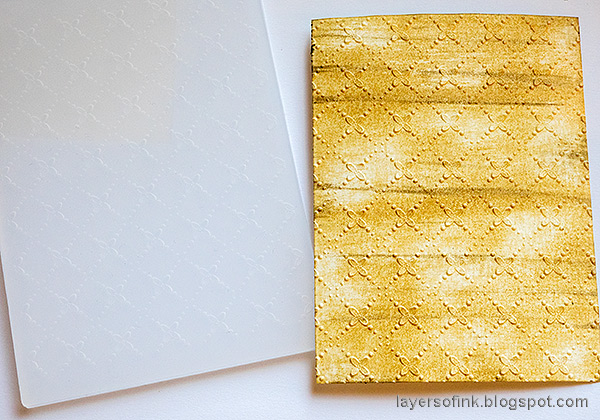
Layers of ink - Glitter Paper Flowers Card Tutorial - by Anna-Karin Evaldsson. Dry emboss the background paper.


Layers of ink - Glitter Paper Flowers Card Tutorial - by Anna-Karin Evaldsson. Ink with Distress Ink.

Ink with Frayed Burlap and Scorched Timber.

Layers of ink - Glitter Paper Flowers Card Tutorial - by Anna-Karin Evaldsson.

Leaves were die cut from old book paper using Simon Says Stamp Tattered Leaves. Ink by pressing Antique Linen against the leaves.

Layers of ink - Glitter Paper Flowers Card Tutorial - by Anna-Karin Evaldsson. Die cut the title.

The title was die cut using Simon Says Stamp Scripty Hello and colored with Distress Watercolor pencils in an ombre pattern. Die cut a mat from turquoise cardstock and add Stickles around the edges of the yellow die cut.

Layers of ink - Glitter Paper Flowers Card Tutorial - by Anna-Karin Evaldsson.

The dry embossed background gives texture, while still being fairly neutral.

Layers of ink - Glitter Paper Flowers Card Tutorial - by Anna-Karin Evaldsson.

I adhered one of the flowers with a double layer of foam tape.

Layers of ink - Glitter Paper Flowers Card Tutorial - by Anna-Karin Evaldsson.

If you want a less glittery look, just omit the glitter. You can also ink the edges for a distressed look.

Layers of ink - Glitter Paper Flowers Card Tutorial - by Anna-Karin Evaldsson.

You can also die cut flower pieces from old book paper and add in between the colored flowers.

Layers of ink - Glitter Paper Flowers Card Tutorial - by Anna-Karin Evaldsson.

The flowers are quite dimensional particularly because of having been crumbled up, but also because of the foam tape.


Thank you so much for stopping by here today! 


Anna-Karin

Supplies:

* Please note: the links are affiliate links, for which I receive a small percentage of sales generated by the link, at no extra cost to you.


Monday, February 5, 2024

Whale Mixed Media Canvas

Hello crafters! I hope your weekend was good and that you got time to craft. I had fun making a mixed media canvas.

Please note: this post has affiliate links, for which I receive a small percentage of sales generated by the link, at no extra cost to you.


This week we have a Fun with Stencils theme at the Simon Says Stamp Monday Challenge Blog. Since it is the first Monday of a new month, the team is showcasing products from a specific designer/company. This week it is Stamperia. You can see their wonderful range of stamps, papers, stencils and other products here. You don't have to use Stamperia products to join in the challenge, but it is fun if you do. 

We also have a new guest designer and this month Cassie Lynch is joining us again. Don't miss her gorgeous creations!

Layers of ink - Whale Mixed Media Canvas Tutorial by Anna-Karin Evaldsson.

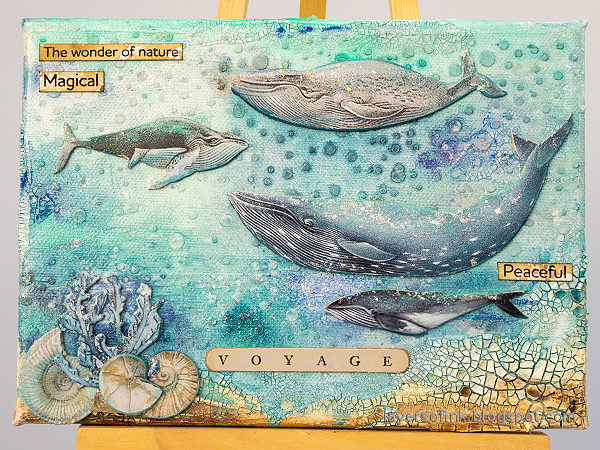
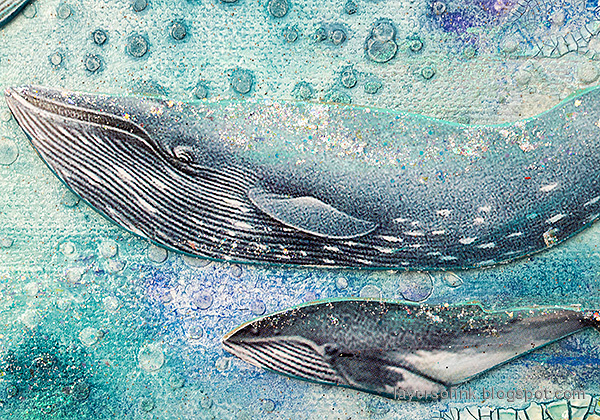
My youngest loves sea animals, in particularly orcas, but also whales, sharks and other animals. When I saw the Stamperia Arctic Antarctic set of printed chipboard I knew I had to get it to make something for him. He has been involved in the process and decided which whales images to use and how they should be placed.

Layers of ink - Whale Mixed Media Canvas Tutorial by Anna-Karin Evaldsson. Apply Ranger's texture paste.

Working on an A5 canvas, I first covered it with gesso. When dry, add Distress Crackle Paste on the area which will become the sea bottom, but also in a few more places.

Layers of ink - Whale Mixed Media Canvas Tutorial by Anna-Karin Evaldsson. Apply texture paste through stencil.

Apply Opaque Texture Paste through Simon Says Stamp Snowfall & Banks stencil. Let dry and repeat until you have created bubbles in most of the sea area.

Layers of ink - Whale Mixed Media Canvas Tutorial by Anna-Karin Evaldsson. Paint with Distress Paint.

Paint with watered-down Distress Paint and mist with more water to blend.

Layers of ink - Whale Mixed Media Canvas Tutorial by Anna-Karin Evaldsson. Add paint to the whales.

I wanted the chipboard pieces to look like they belonged in the sea, and painted them lightly with the same blue shades as used in the background. The edges were sanded first.

Layers of ink - Whale Mixed Media Canvas Tutorial by Anna-Karin Evaldsson. Add Ranger Stickles Glitter Gel.

I also added some glitter to them, as if the sun was shining through the water. It is Ranger Moon Dust Stickles glitter gel.

Layers of ink - Whale Mixed Media Canvas Tutorial by Anna-Karin Evaldsson. Apply perfect pearls and glitter paste.

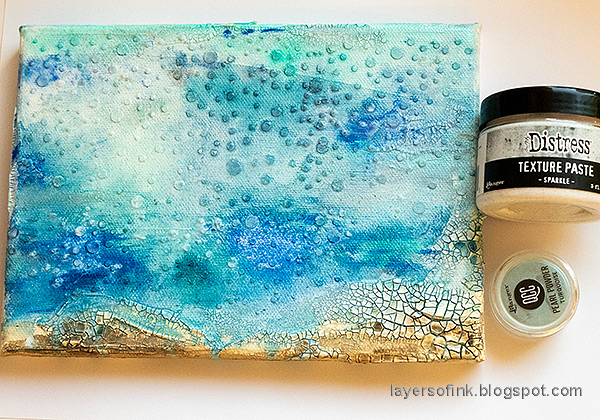
I wanted the sea to be glossy and glittery and applied Distress Texture Paste Sparkle all over. Before it dried, I brushed a little Turquoise Pearl Powder into the paste.

Layers of ink - Whale Mixed Media Canvas Tutorial by Anna-Karin Evaldsson.

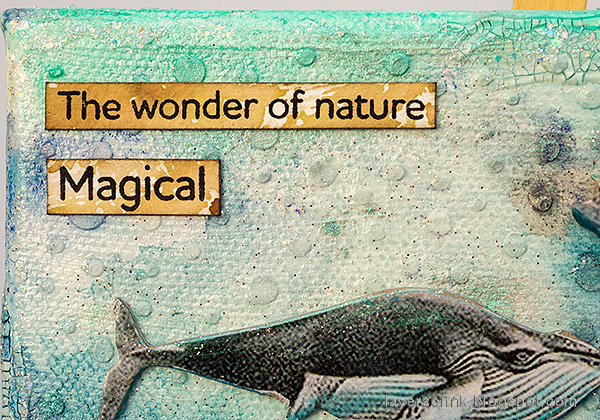
The sentiments were stamped on scrap pieces of paper, using Simon Says Stamp Forest Scenery. The small glitter pieces in the background come from the Sparkle paste.

Layers of ink - Whale Mixed Media Canvas Tutorial by Anna-Karin Evaldsson.

The whales were glued with Ranger Matte Medium. 

Layers of ink - Whale Mixed Media Canvas Tutorial by Anna-Karin Evaldsson.

By adding some of the background paint to the chipboard pieces they blend in better with the background and don't look out of place.

Layers of ink - Whale Mixed Media Canvas Tutorial by Anna-Karin Evaldsson.

The sentiments were cut into strips and glued to the background.

Layers of ink - Whale Mixed Media Canvas Tutorial by Anna-Karin Evaldsson.

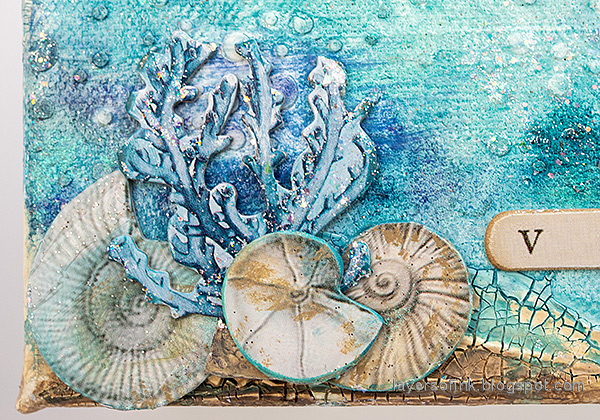
I only added a few shells and sea grass, since I didn't want to cover too much of the crackle paste.

Layers of ink - Whale Mixed Media Canvas Tutorial by Anna-Karin Evaldsson.

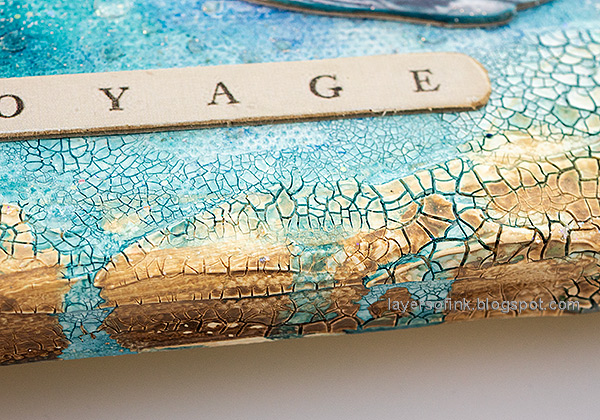
I love crackle paste and this one-step paste is so easy to use. The thicker the paste, the larger the crackles.

Layers of ink - Whale Mixed Media Canvas Tutorial by Anna-Karin Evaldsson.

One of my favorite details of the canvas is where the blue paint bled into the sandy crackles. 

Layers of ink - Whale Mixed Media Canvas Tutorial by Anna-Karin Evaldsson.

Stencils with circles or dots are very useful, all year around and for many types of projects. 

Layers of ink - Whale Mixed Media Canvas Tutorial by Anna-Karin Evaldsson. Moon Dust stickles.

It is hard to capture the glittery sea, but you get an idea here. The larger glitter particles come from Moon Dust Stickles.

Layers of ink - Whale Mixed Media Canvas Tutorial by Anna-Karin Evaldsson. Perfect Pearls.

The Pearl Powder gives a pearlescent shine to the background, only visible when the lights hits at a certain angle.

I hope you will join us this week in our Fun with Stencils challenge. You have a chance to win a $25 gift voucher to do some fun shopping at Simon Says Stamp. You have until Monday 8am Ohio time. 1pm UK time, 2 pm CET to join in.


Do you use Instagram? If so please add #sssmchallenge so we can see your entries there too.


Thank you so much for stopping by here today! 

Happy crafting!

Anna-Karin

Supplies:

* Please note: the links are affiliate links, for which I receive a small percentage of sales generated by the link, at no extra cost to you.