Hi everyone! I hope you are well and that you had a good weekend! We went to our favorite outdoor pool for the last time of the season. I also picked lots of blueberries. Today I have a colorful art journal page to share, but you can also use the techniques for cardmaking.
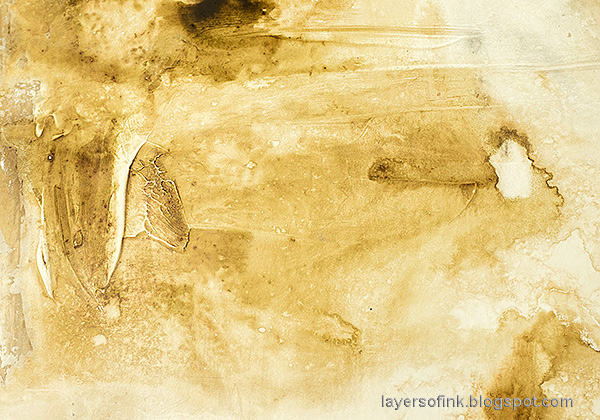
This is the background, done with gesso and Distress Paint. It is one of my favorite type of backgrounds and works for so many different themes and color combos. Find the video tutorial here. I worked in my square 8 x 8 in Dylusions journal.
Start by coloring the flowers roughly with Scribble Sticks. I used two or three shades for each flower head and three shades of green for the stems and leaves. I used Scribble Sticks 1 and Scribble Sticks 2.
Dissolve the pigment with water and a paint brush and let some of the color flow over the edge of the stamping.
Use the same shades of Scribble Sticks and splatter on the background. Add water to the tip of the stick and flick a paint brush against it. Scribble Sticks are one of the easiest ways of adding splatter too a page and don't create a lot of mess around the project.
Stamp here and there with a script stamp, for extra texture.
Add scribbles to the flowers with both a black pen and a white Sharpie. This adds to the playful and hand-drawn look of the design. Add some scribbles to the ground area too.
Finally, I added even more colored Scribble Sticks splatters, and some black splatters. The white splatters were done with the white Gloss Acrylic Spray.
The Scribble Stick splatters look lovely on the gessoed and painted background. I like how well they keep their vibrant colors.
I also stamped a butterfly from Thoughtful Flowers and added some color to it. I thought it fit well with the Paper Artsy quote.
I love the way the Scribble Sticks blend into each other. When stamping this particular flower, I applied a little too much pressure and the stamped lines are a bit too thick, but once colored, it doesn't show that much.
Repeat stamp words from Thoughtful Flowers on the flowers, for a nice touch.
The background was already darker where the ground is, which worked well. I also stamped around the flowers with several of the different grass stamps from Thoughtful Flowers. Here you can also see some of the scribbles.
This is one of my favorite areas on the project, with all the different colors and the mix of smaller and larger splotches and splatters, and of course the text.
If you make a mistake when coloring, or want to change something, you can wipe the Scribble Sticks off with water.
I hope you will join us this week in our Beautiful Botanicalschallenge. You have a chance to win a $25 gift voucher to do some fun shopping at Simon Says Stamp. You have until next Monday 8am Ohio time. 1pm UK time, 2 pm CET to join in.
Hi crafters! Today I have a video tutorial to share with you for a fun and easy background. I turned my background into an art journal page, but you can also use it for cardmaking, tags or scrapbooking. I am going to try to do more videos. It is mainly a time problem, but I am going to try to do a technique video now and then.
Here is my finished art journal page. I worked in the large Dylusions journal and the main element of the page is the Large Outline Happy die by Simon Says Stamp, from the new Let's Connect release. The background was done with gesso and Distress Paint and it is a great neutral background that works great for many different projects. It has enough texture to be interesting, but without overwhelming other elements and it looks great combined with both bright colors, as here, or with neutral colors.
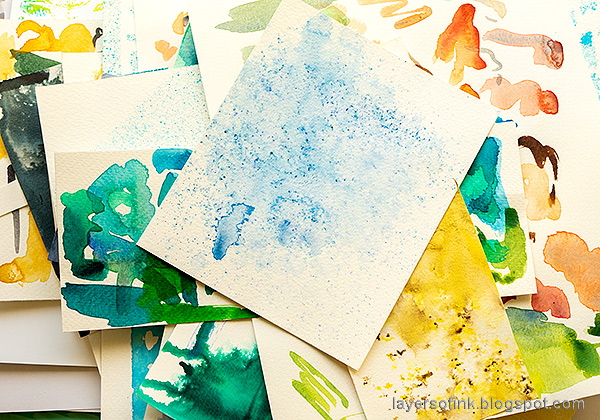
The project started with a pile of scrap papers, most of them being tests for watercolor paints and combos. They might not look much to the world as they are, but they are great for die cutting.
Die cut the Large Outline Happy from various scrap papers. You can also use scraps of patterned paper.
Die cut it five times from white cardstock and once from black. Save the left-over letters for later.
Coat the paper with gesso using a palette knife. Leave some texture marks and don't let the gesso go all the way to the edge. I forgot to say this part in the video. At this stage, I decided that it was a cool effect to see on video, so I moved outdoors where the light was better and recorded the video.
Hands stained with blueberries! You might also spot a little craft injury. I burnt myself pretty bad on the iron while ironing one of the boys' huge Pokemon Hama bead figure.
Here's a close up of the texture. I love the fact that you can't completely control or plan how this background will end up. The texture of the gesso, together with the paint and water gets a life of their own.
And more texture.
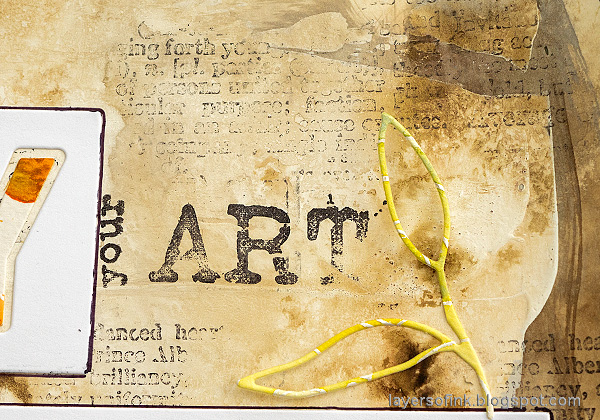
Stamp the background with the Woodware Craft Collection Make Art stamp. I partially planned the placement of the sentiments from this great stamp and tried to avoid the areas where I was planning to place the die cut. Stamp the rest of the page here and there with the SSS Good Reading stamp.
I added a black outline letter to each die cut, spelling out the word HAPPY, starting with the H on the top die cut panel.
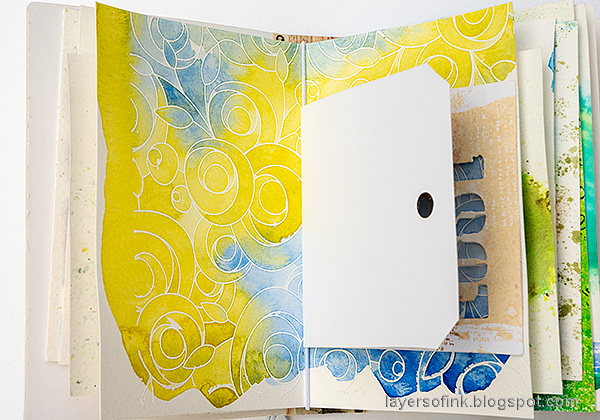
The letters on this panel were die cut from a piece of watercolor that had been white embossed with the SSS Spring Flowers Background and then painted. See the nice texture from the white embossing. You could not guess it is in fact flowers.
The stamping was on purpose done in an imperfect manner, since it fitted with the background. Here you can see the difference in color and texture where there is gesso and along the edge where there was no gesso.
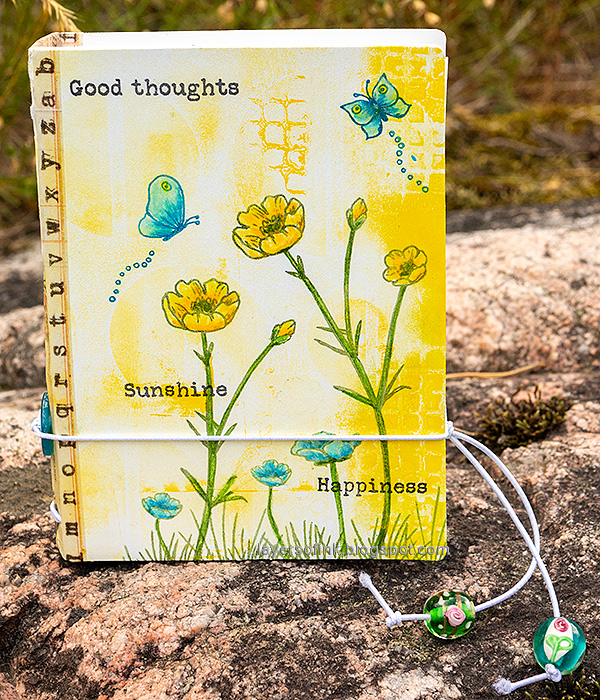
Hi crafters! If you are like me, you might have a big box or pile of scrap papers and today I am going to share a project that is perfect for scrap papers. In fact, the charm of this project comes to a large part from it being created from left-over pieces from other projects.
The Eileen Hull Inspiration Team is creating Junk Journals this week, a theme that can be interpreted widely. A junk journal is usually made up of various recycled papers and I decided to use only my own scrap papers. I have a lot of papers which are left-over from projects or where I simply tried out a technique or tested a color combo. I use them a lot. Even the paper on the cover comes from that folder. I also used the Simon Says Stamp Thoughtful Flowers stamp set, which I am very happy to have designed.
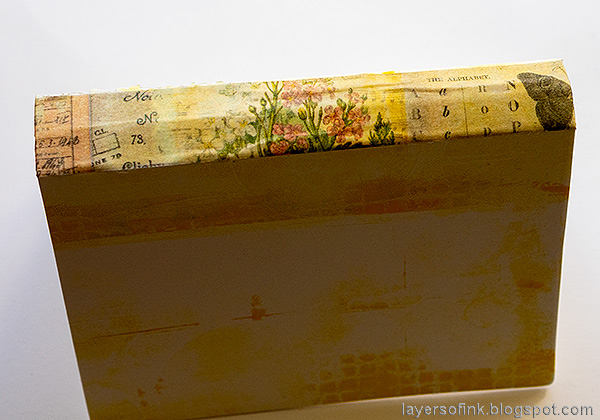
Start by die cutting Eileen's Notebook die from mat board and from a piece of scrap paper. My scrap paper was a left-over from a gel printing session. Glue the paper to the mat board and let dry under a heavy book.
I picked out a pile of scrap papers in different colors. Since I use a lot of watercolor paper, most of them are watercolor paper. Some where tags where I tried techniques or where I hadn't been happy with the background.
The papers were cut into pages of different size, depending on the size of the scrap paper. The tags were simply folded in half.
Color the flowers with colored pencils. I used Prismacolor pencils and blended with a white pencil.
Punch five holes in the spine as shown here and thread with an elastic string.
Here you can see the binding from the outside. I tied the string through a button and then tied it again to form a closure.
I tied two beads which I found on my desk to the ends of the closure.
Arrange the scrap papers into two signatures and simply slip them under the elastic band. Later you can easily add more papers or move the various pages around. The tag on top comes from my Sherlock Holmes Tag tutorial if you want to see how it was made.
Your journal is ready to be filled with thoughts and memories.
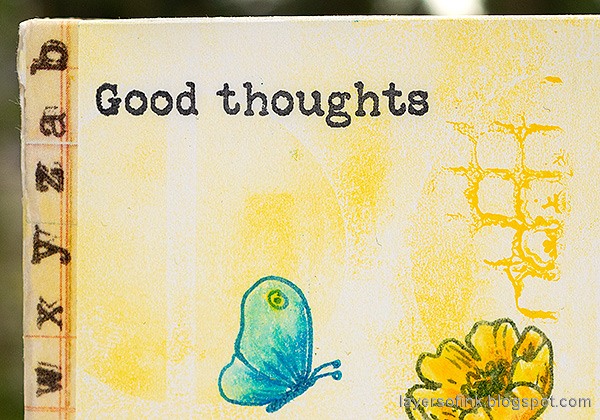
I added a thinner piece of Design Tape at the side of the spine. Stamp sentiments from Thoughtful Flowers with black ink.
The back of most of the pages is plain, leaving space to add color and writing later.
The page to the right was a test of colors and stamping for my African Night Watercolor art journal page, with Darkroom Door stamps. I remember when each of these scrap papers were created, making them more special. Some have been in my scrap folder for a long time.
You might look at your scrap pieces in a new way. This little scrap piece almost looks like a landscape.
The bubble embossed paper comes from a gel printing session.
A simple landscape which was made when I was preparing an article for the Craft Stamper. I was so sad to learn that the Craft Stamper has now closed its doors. It was a wonderful magazine and I loved creating for it.
I haven't decided what to use this journal for yet. I might add small photos from this summer to it, and journaling about the summer.
Thank you so much for taking the time to visit my blog today! I hope the tutorial inspired you to use some scrap paper.
Happy crafting!
Anna-Karin
Supplies:
* Please note: the links are affiliate links, for which I receive a small percentage of sales generated by the link, at no extra cost to you.