Monday, August 17, 2020

Grunge Tag Tutorial

Hello crafters! The sun is shining and today I have a grunge tag tutorial to share with you. The techniques can easily be adapted to other projects too. We have had a warm week and have done a bunch of fun outdoors things. I have also picked a lot of blueberries on my walks, so every morning we have fresh blueberries. Totally worth the mosquito bites.


This week we have a Grunge It Up challenge at the Simon Says Stamp Monday Challenge Blog. Fun! Don't miss the gorgeous project by our August guest designer Anne Redfern.

Layers of ink - Grungy Tag Tutorial by Anna-Karin Evaldsson.

I started with not much of a plan and had fun creating a grungy tag with Distress Ink, Distress Oxide Ink, stamping and various embossing powders. I used a mix of Tim Holtz and SSS products for the tag. The sentiment comes from the Simon Says Stamp Thoughtful Flowers set from the Send Happiness collection.

Layers of ink - Grungy Tag Tutorial by Anna-Karin Evaldsson.

Start with a heavystock tag and smear Distress Inks on a craft sheet. Mist with water and press the tag into the ink. Dry the tag and repeat until you are happy with the texture. 

Layers of ink - Grungy Tag Tutorial by Anna-Karin Evaldsson.

Repeat with Distress Oxide ink, but only use a little here and there on the tag. This adds an opaque texture here and there.
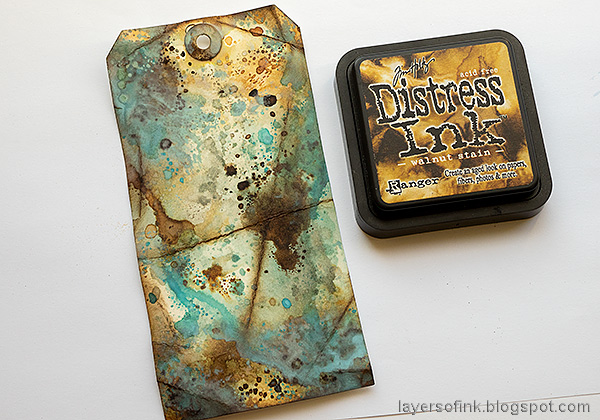
Layers of ink - Grungy Tag Tutorial by Anna-Karin Evaldsson.

Fold the tag here and there and ink the folds with a dark brown Distress Ink.

Layers of ink - Grungy Tag Tutorial by Anna-Karin Evaldsson. Emboss with Mixed Media Hammered.

Apply embossing ink around the edges and along a few of the folds and emboss with Ranger's Hammered Mixed Media Powder. Always be very careful when using a heat gun and never touch the melted powder until it has cooled down completely.
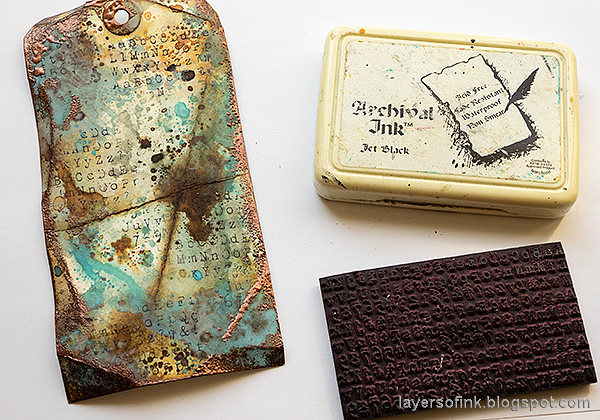
Layers of ink - Grungy Tag Tutorial by Anna-Karin Evaldsson. Stamp with alphabet stamp from School Desk.

Stamp the background here and there with an alphabet stamp. The stamp I used comes from Tim's School Desk set. It is one of my all-time favorite stamps.

Layers of ink - Grungy Tag Tutorial by Anna-Karin Evaldsson. Simon Says Stamp Etched Flower Buds from the Send Happiness release.

Die cut the SSS Etched Flower Buds from heavystock paper and ink with Distress Ink.

Layers of ink - Grungy Tag Tutorial by Anna-Karin Evaldsson.

Emboss the buds with Speckled Egg Distress Embossing Glaze and the stems with Antique Linen. Adding more than one layer of powder gives a darker look to the flowers. I added two layers to the tall bud and three to the shorter bud.

Layers of ink - Grungy Tag Tutorial by Anna-Karin Evaldsson.

Die cut one of Tim's Scribbly Butterflies and emboss with various powders. I used Mixed Media Sea, Mixed Media Hammered and Mint Chip.

Layers of ink - Grungy Tag Tutorial by Anna-Karin Evaldsson. Simon Says Stamp Thoughtful Flowers.

Stamp the quote stamp from Thoughtful Flowers on a paper that has been inked with Antique Linen and Pumice Stone. Cut into strips. The Hammered powder along the edges have the look of rust.

Layers of ink - Grungy Tag Tutorial by Anna-Karin Evaldsson.

Distress a metallic star, number and game spinner with Black Soot and Peacock Feathers Distress Paint.

Layers of ink - Grungy Tag Tutorial by Anna-Karin Evaldsson.

Here's the Game Spinner and another look at the grungy background. The Mummy Cloth was dyed with a little Vintage Photo Distress Ink.

Layers of ink - Grungy Tag Tutorial by Anna-Karin Evaldsson.

The embossing glaze gives a glossy look and since the powder is transparent, you can see the inking through the glaze. 

Layers of ink - Grungy Tag Tutorial by Anna-Karin Evaldsson.

Using various embossing powders on such a detailed die cut gives an interesting result and I like the combination of metallic, opaque and glitter. You don't see the shine and glitter so well here.

I hope you will join us this week in our Grunge It Up challenge. You have a chance to win a $25 gift voucher to do some fun shopping at Simon Says Stamp. You have until next Monday 8am Ohio time. 1pm UK time, 2 pm CET to join in.


Don't forget to follow Simon Says Stamp on Instagram, they post great stuff daily. 


Do you use Instagram? If so please add #sssmchallenge so we can see your entries there too.


Don't miss our month long Kids Summer Vacation Challenge over on the Wednesday Challenge Blog. The theme is Anything Goes With Sparkle And/Or Shine. Please CLICK HERE for more details.

Thank you so much for taking the time to visit my blog today!  

Happy crafting!

Anna-Karin

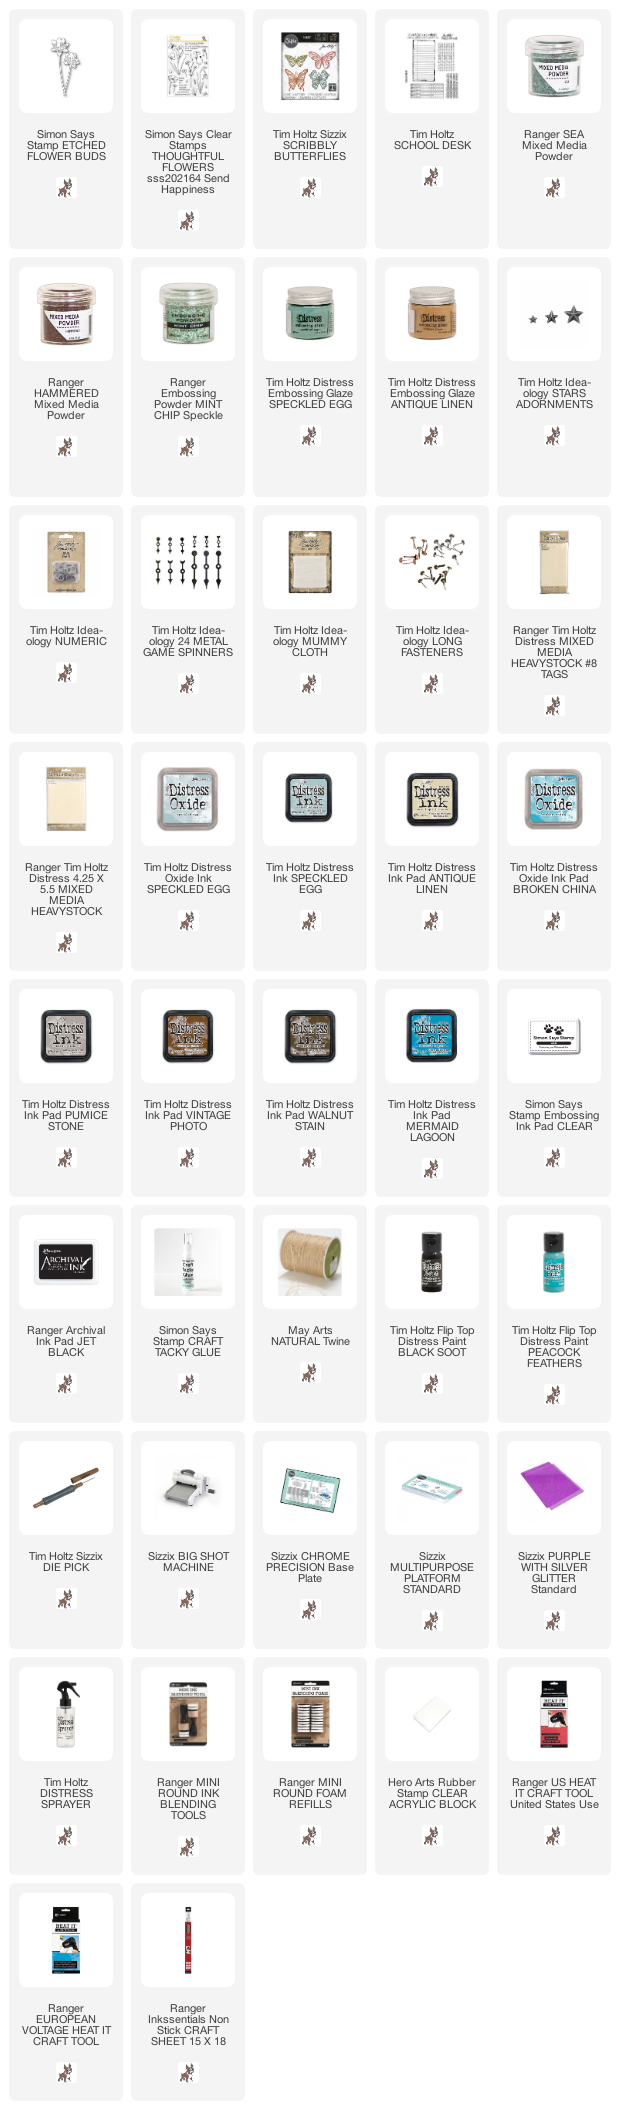
Supplies:

* Please note: the links are affiliate links, for which I receive a small percentage of sales generated by the link, at no extra cost to you.


Wednesday, August 12, 2020

Toilet paper journal page

Hello stampers! Today I have a fun art journal page tutorial to share, with stamping and watercoloring with Scribble Sticks. It is a great technique to quickly get white stamped images on a colored background, without having to stamp and cut the images out.

Layers of ink - Toilet Paper Journal Page Tutorial by Anna-Karin Evaldsson.

When I saw the new We're Like Toilet Paper stamp set from Simon Says Stamp, I knew I had to use it in my art journal. The set comes from the new Let's Connect release. My boys love it too. Not long ago, no one would ever have thought that we would have toilet paper-themed stamps or would have understood their meaning. The toilet paper frenzy which appears to have been practically world-wide, will surely make it into the history books, and I definitely wanted it in an art journal. You can of course make a card instead, if you would rather like that. 


I worked in the 6x6 in Dina Wakley White Media Journal, which has heavy cotton-rag paper. You need to press a little harder than normally when stamping, since the paper is so textured. As you can see, I pressed too lightly on the sentiment stamp, but I was okay with that and filled some of the letters in with a pen. The sentiment comes from Stronger Together.


To color my page, I used Dina Wakley's Scribble Sticks, which are one of my favorite coloring tools. Scribble two of them directly onto the page. At this stage, you will think that the page looks terrible. I used both Scribble Sticks 1 and Scribble Sticks 2.


Use a paint brush and plenty of water to dissolve the color and turn it into watercolor. 


Pick up color directly from the Scribble Sticks and paint on the background, to darken the shades here and there. 


Add shadows by picking up the color with a paint brush from a black Scribble Stick. If your paper has dried, you can add clean water where you want the shadow first. Then the color with spread into the water creating a soft effect. As long as the stamped images are dry, no paint will spread there.


Add color to the spray bottle and add shading to the toilet rolls. This makes them look more dimensional and 'alive'.


It is very easy to splatter with the Scribble Sticks, just dip the tip into water and then flick a paint brush against the tip. I splattered orange, blue and black.


To get more orange onto the page, I stamped two more sentiments with Melon ink, from the Just Because Word Mix 2 set and from We're Like Toilet Paper.


Finally, I added back some of the lines which had been partially hidden by color, especially the legs and feet. I also scribbled a bit under the rolls to give them more of a surface to stand on.


I just love how full of expression and attitude these stamps are. Brilliant. My youngest wants to cut the page out of my journal, so that he can keep it. He likes to say how each of the rolls feel. This one is sad.


He says that this one is the champion. It has such a fun attitude.


My son says that the roll to the right is helping the one to the left.


And this one is cleaning frantically.


This one is happy and is waving with the very last piece of paper.


Here you can see the splatters better. I also glued a few sequins to the page.


Thank you so much for taking the time to visit my blog today!  

Happy crafting!

Anna-Karin

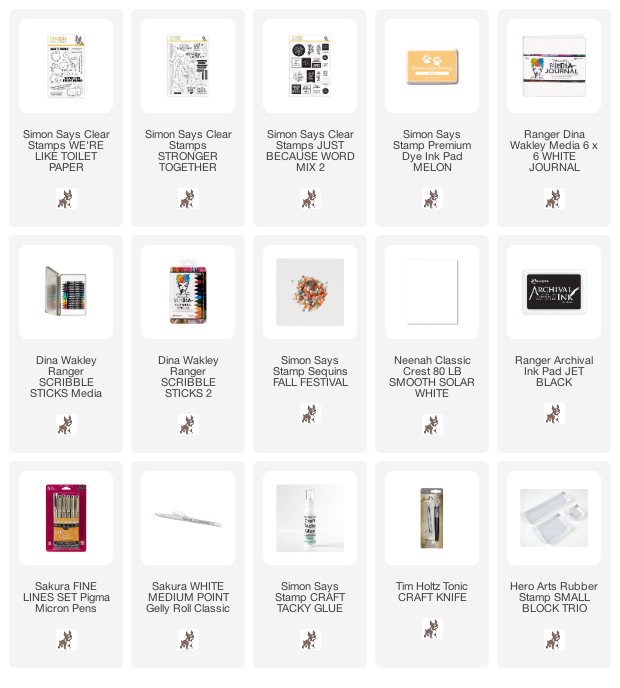
Supplies:

* Please note: the links are affiliate links, for which I receive a small percentage of sales generated by the link, at no extra cost to you.

Monday, August 10, 2020

Summer Memories Layout

Hello friends! I hope you are well and getting lots of crafty time. I have some fun and easy stamping and resist techniques to share today, working for any type of project.


At the Simon Says Stamp Monday Challenge Blog we have a special Summer Memories theme this week. It is a great time to document this unusual summer, which is bound to be the subject of history books in the future. During August the wonderful Anne Redfern is our guest. Don't miss the project she created for you today. 

This is a summer like no other. I thought we would probably be at home the whole summer, but we were very lucky to be able to go to the sea and stay at a cabin borrowed from a friend. It was great to get a way and the boys enjoyed the beach very much. Luckily, our favorite beach is never crowded, indeed we were almost alone on the beach most days, partly since it was a little chilly and windy most days. A good thing for once! 

The journaling is on the back of the layout.

I used Tim Holtz Motif cardstock for my base. It is a very cool cardstock with a pattern that will resist ink, mists and more. The pad contains white and kraft cardstock with different patterns. I stamped the kraft cardstock with stamps from Tim's Mini Glitch and Grunged sets and embossed with white powder and Sea Mixed Media powder.


Ink the edges so that the numbers in the background are more visible.


Mist the white Motif cardstock with Tumbled Glass and Mermaid Lagoon.


I colored three Theories Quote Chips with Distress Ink.

The SSS Large Outline Happy from the brand new Let's Connect release was die cut from white and ocean blue glimmery cardstock. These were left-over from one of the projects that I made for the Let's Connect blog hop. You can find that tutorial here.


This sentiment comes from Paper Artsy's The Magic and Wonder Edition set by Alison Bomber. It was perfect for my page. 


Here's a close-up of the resist effect on the white Motif cardstock. I also used some Mummy Cloth.


We saw a lot of starfish and I needed some for the layout. They were stamped with the SSS Tumbling Shells background stamp, cut out and colored with Prismacolor pencils.


I also used some rub-on and sticker sentiments. 


The small starfish and seashells were stamped with the SSS Tentacuddle set. The circle stamp here isn't meant to have the circle in the center, but I accidentally pressed to hard and thought it was a cool look, so I repeated the same mistake on the other circles too.

I hope you will join us this week in our Summer Memories challenge. You have a chance to win a $25 gift voucher to get some new creative products from Simon Says Stamp. You have until next Monday 8am Ohio time. 1pm UK time, 2 pm CET to join in.


Don't forget to follow Simon Says Stamp on Instagram, they post great stuff daily. 


Do you use Instagram? If so please add #sssmchallenge so we can see your entries there too.


Don't miss our month long Kids Summer Vacation Challenge over on the Wednesday Challenge Blog. The theme is Anything Goes With Sparkle And/Or Shine. Please CLICK HERE for more details.

Thank you so much for taking the time to visit my blog today!  

Happy crafting!

Anna-Karin

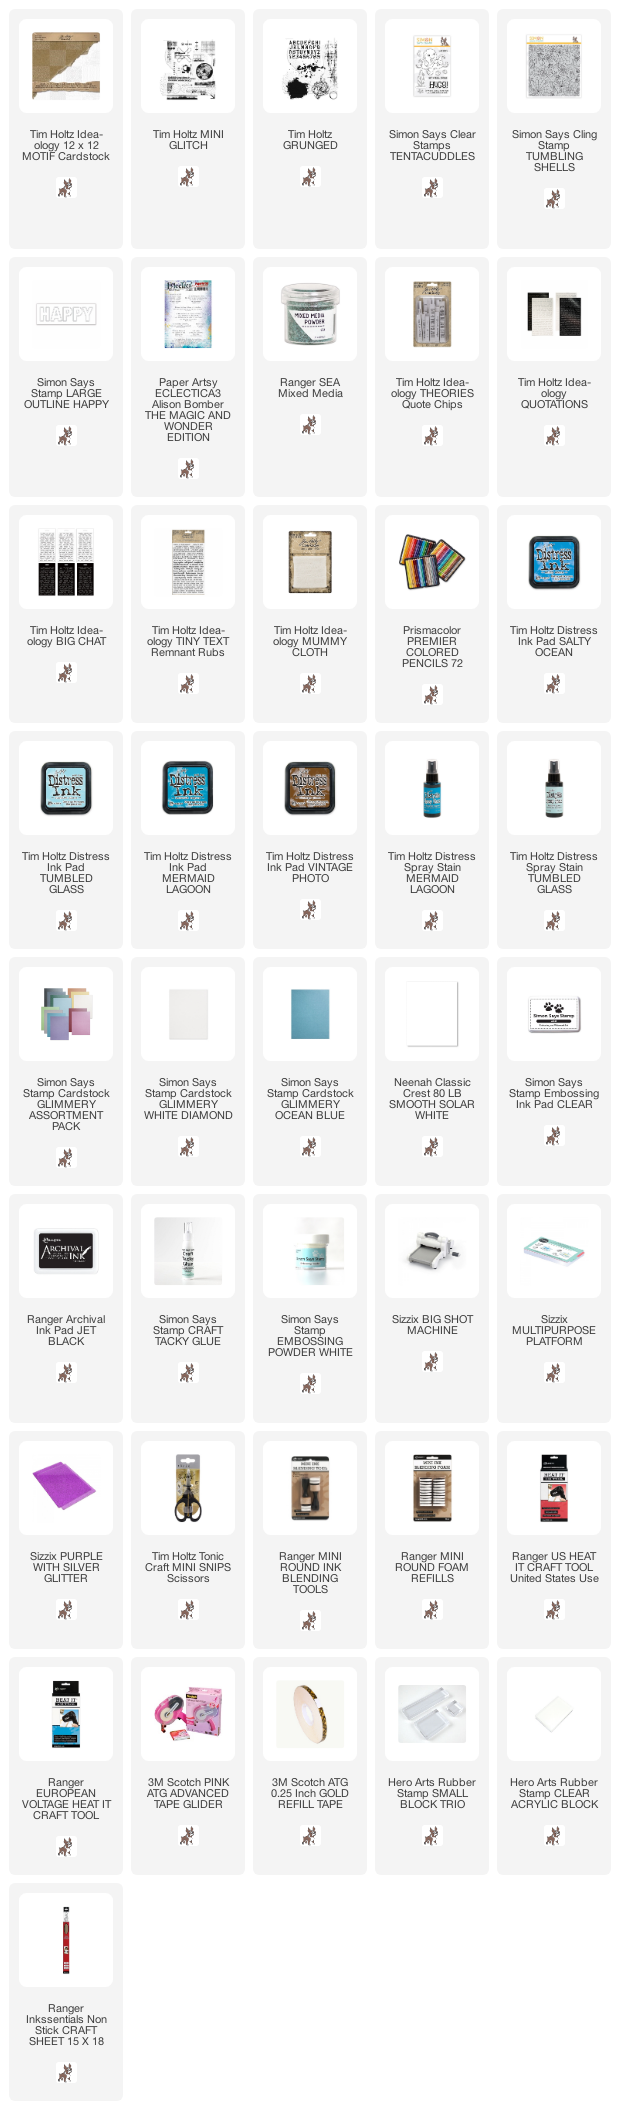
Supplies:

* Please note: the links are affiliate links, for which I receive a small percentage of sales generated by the link, at no extra cost to you.