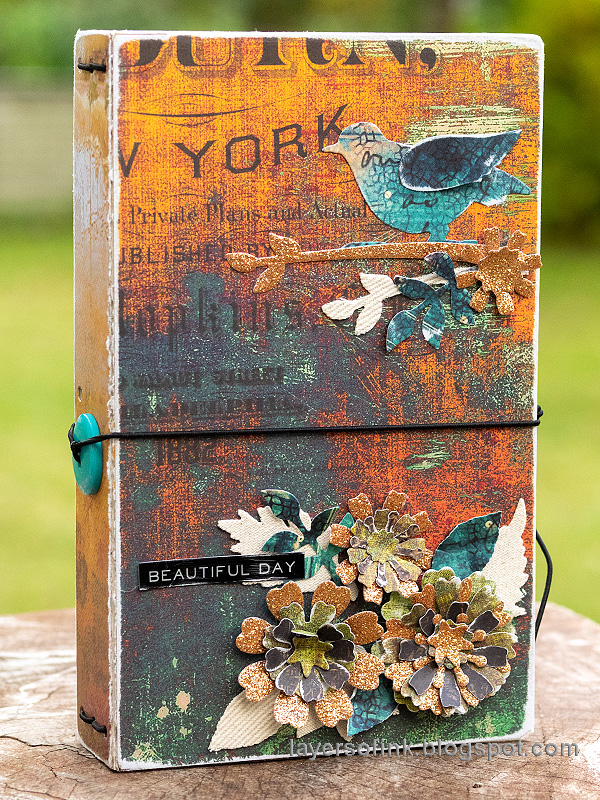
Hi and welcome to my blog! I am happy to take part in the Simon Says Stamp Cheer and Joy blog hop to celebrate the brand new release. You should have arrived here from the very creative Vicky Papaioannou.

The Cheer and Joy release contains wonderful dies, stamps, stencils, sentiment strips, sequins and pins, perfect for holiday crafting. Many of the products are very versatile and can be used all year around. You can see the whole release here.
There is also a free gift that you can get with any purchase, if you use the code HPYML9. It's an Simon Exclusive Post Office Box enamel pin. The gift is while supplies last and the promotion will expire on 10/13/19.
I made three projects, one art journal page and two cards, and there are step photos for all three.

Let's start with the art journal page. I thought the Leaves and Berries stamp would look great on kraft paper, colored with colored pencils. It was stamped on one of the kraft pages in Dina Wakley's Media Journal. I wanted the stamp to take most of the space and just embellished the page with some die cut, stamped and printed words, and sequins. You can easily turn this into a card instead.
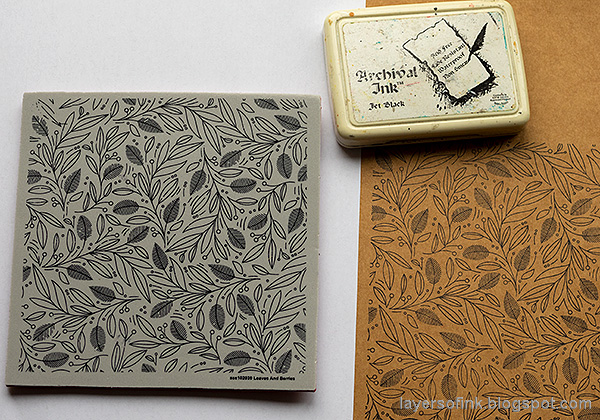
Start by stamping the Leaves and Berries on kraft paper with black ink. For a different look, white emboss the image instead.

I colored the leaves with Prismacolor pencils. Since I wanted a clean and graphic look today, I didn't add any shading or graduations of color, which I normally would have done.

Add some life with a white gel pen. Use the pen on the berries and here and there on the branches. Don't worry about perfection.

'Thankful' comes from the Lunch Box Notes 2 set and was stamped with Melon ink. I used the same ink for the stamped sentiment below the die cut square, which comes from the You Got This set. Today will be awesome was die cut from SSS glimmery paper, and once from red paper. I only used the frame from the red die cut.

This sentiment comes from the SSS Sentiment Strips 4. I also added a frame with the white gel pen, and some dots.

I just love this stamp with all the movement and all the leaves. You can also do the same technique on white paper, for a brighter look. If you want to do a spring time project, use shades of green instead.

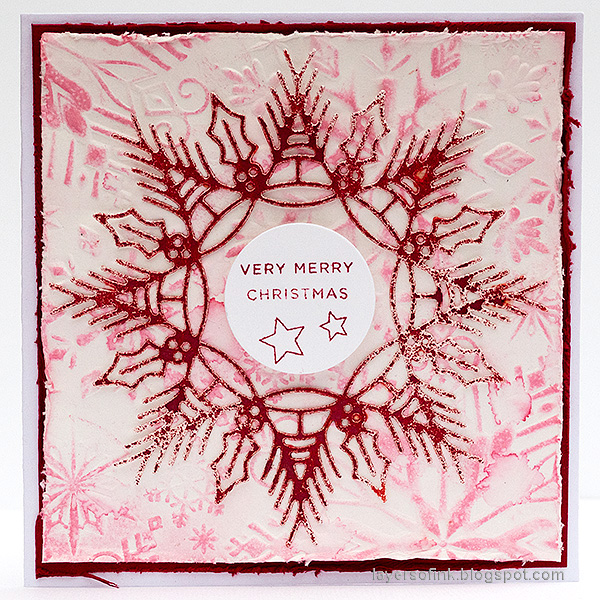
The second project is two quick cards. I only meant to do one, but die cut the snowflake twice, so I did two cards instead. It is always good to have more Christmas cards. They are about 4.6 in square.

The Holly & Pine Frame is so pretty and has fantastic details. If you struggle to get a clean die cut when using heavier paper, place a piece of wax paper between the paper and the die. I also used the Sizzix Precision Base Plate. Die cut from watercolor paper.

Mist with Dylusions Postbox Red Shimmer Mist. I placed one of the snowflakes on a piece of watercolor paper when misting, to get a background to use for another project, and to avoid wasting the pretty shimmery mist.

For the background, I embossed watercolor paper in the Winter Snowflake 3D folder.
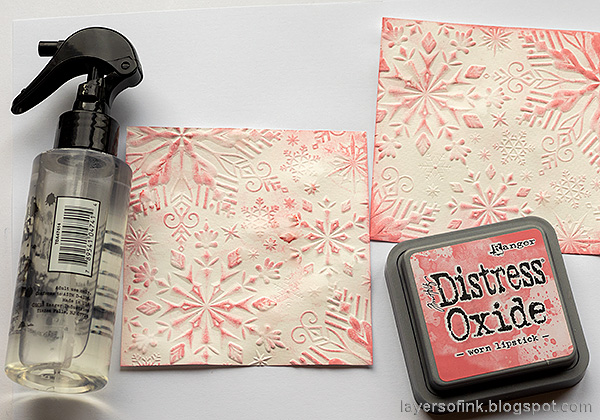
Ink with Worn Lipstick Distress Oxide and mist lightly with water.

Distress the edges of the embossed panel and mount on red card and then on folded white cardstock. The sentiment was adhered with foam tape.

The Pine & Holly Frame is so pretty with the holly and the pine shapes forming the snowflake.

The center of the snowflake is a perfect place for a sentiment. I die cut circles with the Repeating Circles die. Some of the sentiments from the Clean Line Christmas set just fit the circle.
The snowflake on the second card has a more speckled look.
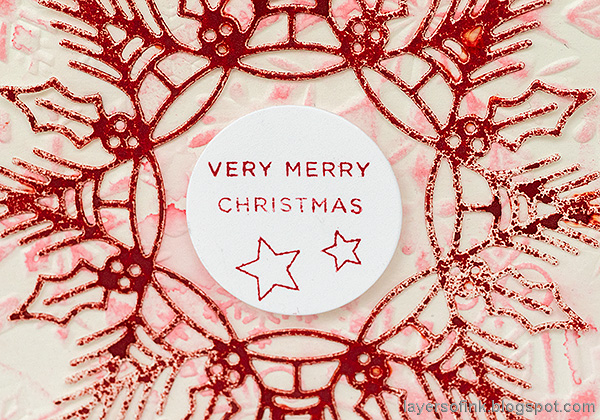
And the sentiment is stamped with several small stamps, also from the Clean Line Christmas.

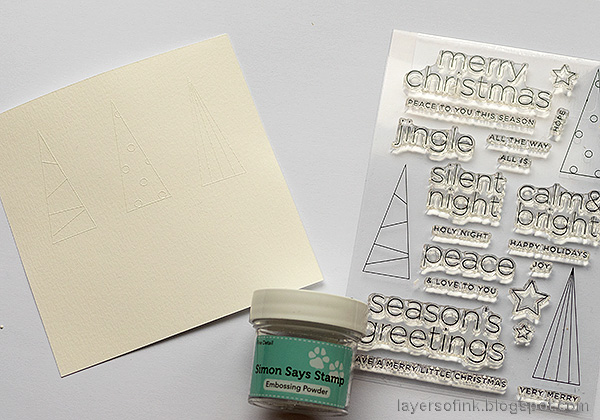
Start by white embossing the three trees on watercolor paper (4.5 in).

Mist with the gorgeous Dirty Martini Shimmer Spray. If you are making many cards and want some variation, use different mists.

Mount on two shades of green paper, distressing the edges, and finally on white folded cardstock. The mist is very shimmery, as you can see here.
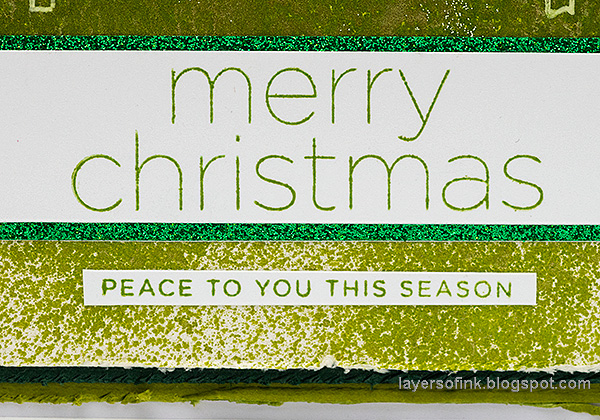
I stamped the sentiment with green ink and mounted it on the gorgeous SSS glitter paper. I just love how glittery this paper is, and it doesn't give off any glitter at all. Stamp a second sentiment and cut into a thin strip.
Don't miss all the inspiration along the hop and of course there are prizes to be won too. SSS is giving away a $25 coupon to every stop on the hop and all you need to do is comment. Winners will be posted on the Simon Says Stamp blog on Wednesday, the 16th of October.
Your next stop on the hop is Bobbi Lemanski, who has cheerful cards to share with you.
These are all the stops along the hop:
Anna-Karin Evaldsson (you are here)
This is day 2 of the blog hop, and for more inspiration, don't miss yesterday's hop. For even more Cheer and Joy inspiration, check out the SSS Cheer and Joy Gallery. You can also link your own projects made with the release and there are galleries for all SSS releases, and for the card kits too.

Thank you so much for stopping by here today! Have a lovely weekend!
Happy crafting!
Anna-Karin
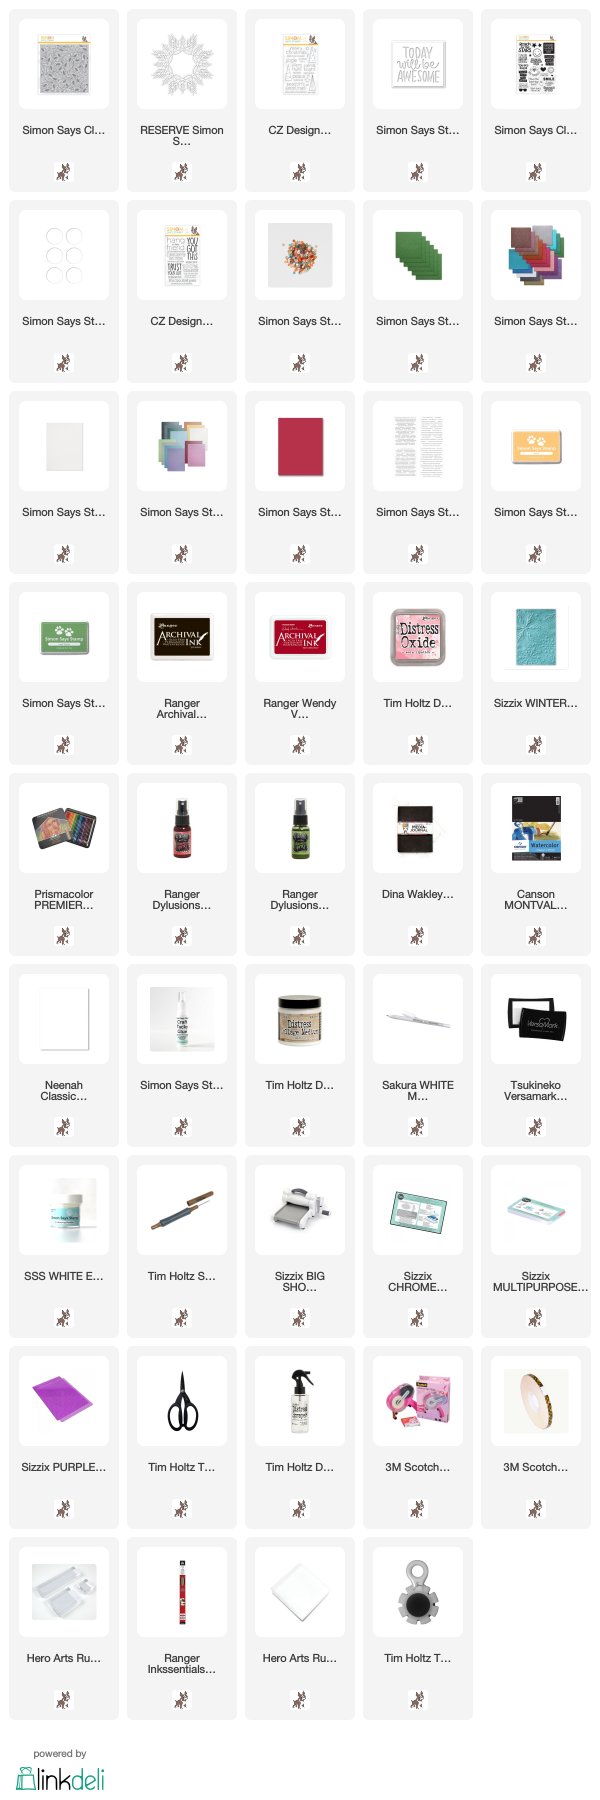
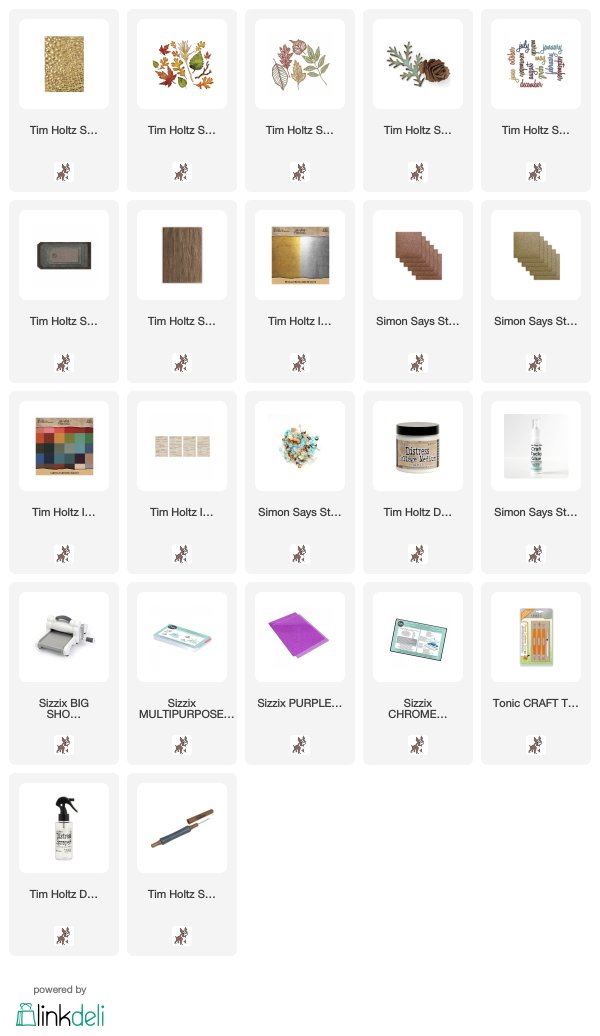
Supplies:
* Please note: the links are affiliate links, for which I receive a small percentage of sales generated by the link, at no extra cost to you.
* Please note: the links are affiliate links, for which I receive a small percentage of sales generated by the link, at no extra cost to you.