Hello everyone! I have a Sizzix tutorial for you today, but before starting with that, I just wanted to write that I am so very sad about the devastating fires that have been, and are still, raging, in and around Knysna in South Africa. It is such a lovely area and we have visited it many times, and know people who live there. It appears to be forest fires that spread very rapidly due to storm winds. Lives have been lost and no one knows how much destruction it has caused yet, since the fires are still not out everywhere. I am so sad for everyone affected, as well as for all those old trees in that unique forest. Below are a couple or my photos that I took while visiting Knysna.

This photo was taken from the higher areas of the town, which appears to have been badly affected by the fire.

This photo is from the other side of the lagoon, looking in towards Knysna. It is heartbreaking to think of a large part of this area being on fire. I really hope that the fires will be completely under control soon and not spread further. I had typed up the tutorial below a couple of days ago, but felt that I had to write something about Knysna first since it has been so much in my thoughts since yesterday.
___________
And continuing with the tutorial. I have a Sizzix tutorial for you today, showing a great and easy background technique with embossing folders, as well as some other fun stuff.

I made a double scrapbooking layout, but the techniques work on any type of project. Not far from us there is a small forest where the entire forest floor is completely covered in White Anemones during a couple of weeks in spring. I try to go there as often as possible during that time and of course take tons of photos. These photos are from last year. Leo posed for photos there this year too, but didn't want to sit down among the flowers, at the time of these photos, he wasn't yet walking and was very happy to sit and look at flowers. This year, Leo wanted to jump from a little tree stump instead.
The entire background is covered in dry embossed squares, using Dina Wakley Scribble Sticks to add color.

Start by cutting 4 x 4 squares of watercolor paper until you have enough to cover your surface. You can also use smaller squares.

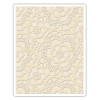
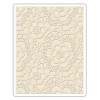
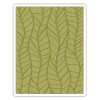
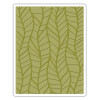
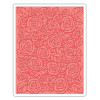
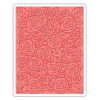
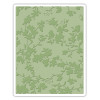
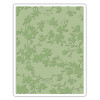
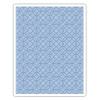
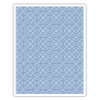
Emboss them in different folders. This is a great time to go wild with mixing patterns, since lots of patterns make the background look even better. If you want to, you can leave it like this and skip the coloring. All the folders I used are listed in the supply list below.
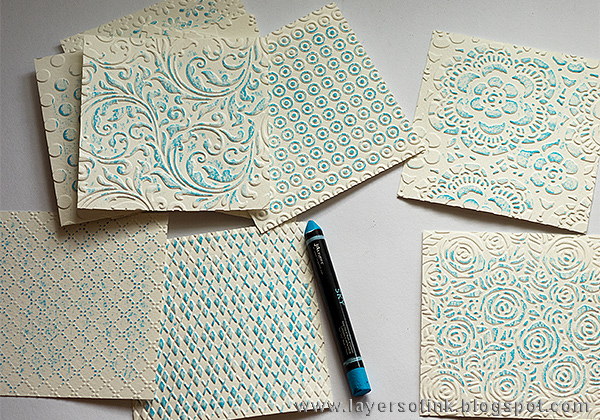
I wanted to add some color and scribbled a blue Scribble Sticker over the papers. The color will mainly end up on the embossed areas, giving you both color and texture at the same time.

If you want to, dissolve the color with water, but don't use too much water.

When the papers were dry, I scribbled on some more blue here and there, leaving it as it was this time and not adding more water.

Wet the tip of the Scribble Stick and flick a paint brush against it to splatter color on the background. You could use a contrasting color, or black, but I went with the same shade of blue.

Distress all the edges.

Place the squares on a piece of background cardstock and apply double-sided tape to the centers. Since I was planning to stitch, I avoided taping the edges, since I try not to stitch through adhesive with my sewing machine.

Sew around all the squares. I really like this look.

Die cut letters from white mat board using Tim Holtz Deco Alphabet die.

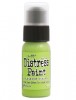
Paint with Distress Paint.

Coat the letters with Glossy Accents, for a great finished look.

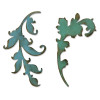
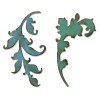
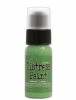
Die cut flourishes from white mat board with the new Scroll die and paint them green. I really like the shape of the two flourishes you get on the die, and it is a Bigz die so it die cuts thick materials too.
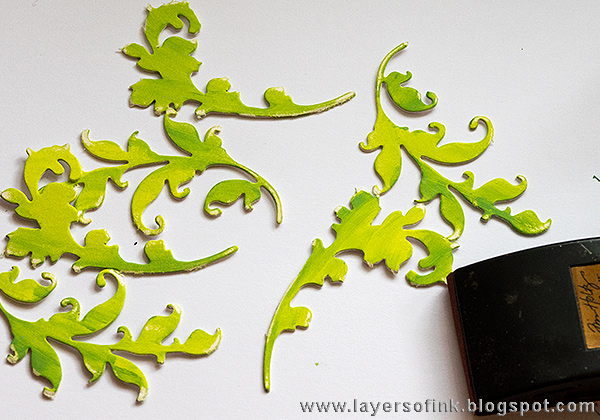
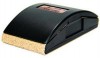
Sand the edges carefully.

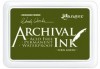
Stamp dots on the flourishes with Fern Green ink.
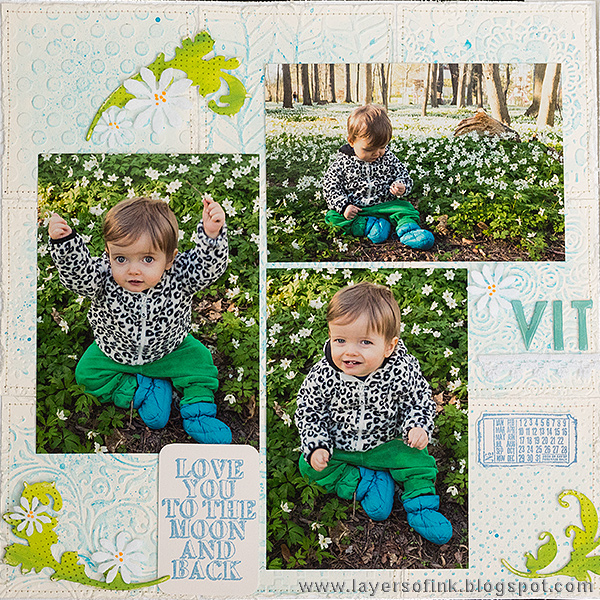
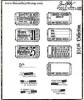
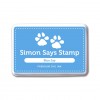
I stamped a sentiment and tickets on cream cardstock with blue ink.

All the embossed patterns looks great together and creates a textured background that doesn't overpower whatever you put on top of it.

To mimic the flowers, I die cut three sizes of flowers from Tim Holtz Small Tattered Florals from white wool felt and added yellow dots with Buttercup Liquid Pearls.

Glue the flowers here and there on the pages.

Here's another close-up of the embossed texture of the background, with the splatters.

I really like the Tim Holtz set with these tickets and sentiments and have used them a lot in the past too.
Thank you so much for stopping by here today.
Anna-Karin
Supplies: