Hello friends! We had a very mild autumn, but the weather has turned and this morning the snow was falling down really fast. All our winter gear is now out and we have been playing in the snow. It is a new thing for Leo, since he is too small to remember the snow from last year. He enjoys it a lot, with the exception of all the thick clothes he has to wear.
It is Monday and this week we have a Shine Bright Like a Diamond theme at the Simon Says Stamp Monday Challenge. Since it is the first Monday of a new month the team is showcasing a specific designer/company, and this week it is Tim Holtz. Don't miss all the inspiration posted by the team. You don't have to use Tim Holtz products to join in, but it is always fun if you do. The SSS Monday blog also has a new fantastic look.
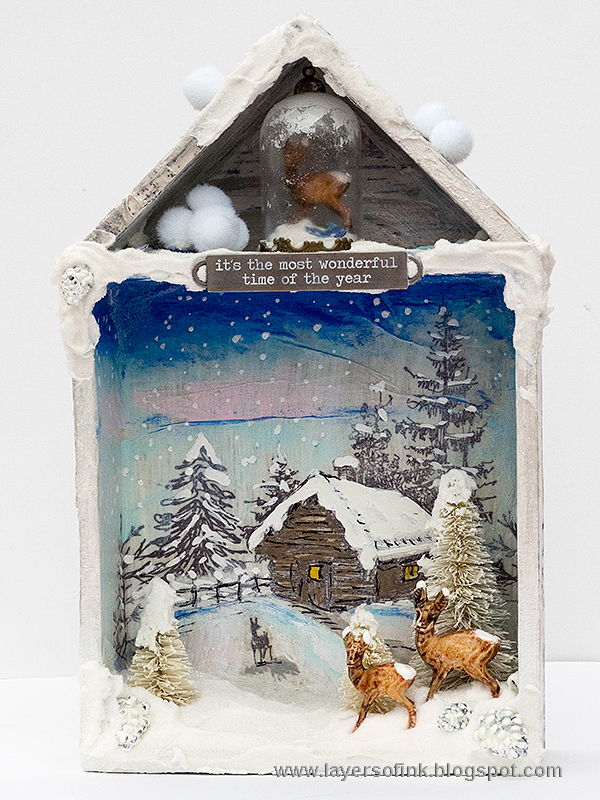
I love doing winter projects, and one of my favourte things is to create snow in different ways, so for this week I made a winter wonderland shadow box, filled with snow and some really cute inhabitants. It is very glittery and shiny and I will show you a bunch of different ways in which you can create the look of snow, and not only for 3-D projects. Let's start.
I used a
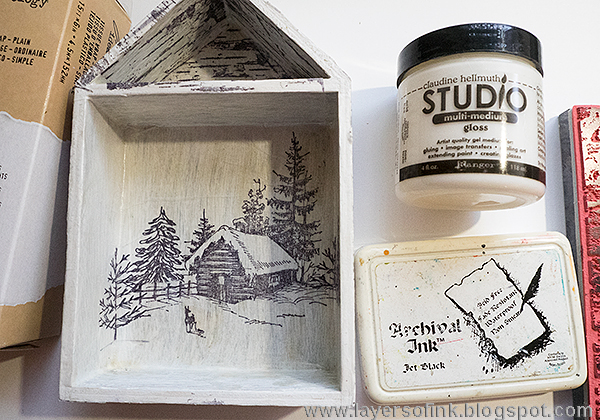
Vignette Box House as my base and coated it in a couple of layers of white gesso.
I wanted to use the lovely cottage from the
Scribble Woodland set as a backdrop to my forest scene, but since it is very hard to stamp inside the box and on the rough surface of the Vignette Box House, I stamped it on
Tim's tissue paper instead. I also wanted to extend the forest a little and added trees from the
Scribbly Christmas set. They work great together with the sketchbook style of the cottage stamp.
Stamp the
Birch background repeatedly on tissue paper.
Apply Gloss Multi Medium to the box, working one section at a time. Place the tissue paper on top and add another layer of medium on top of the tissue paper.
The top shelf and edges were covered with the Birch stamped tissue paper.
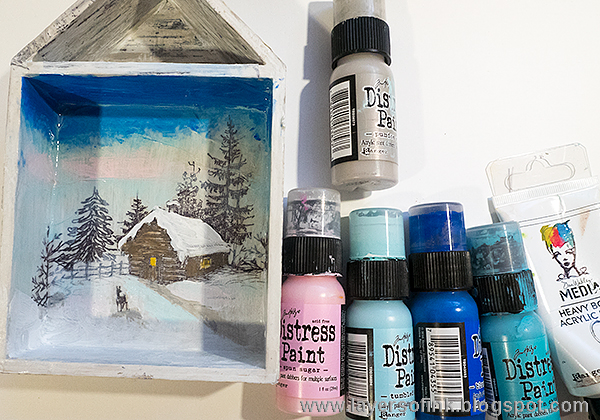
When the gel is dry, you can start painting the scene. I used a mix of Distress Paint and Dina Wakley's white paint. Don't worry if you cover up some of the stamping. The sides were painted with white, Pumice Stone and Pearl.
I added back some details with a marker.
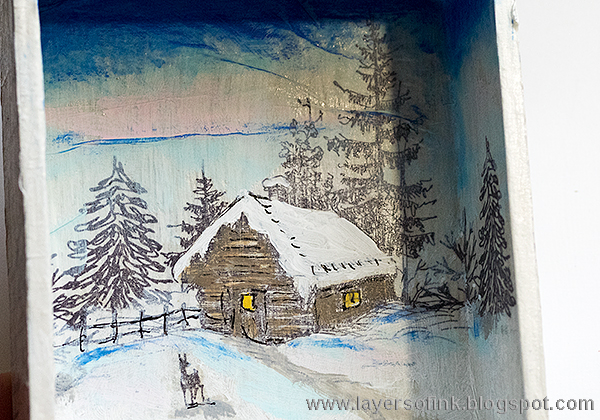
Next, I painted some Pearl Metallic paint on the snowy areas, but not everywhere. I also added snow details to the roof, trees and sky with
Glacier White Enamel Accents.
The new small trees are so cute. I used the
Small Woodland Tree Lot and
Mini Woodland Tree Lot. They were painted white with Picket Fence.
And then added some Pearl on the branches. It is hard to capture the effect on photo.
Aren't these new
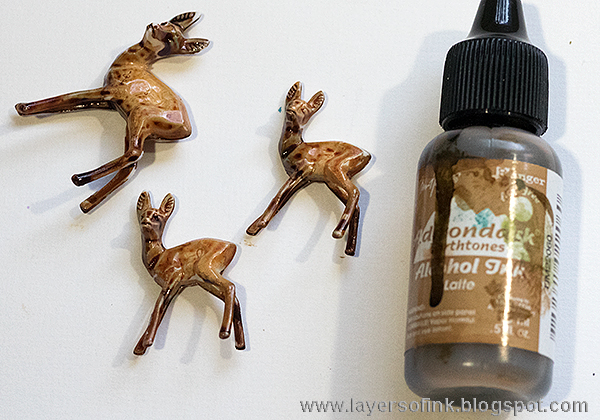
decorative deer so cute? I coloured them with Latte alcohol ink. Simply drip it on.
I wanted the
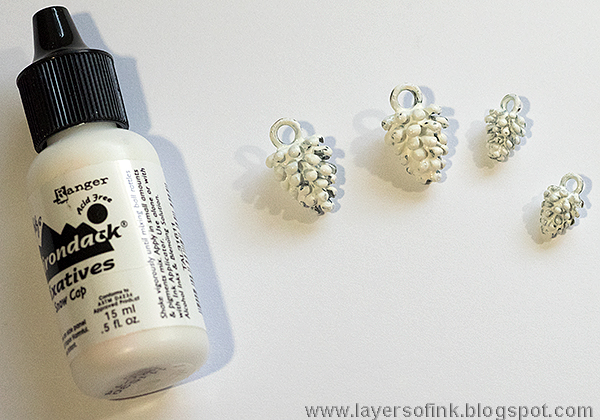
idea-ology pinecones to be white and coloured them with Snow Cap alcohol ink.
Next apply a generous amount of white
Texture Paste to the bottom of the box as snow. Press the trees into the paste and add some on top of them too. Press the pinecones into the paste. Cover everything with
Rock Candy glitter and you have wonderful looking snow.
I also added paste to the top of the house and pressed a few
28 Lilac Lane sequins into it before covering with glitter.
There is also paste along the top shelf of the box and a bit on the shelf itself.
I also made a little dome, which is not glued to the box. I thought I would take it out at Christmas and hang it in our tree. The dome was given some snow with Snow Cap ink. Inside I placed a bit of Texture Paste and a few sequins and one of the small deer. Sprinkle the paste with Rock Candy glitter. The dome was really hard to photograph since my camera didn't want to focus on the deer through all that snow.
I made a little snowball lantern from
pom poms.
A few sequins are placed on the top shelf too.
Here you can see that I painted the sides of the box with a little white, Pumice Stone and pearl paint. I love Birch trees.
Press the
deer into the snow. I also added some Glacier White Enamel Accents to the deer, as snow.
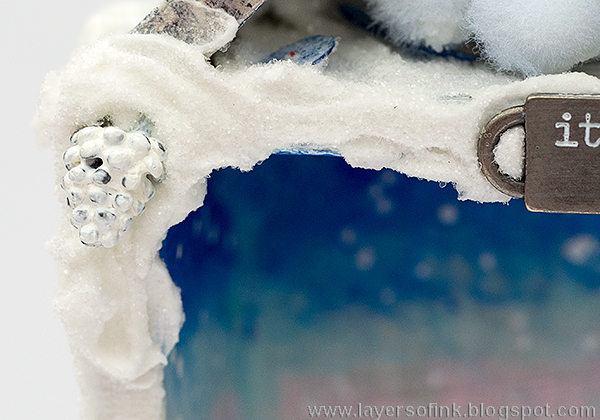
Here's a closer look at the
pinecones.
The scene has a lot of depth with the thick layer of snow in the front and cottage in the back.
Here's a better look of the
Enamel Accent snow on the cottage and trees. I like to mix different textures of snow.
The snow on the trees and falling from the sky adds to the winter feeling of the scene.
From the top, the box looks like this. The deer are placed towards the front of the box, for the sake of creating a sense of perspective.
I think you might see the shine of the Rock Candy snow a little better on this photo. For another example of making snow in this manner, check out my
Winter Church tutorial.
The sides of the box looks like this. You can also add more decorations to them, if you'd like to.
This little scene combined some of my favourite things: trees, houses, snow, shadow box, and making nature scenes. Since it isn't Christmas themed, it can be displayed all through winter.
I hope you will join us in our Shine like a Bright Diamond challenge. As every week, you have a chance to win a $50 gift voucher from Simon Says Stamp. You have until Monday 8am Ohio time. 1pm UK time, 2 pm CET to join in.
Do you use Instagram? If so please add #sssmchallenge so we can see your entries there too.

 Thank you so much for stopping by today!
Happy stamping!
Anna-Karin
Supplies:
Thank you so much for stopping by today!
Happy stamping!
Anna-Karin
Supplies: