
Hello crafters! I hope you are well and healthy. It is Monday again and we are back with a new Simon Says Stamp Monday Challenge Blog theme.
Please note: this post has affiliate links, for which I receive a small percentage of sales generated by the link, at no extra cost to you.

This week our theme is 'Food and/or Drink'. I hope you will join us!
Don't miss the project by our June guest designer Ann Chuang will be joining us.

I am very fond of berries: strawberries, currants, blueberries, blackberries and more. This tag is all about blackberries. I used the Fodder Berry Edition stamp set by Paper Artsy / Alison Bomber for the berries and colored them with watercolors.

I started with a piece of watercolor paper that had been colored with Distress Ink and Distress Oxide Ink (it was leftover from another project).

Stamp Paper Artsy Alison Bomber Fodder Berry Edition twice with Jet Black Archival Ink.

Paint with watercolors, dropping in other shades while the first layer is still wet. I used Daniel Smith watercolors.

Splatter paint over the berries. Stamp the background with the dot stamp from Tim Holtz Tiny Textures, using Antique Linen and Speckled Egg Distress Oxide. Mist with water before stamping.

The sentiments from Simon Says Stamp Be Your Beautiful Self was white embossed on paper where I tested the watercolors used for the berries. Die cut with the coordinating dies, or with scissors.

Stamp textures from Fodder Berry Edition here and there.

Add highlights with a white gel pen.

Ink the edges with Distress Ink.

I tied a mix of fibers, lace and organza to the tag.

I die cut the sentiments from Simon Says Stamp Shimmery Vellum too and off set slightly.

I also stitched a few purple buttons to the tag and distressed the edges.

With a white gel pen, it is easy to add highlights to the berries.

I stamped the sentiments with black ink first, but decided to use white embossing instead, for a lighter look.

I stamped the background with an alphabet stamp from Paper Artsy Alison Bomber Crocus Edition.


Join us this week in our Food and/or Drink challenge! You have a chance to win a $25 gift voucher to do some fun shopping at Simon Says Stamp. You have until Monday 8am Ohio time. 1pm UK time, 2 pm CET to join in.
%20(1).jpg)
Do you use Instagram? If so please add #sssmchallenge so we can see your entries there too.


Thank you so much for visiting today!
Happy crafting!
Anna-Karin
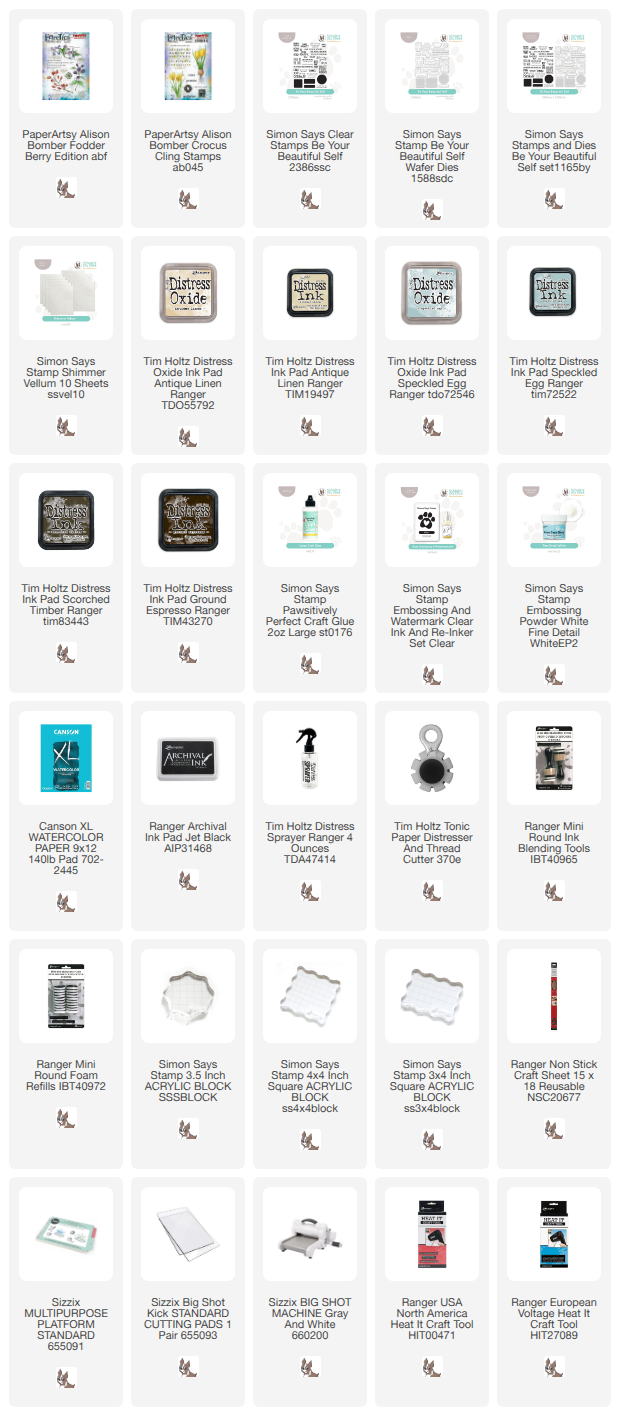
Supplies:
* Please note: the links are affiliate links, for which I receive a small percentage of sales generated by the link, at no extra cost to you.
* Please note: the links are affiliate links, for which I receive a small percentage of sales generated by the link, at no extra cost to you.
No comments:
Post a Comment
Thank you so much for leaving a comment! Happy Crafting!