
Hello crafters! Today I have a Christmas card to share, with with products from Simon Says Stamp new Sugar & Spice release.
Please note: this post has affiliate links, for which I receive a small percentage of sales generated by the link, at no extra cost to you.

Ever since I got my first embossing folder many years ago, I have have liked dry embossing. There is something almost amazing with how you place flat sheet of paper into the folder, run it through the machine and get a dimensional paper on the other side.

Ink the Simon Says Stamp Festive Wreath Embossing Folder with Frayed Burlap and Antique Linen. Mist the folder with water. Mist the back of the watercolor paper with water too. Emboss.

Paint the wreath with watercolor paint. I used Daniel Smith watercolors.

When the first layer is dry, splatter more watercolor paint on the design.

Die cut a Simon Says Stamp Plaque Slider from cream paper and stamp one of the sentiments from Simon Says Stamp Plaque Slides Christmas with Pawsitively Saturated Tidepool ink.

Distress the edges of the watercolor paper. Mat on Mint and Sea Glass Simon Says Stamp cardstock and then on folded cream cardstock. Stitch messily around the edges twice.

I glued Simon Says Stamp Pawsitively Dazzling Opal Gems here and there, using the smallest size gems.

Adhere the plaque with brads.

I also added a Tim Holtz sentiment sticker.

Splattering adds texture and hides any small mistakes you might have done with coloring.

Thank you so much for visiting today!
Happy crafting!
Anna-Karin
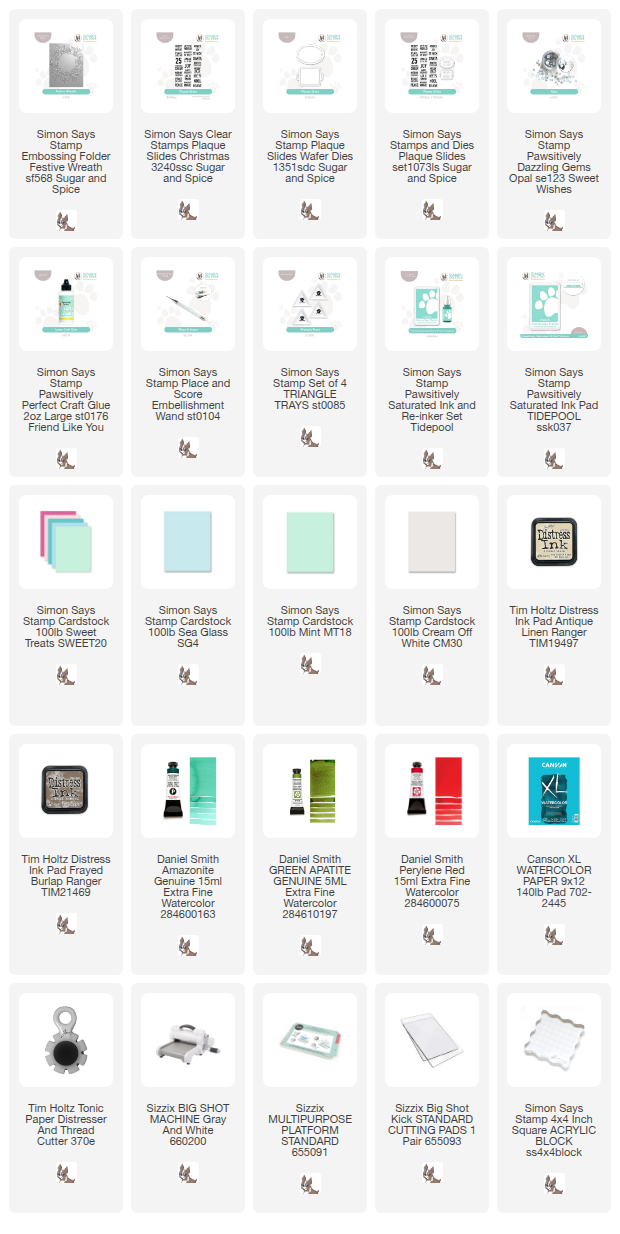
Supplies:
* Please note: the links are affiliate links, for which I receive a small percentage of sales generated by the link, at no extra cost to you.
* Please note: the links are affiliate links, for which I receive a small percentage of sales generated by the link, at no extra cost to you.
No comments:
Post a Comment
Thank you so much for leaving a comment! Happy Crafting!