Tuesday, October 28, 2025

Shimmery Pumpkin Card

Hello crafters! Today I have a fun and quick card to share with a double embossed background.

Please note: this post has affiliate links, for which I receive a small percentage of sales generated by the link, at no extra cost to you.

Layers of ink - Shimmery Pumpkin Card by Anna-Karin Evaldsson.

Pumpkins are fun. They can have many different colors, shapes and textures. Here they cover the entire background. This is a fun technique to do with many types of embossing folders and it is quick, while at the same time giving texture, shimmer and interest.

Apply embossing ink to the folder and emboss.

Start by applying embossing ink to Simon Says Stamp Autumn Gourds folder. Mist the back of watercolor paper with water and then emboss. Sprinkle white embossing powder all over the card. Don't worry about removing powder that is in the wrong place.

Spray with Distress Spritz and Distress Spray Stain.

Mist the background first with a little Distress Spray Stain Spiced Marmalade and then with Distress Spritz Spiced Marmalade and Antique Linen. Finish with a tiny bit of Walnut Stain.

Die cut Simon Says Stamp Simple Hello.

Die cut Simon Says Stamp Simple Thanks from cream, kraft and gold glitter cardstock. Glue together, off-setting slightly. Adhere with Simon Says Stamp Pawsitively Perfect Foam Tape. The small sentiment comes from Simon Says Stamp Wildflower Cuttings.

Add Simon Says Stamp Pawsitively Dazzling Mandrarin gems.

Here you can see the shimmer and the texture better. I also added Simon Says Stamp Pawsitively Dazzling Mandarin Gems to the card.


The panel was mounted on yellow and orange paper and then on folded kraft cardstock.


When embossing powder ends up in the wrong place, it just adds texture.


Thank you so much for visiting today! 

Happy crafting!

Anna-Karin

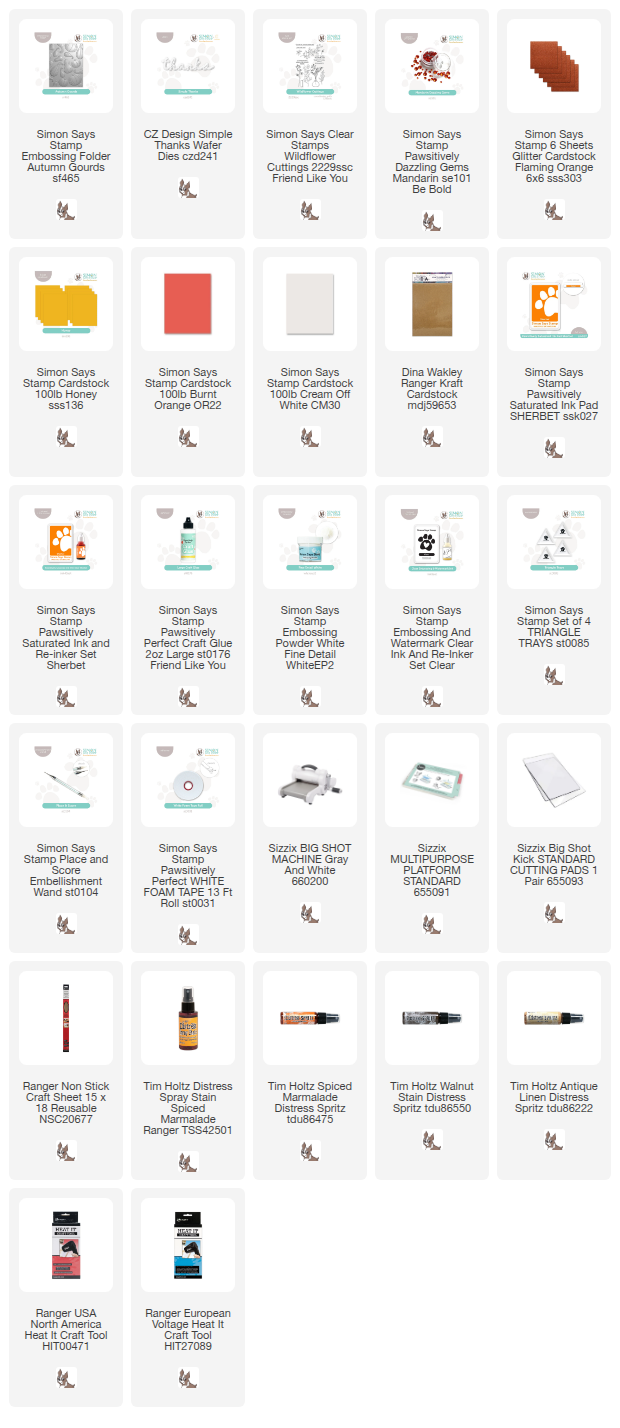
Supplies:

* Please note: the links are affiliate links, for which I receive a small percentage of sales generated by the link, at no extra cost to you.


Monday, October 27, 2025

Colorful Mushroom Tag Tutorial

Hello friends! It is Monday again and I have a tag with textured and colorful mushrooms to share with you.

Please note: this post has affiliate links, for which I receive a small percentage of sales generated by the link, at no extra cost to you.


It is time for a new Simon Says Stamp Monday Challenge Blog and this week our theme is Add Texture. Adding texture with different techniques is one of my favorite things to do. During October Alison Bomber is our guest designer. I hope you will visit her blog and look at the beautiful project she has created for the challenge.

Layers of ink - Mushroom Tag Tutorial by Anna-Karin Evaldsson.

I made a tag with a textured inky background, textured mushrooms made from collage paper and additional texture in the shape of cheese cloth and gems.

Coat old book paper with mat medium.

This collage paper is a favorite of mine. Adhere piece of old book paper to watercolor paper with Matte Medium. Add a layer of medium on top too.

Coat with gesso.

Coat with gesso, but let the text show through.

Die cut Simon Says Stamp mushrooms.

When dry, die cut Simon Says Stamp Tall Mushrooms, Pocket Full of Mushrooms and Mushroom Stems from the collage paper.

Paint with Distress Paint.

Paint the pieces with Distress Paint, adding water to make it less opaque.

Shape and assemble the mushrooms.

Shape the mushrooms with Tim Holtz Shaping Kit and adhere the hats with Simon Says Stamp Pawsitively Perfect Foam Tape.

White emboss grasses.

White emboss the grasses from Tim Holtz Nature's Discovery on a tag.

Ink with Distress Ink and Distress Oxide Ink.

Smear Distress Inks on a non-stick craft sheet, mist with water and press the tag into the ink. Let dry and repeat until you are happy with the look. I forgot to take photos of this step. As a final layer, I added a little Distress Oxide Ink.

Stamp with Simon Says Stamp Crackle Background and Old Letter.

Stamp Simon Says Stamp Old Letter here and there and the Crackle Background at the bottom of the tag, for even more texture.


Here you can see all the layers of Distress Ink, Distress Oxide Ink and stamping. The sentiment strips are AALL & Create Mindful Moments.


Most of the mushrooms were adhered with foam tape. I like that you can spot words through the gesso and paint. The large mushroom has the word 'London' in the background.


Vary the angle and overlap some of the mushrooms.

Colorful paper mushrooms.

I also added some cheese cloth dyed with Frayed Burlap Distress Ink and Simon Says Stamp Pawsitively Dazzling Sprout Gems. The sentiment comes from Simon Says Stamp Forest Scenery.

Layers of ink - Mushroom Tag Tutorial by Anna-Karin Evaldsson.

Here you can see the dimension better.

Layers of ink - Mushroom Tag Tutorial by Anna-Karin Evaldsson.

I hope you enjoyed this tutorial!

Join us this week in our Add Texture challenge! You have a chance to win a $25 gift voucher to do some fun shopping at Simon Says Stamp. You have until Monday 8am Ohio time. 1pm UK time, 2 pm CET to join in.


Do you use Instagram? If so please add #sssmchallenge so we can see your entries there too.


Thank you so much for visiting today! 

Happy crafting!

Anna-Karin

Supplies:

* Please note: the links are affiliate links, for which I receive a small percentage of sales generated by the link, at no extra cost to you.


Sunday, October 26, 2025

Winter Wreath Card Tutorial

Hello crafters! Today I have a Christmas card to share, with with products from Simon Says Stamp new Sugar & Spice release.

Please note: this post has affiliate links, for which I receive a small percentage of sales generated by the link, at no extra cost to you.

Layers of ink - Winter Wreath Card Tutorial by Anna-Karin Evaldsson.

Ever since I got my first embossing folder many years ago, I have have liked dry embossing. There is something almost amazing with how you place flat sheet of paper into the folder, run it through the machine and get a dimensional paper on the other side. 

Dry emboss the Simon Says Stamp Festive Wreath folder.

Ink the Simon Says Stamp Festive Wreath Embossing Folder with Frayed Burlap and Antique Linen. Mist the folder with water. Mist the back of the watercolor paper with water too. Emboss.

Paint with Daniel Smith watercolors.

Paint the wreath with watercolor paint. I used Daniel Smith watercolors.

Splatter with watercolor paint.

When the first layer is dry, splatter more watercolor paint on the design.


Add Simon Says Stamp Pawsitively Dazzling Opal Gems.

Distress the edges of the watercolor paper. Mat on Mint and Sea Glass Simon Says Stamp cardstock and then on folded cream cardstock. Stitch messily around the edges twice.


I glued Simon Says Stamp Pawsitively Dazzling Opal Gems here and there, using the smallest size gems.


Adhere the plaque with brads.

Stitch around the edges.

I also added a Tim Holtz sentiment sticker.

Splattering adds texture and hides any small mistakes you might have done with coloring.


Thank you so much for visiting today! 

Happy crafting!

Anna-Karin

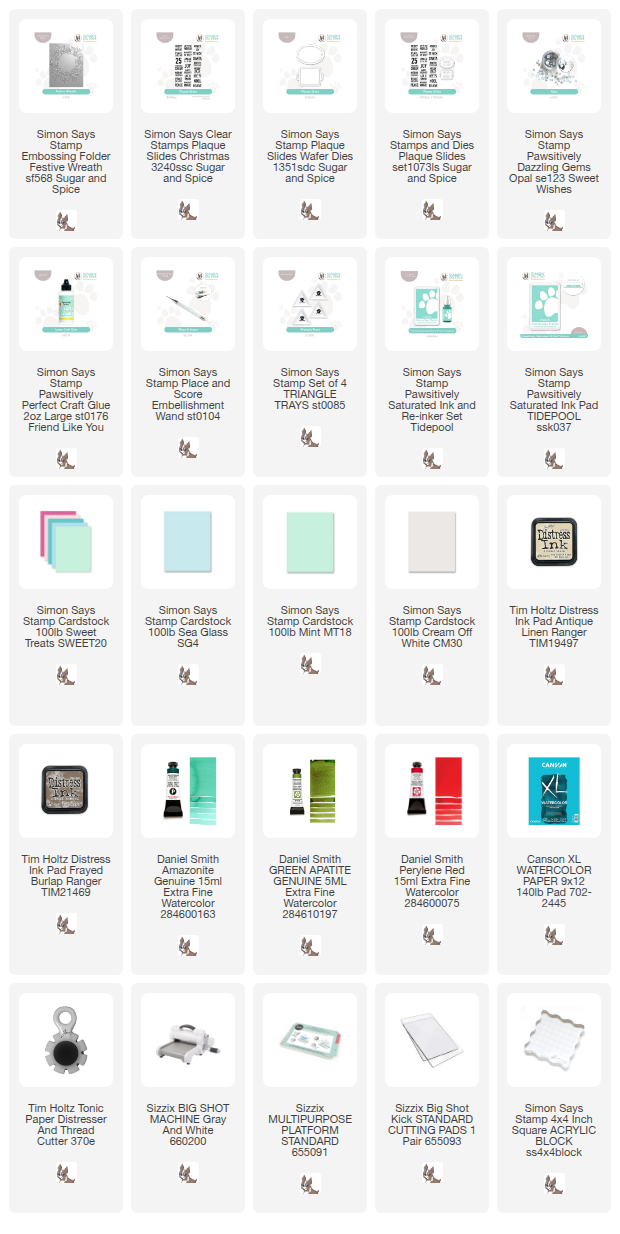
Supplies:

* Please note: the links are affiliate links, for which I receive a small percentage of sales generated by the link, at no extra cost to you.


Friday, October 24, 2025

Skull Halloween Card

Hi friends! I hope you are well. It is getting darker here and today it is raining. I have a fun Halloween card to share.

Please note: this post has affiliate links, for which I receive a small percentage of sales generated by the link, at no extra cost to you.

Layers of ink - Skull Halloween Card Tutorial by Anna-Karin Evaldsson.

Halloween crafting is so fun and you can make things that would otherwise seem a little crazy. Here I had the idea of creating a wallpaper background, with a frame and a poor fellow in the frame. I happened to find a suitable piece of old book paper to add to the projects. 

White emboss the background stamp.

Start by white embossing Tim Holtz Skulls and Cobwebs on heavystock paper.

Ink with Distress Ink.

Smear Distress Ink Wilted Violet over the background and blend with an ink-blending tool. The embossing resists the ink.

Mist with Distress Spritzer.

Mist the background with Uncharted Mariner Distress Spritz and then apply a little Perfect Pearls.

Stamp Tim Holtz Mr Bones.

Stamp the skull from Tim Holtz Mr. Bones on left-over watercolored or inky paper. 

Ink with Distress Ink.

Cut out and use a white gel pen to make the teeth, hat highlights and white of the eye white. Ink the edges.


Use Tim Holtz Shaping Kit to add shape and dimension to the skull. The eye protrudes, while the eye hole recedes.

Stamp with Simon Says Stamp Wood Planks.

Stamp Simon Says Stamp Wood Planks on a piece of Tim Holtz Backdrops paper and cut into a frame.


I added a few Clippings Stickers and Simon Says Stamp Lilac Dazzling Gems. Here you can also see the shine from the mist and Perfect Pearls.

Add Glossy Accents to the eye.

The skull was adhered with two layers of Simon Says Stamp Pawsitively Perfect Foam Tape and the eye is coated with Glossy Accents. 


I just happened to find this strip of paper from an old book and thought it was perfect for the card.


Thank you so much for visiting today! 

Happy crafting!

Anna-Karin

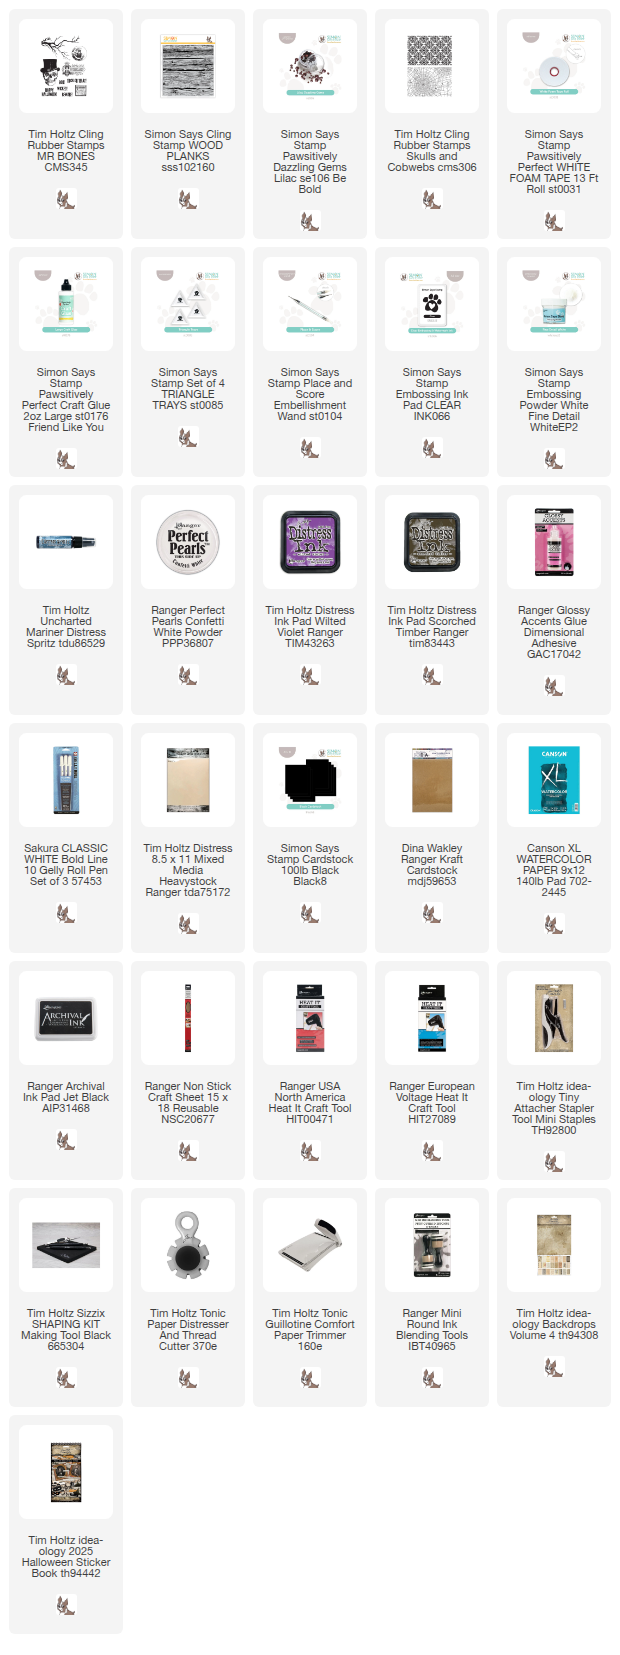
Supplies:

* Please note: the links are affiliate links, for which I receive a small percentage of sales generated by the link, at no extra cost to you.