Monday, September 22, 2025

Autumn Banner Tag

 Hello friends! I hope you had a good weekend!

Please note: this post has affiliate links, for which I receive a small percentage of sales generated by the link, at no extra cost to you.
It is time for a new Simon Says Stamp Monday Challenge Blog and this week our theme is Sentiment as the Focus. I really like sentiments, large and small. During September Carol Gunn is our guest designer. I hope you will visit her blog and look at what she has created for the challenge.


Layers of ink - Autumn Banner Tag Tutorial by Anna-Karin Evaldsson.

I made a tag with a sentiment as the focus, framing the sentiment with an autumn ribbon banner. The sentiment and the coordinating ribbon comes from Simon Says Stamp Pumpkin Blessings, from the new STAMPtember® release. I didn't add much else to the tag, just gems and ribbons.

Stamp with Simon Says Stamp Pumpkin Blessings.

Start by stamping the ribbon image from Simon Says Stamp Pumpkin Blessings on a tag cut from watercolor paper.

Watercolor with Daniel Smith watercolor paint.

Paint with watercolors. I used Daniel Smith watercolor paint.

Watercolor the background.

Paint the background and drop in some darker shade. 

Stamp with Simon Says Stamp Crackle Background.

When dry, stamp the background with Simon Says Stamp Crackle Background.


Add some white highlights with a gel pen and ink the edges with Scorched Timber ink.

Add Simon Says Stamp Pawsitively Dazzling Gems.


Add dimension by making the shadow area of the ribbon darker.


Leave some of the paper showing for highlights, but if you forget, you can add highlights with a white gel pen too.

Don't miss all the inspiration and daily surprises during STAMPtember. 


Join us this week in our Sentiment as the Focus challenge! You have a chance to win a $25 gift voucher to do some fun shopping at Simon Says Stamp. You have until Monday 8am Ohio time. 1pm UK time, 2 pm CET to join in.


Do you use Instagram? If so please add #sssmchallenge so we can see your entries there too.


Thank you so much for visiting today! 

Happy crafting!

Anna-Karin

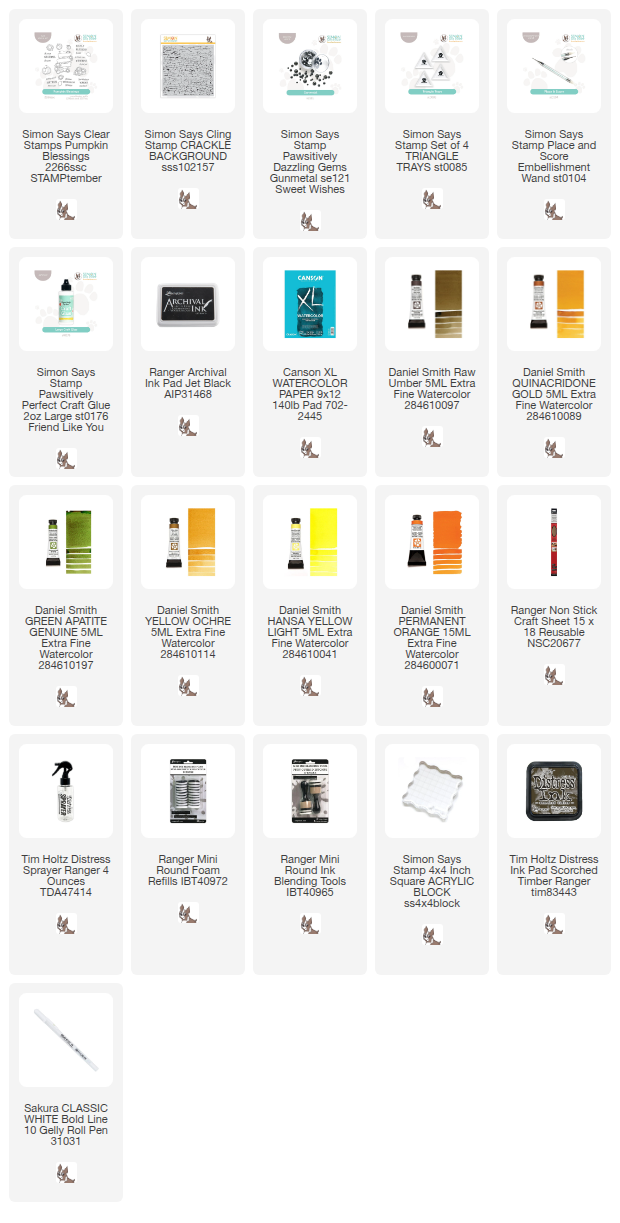
Supplies:

* Please note: the links are affiliate links, for which I receive a small percentage of sales generated by the link, at no extra cost to you.


Wednesday, September 17, 2025

Pumpkin Card Tutorial

Hello friends! Autumn is in the air and today I have a card filled with pumpkins and leaves to share. 

Please note: this post has affiliate links, for which I receive a small percentage of sales generated by the link, at no extra cost to you.

Layers of ink - Pumpkin Card Tutorial by Anna-Karin Evaldsson.

I used new Simon Says Stamp STAMPtember® products for the pumpkins and, leaves and sentiment. The pumpkins were made with one of my favorite techniques, coloring with colored pencils on patterned paper. The background is watercolored and dry embossed. 


Start by stamping the Simon Says Stamp Pumpkin Blessings on various Tim Holtz Backdrops papers.

Stamp pumpkins on patterned paper.

Color the pumpkins with colored pencils. I used Prismacolors.

Color with Prismacolors.

Cut them out. You can also use the coordinating Pumpkin Blessings dies.


Die cut leaves with Simon Says Stamp Lively Leaf Corner.

Die cut Simon Says Stamp Lively Leaf Corner from left-over watercolor paper, Simon Says Stamp gold glitter cardstock and Tim Holtz Gold kraft stock. 

Paint with Cascade Green Daniel Smith.

Paint watercolor paper with water and then with Daniel Smith Cascade Green. 

Dry emboss the background.

Mist the back of the paper with water and then emboss in Simon Says Stamp Wistful Leaves.

Ink the edges.

Ink the edges. 

Adhere pumpkins and leaves.

Adhere the pumpkins with Simon Says Stamp Pawsitively Perfect Foam Tape. I used two layers of tape under some of the pumpkins. Glue the leaves to the background. I also added Simon Says Stamp Pawsitively Dazzling Mandarin Gems. 


I like how the letters and lines are visible through the coloring on the pumpkins. 


The sentiment stamp also comes from Simon Says Stamp Pumpkin Blessings. 

Layers of ink - Pumpkin Card Tutorial by Anna-Karin Evaldsson.

Don't miss all the inspiration and daily surprises during STAMPtember.


Thank you so much for visiting today! 

Happy crafting!

Anna-Karin

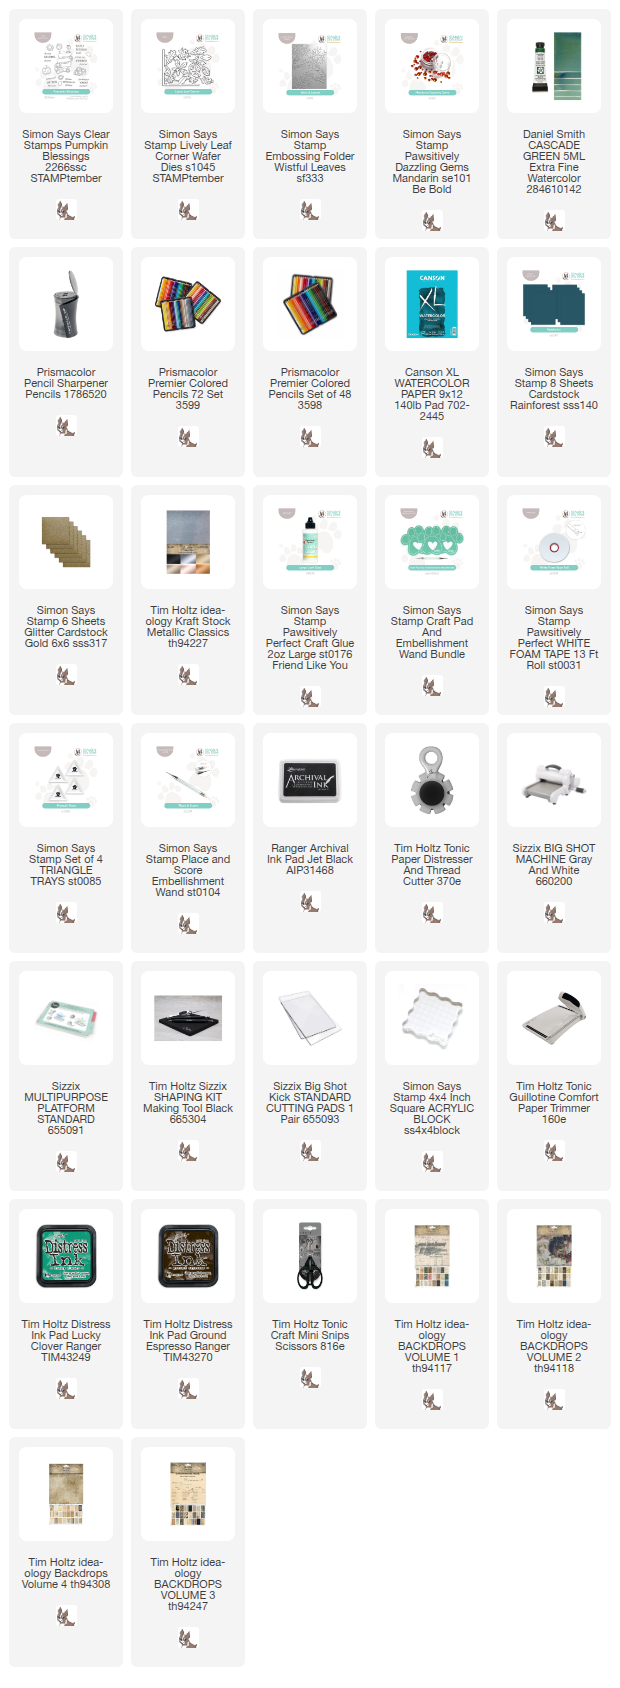
Supplies:

* Please note: the links are affiliate links, for which I receive a small percentage of sales generated by the link, at no extra cost to you.


Monday, September 15, 2025

Embossed Metallic Tag

Hello crafters! It is Monday again and I hope you had a good weekend. We did some second-hand shopping and painted a model airplane. 

Please note: this post has affiliate links, for which I receive a small percentage of sales generated by the link, at no extra cost to you.


It is time for a new Simon Says Stamp Monday Challenge Blog and this week our theme is Add Metal. Fun! It can be real metal or faux metal. Lots of options! During September Carol Gunn is our guest designer. I hope you will visit her blog and look at what she has created for the challenge.


Layers of ink - Embossed Metallic Tag Tutorial by Anna-Karin Evaldsson.

I enjoy using metallic elements or faux-metal on projects and made a tag with lots of metal. The background was covered with metallic tape and dry embossed. I found some old metallic buttons in my stash and used them as flower centers.
Emboss with Simon Says Stamp Boho Flowers folder.

Start by adhering Ranger foil tape to a heavystock tag and then emboss in Simon Says Stamp Boho Flowers folder.

Paint with Distress Paint.

Paint the tag with Distress Paint and leave until it is almost dry. I used Salvaged Patina, Mermaid Lagoon and Scorched Timber.

Wipe off most of the paint.

Before the paint dries completely, wipe with a paper towel to remove quite a lot of the paint.

Silver emboss an hello word.

Die cut Simon Says Stamp Fancy Hello from heavystock paper and emboss with several layers of silver embossing powder. Always be careful when using a heat tool and do not touch the melted powder until it has cooled down completely.

Die cut Simon Says Stamp Charming Flower Stem.

Die cut Simon Says Stamp Charming Flower Stem from kraft cardstock and old book paper. Cut off the stem and shape with Tim Holtz Shaping Tool. 


Die cut the mat for Fancy Hello from Tim Holtz kraft stock, sand slightly and adhere with Simon Says Stamp Pawsitively Perfect Foam Tape. 

Shape the flowers and add buttons.

Layer the flowers and add an old metallic button to the center. 


You can remove more paint if you want too. I usually remove more paint when doing this technique, but this time, I wanted to keep quite a lot of the paint.

Stamp friend with Simon Says Stamp Swiss Dots.

Friend comes from Simon Says Stamp Swiss Dots set and was stamped on a left-over piece of watercolored paper.


I added a bit more brown paint here and there. 

Layers of ink - Embossed Metallic Tag Tutorial by Anna-Karin Evaldsson.

The tag has quite a lot of dimension. If you want even more, adhere the flowers with foam tape.

Layers of ink - Embossed Metallic Tag Tutorial by Anna-Karin Evaldsson.

I tied fibers, twine and organza ribbon to the top of the tag.

Don't miss all the inspiration and daily surprises during STAMPtember. 


Join us this week in our Add Some Metal challenge! You have a chance to win a $25 gift voucher to do some fun shopping at Simon Says Stamp. You have until Monday 8am Ohio time. 1pm UK time, 2 pm CET to join in.


Do you use Instagram? If so please add #sssmchallenge so we can see your entries there too.


Thank you so much for visiting today! 

Happy crafting!

Anna-Karin

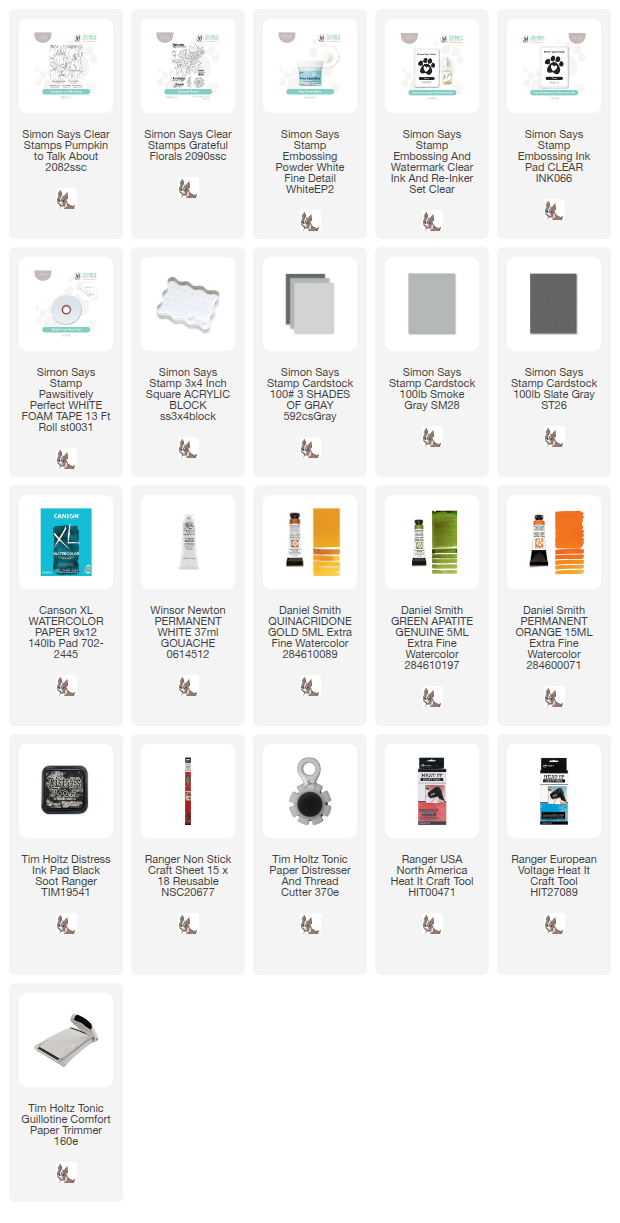
Supplies:

* Please note: the links are affiliate links, for which I receive a small percentage of sales generated by the link, at no extra cost to you.