Hello crafters! It is a new week and I hope you had a good weekend and got some crafty time.
Please note: this post has affiliate links, for which I receive a small percentage of sales generated by the link, at no extra cost to you.
This week we have a Thanks/Thanksgiving theme at the Simon Says Stamp Monday Challenge Blog. I hope you will join us! Our guest designer Teresa York has created a lovely project, don't miss it.
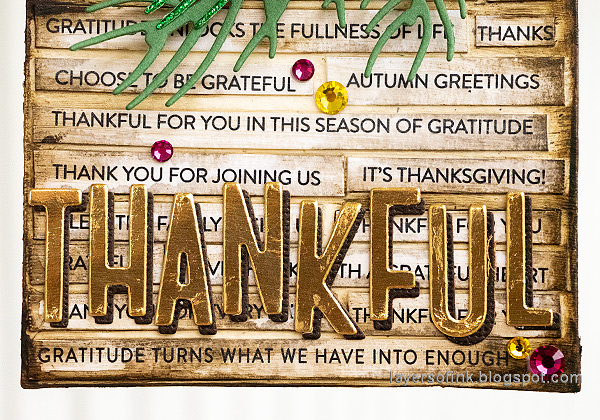
I made a tag this week, with a background made from Simon Says Stamp sentiment strips, stamped flowers colored with pencils, gems for sparkle and gold letters. I like to cover an entire background with words and there are many different ways to do that. You can also use stamps or old book paper.
I used a Gratitude sentiment strip sheet from the new Simon Says Stamp Festive Fun release. Cut one of the pages into strips and then cut apart the individual sentiments. I cut off some of the words too, since I needed shorter sentiments. Glue them to a tag cut from watercolor paper. Add a layer of Matte Medium on top too. Let dry.
Paint with watered-down Distress Paint and mist with more water if needed. Wipe some of the paint off from the words.
Stamp Tim Holtz Floristry on heavystock paper.
I used the coordinating Floristry dies by Simon Says Stamp to die cut most of the larger flowers and some of the smaller ones.
Color with colored pencils. I used Prismacolors. Use a white pencil to blend the colors.
Die cut Simon Says Stamp Pointy Pine Needle Sprigs from green and Pine Glitter cardstock. Tuck the pine needles under the flowers.
Join us this week in our Thanks/Thanksgiving challenge! You have a chance to win a $25 gift voucher to do some fun shopping at Simon Says Stamp. You have until Monday 8am Ohio time. 1pm UK time, 2 pm CET to join in.
Do you use Instagram? If so please add #sssmchallenge so we can see your entries there too.
Thank you so much for visiting my blog today!
Happy crafting!
Anna-Karin
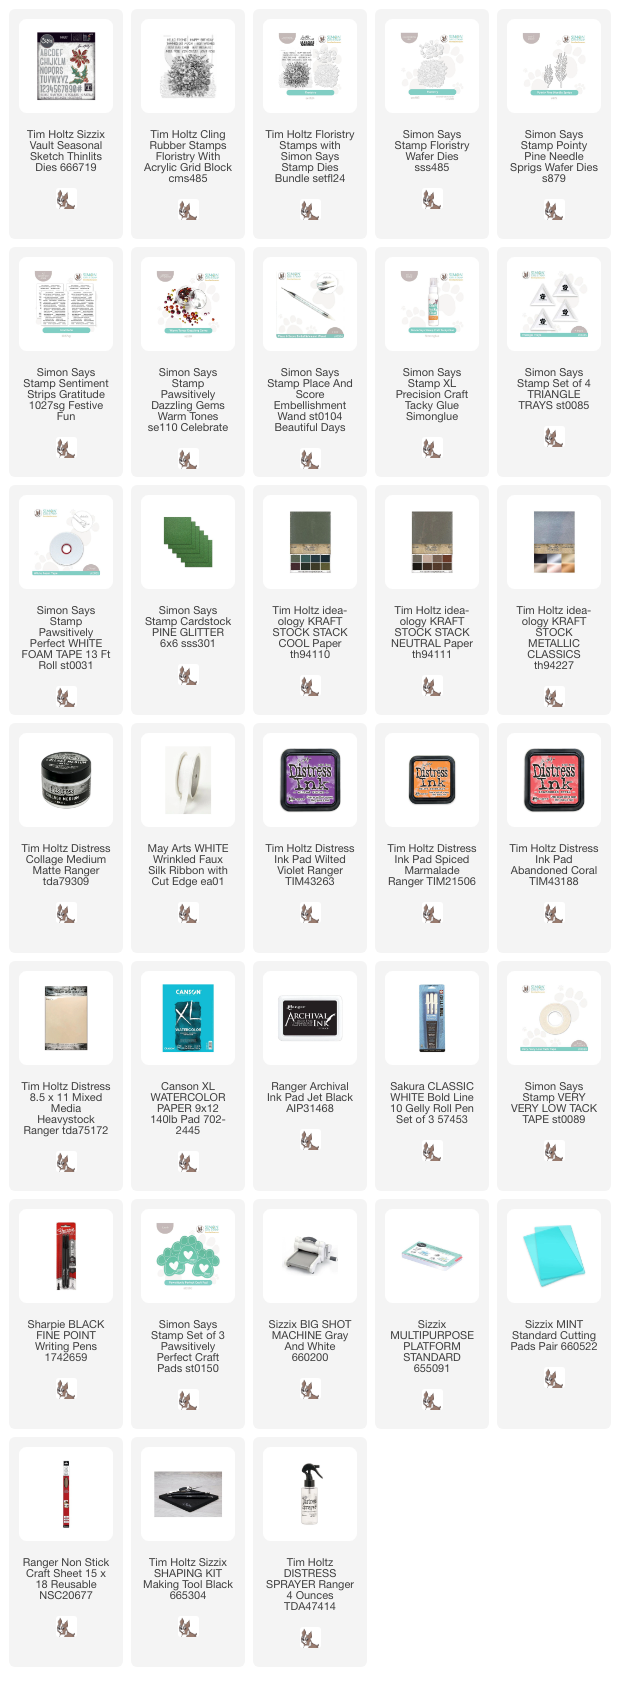
Supplies:
* Please note: the links are affiliate links, for which I receive a small percentage of sales generated by the link, at no extra cost to you.
* Please note: the links are affiliate links, for which I receive a small percentage of sales generated by the link, at no extra cost to you.


.jpg)


No comments:
Post a Comment
Thank you so much for leaving a comment! Happy Crafting!