Saturday, November 30, 2024

Winter Berries Tag

Hello friends! Today I have a tag to share with stamped and watercolored winter berries. I can't believe that this is the last day of November. Tomorrow it is December!

 Please note: this post has affiliate links, for which I receive a small percentage of sales generated by the link, at no extra cost to you.
Layers of ink - Winter Berries Tag Tutorial by Anna-Karin Evaldsson.

I thought the pretty berry branch from Tim Holtz new Forest Floor 2 set deserved to be the focal point of a tag. I am also fond of red winter berries. For this tag, I went with a neutral color scheme, to make the red pop, but also added a little bit of gold.

Color with Distress Ink.

Start with a tag die cut from watercolor paper. Smear Distress Inks on a non-stick craft sheet, mist with water and press the tag into the ink. Let dry and repeat.

Stamp with Tim Holtz Forest Floor 2.

Stamp the berry branch from Forest Floor 2 with Potting Soil ink. Ink parts of the stamp with Jet Black ink and restamp. I used my MISTI to make this easier.

Watercolor the berries.

Smear Distress Ink on the craft sheet and mist with water. Pick up with a paint brush and watercolor the berries and the branches.


When dry, add a white highlight to each berry with a white gel pen. Stamp the sentiment, from Home For Christmas. 

Stamp with Simon Says Stamp Old Letter.

Stamp here and there with Simon Says Stamp Old Letter. By mistake, I inked the stamp with first Potting Soil and then also some Jet Black. 


Ink and distress the edges. The the tag with organza ribbons.

Close up of berries.

The white gel pen will pick up some of the red from the berries, but that doesn't matter.

Add Christmas Sticker Book sentiments.

I also added sentiments from Tim's Christmas Sticker Book, and Simon Says Stamp gold sequins.


The pine branch from Tim Holtz Festive Gatherings was die cut from gold kraft-stock paper. I also added a sentiment from the Christmas Baseboard set.


Thank you for visiting!

Happy Christmas crafting!

Anna-Karin

Supplies:

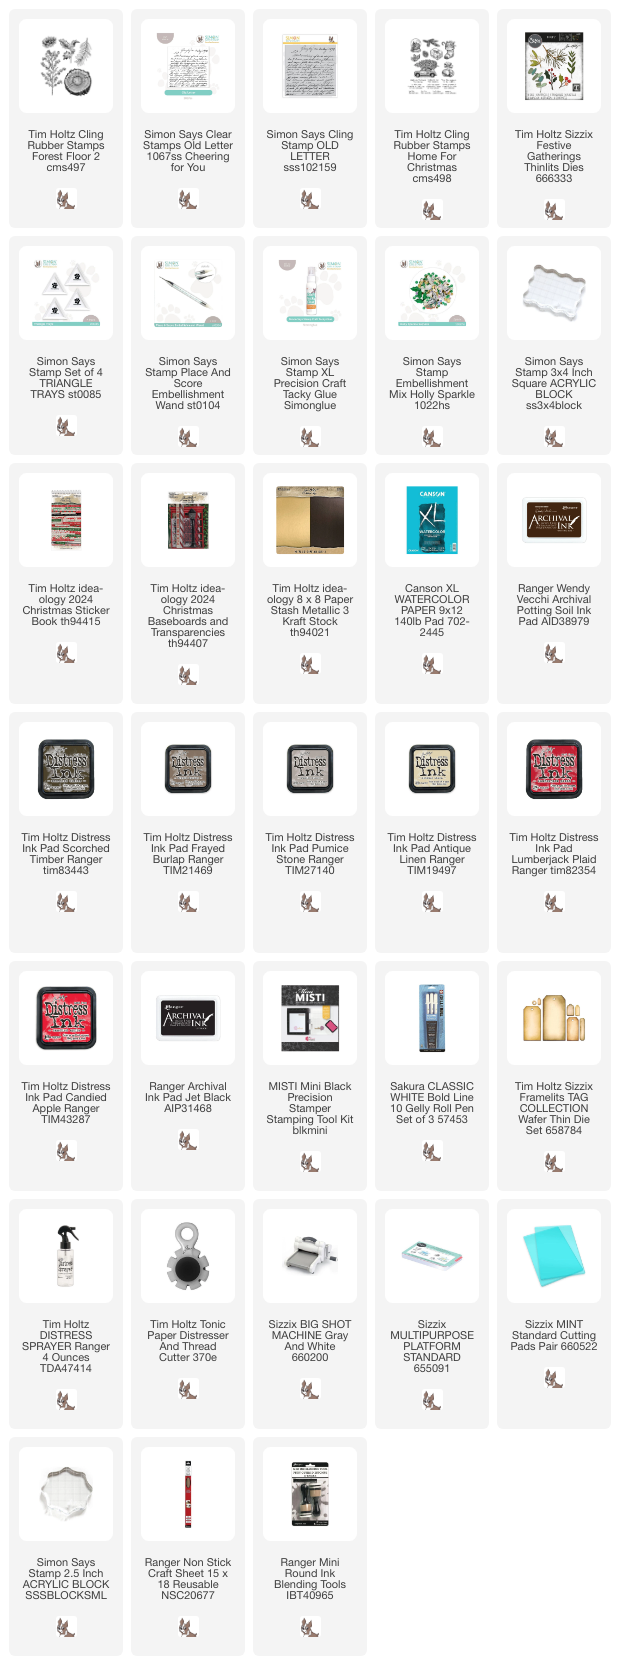
* Please note: the links are affiliate links, for which I receive a small percentage of sales generated by the link, at no extra cost to you.


Friday, November 29, 2024

Paint sampler layout

Hi friends! Today I have a scrapbooking page to share, but with techniques that can be used for cards or tags too. 

Please note: this post has affiliate links, for which I receive a small percentage of sales generated by the link, at no extra cost to you.

Layers of ink - Colorful Layout Tutorial by Anna-Karin Evaldsson.

Seasonal products can often be used for other themes too, and most of the products that I used here are from Christmas sets. When I saw the pretty paint sample page among Tim Holtz Christmas Backdrops and knew I wanted to use the full sheet on something. A scrapbooking page was perfect for that. I picked a photo of my grandmother, my mom and a on or her friends. 

Emboss through the stencil.

Start by applying embossing ink through Tim's Sparkle Fade stencil. Sprinkle with white embossing powder and emboss. I used watercolor paper as my base.

Ink with Distress Inks.

Smear Distress Inks on a non-stick craft sheet and mist with water. Press the paper into the ink. Let dry and repeat. The embossing resists the ink.

Stamp the title and die cut.

Stamp the title letters with Tim's Sign Painter set on a ledger piece of Backdrops paper. I used various green and turquoise Simon Says Stamp Pawsitively Saturated inks. I forgot to include Surf in the photo. Die cut with Simon Says Stamp Sign Painter coordinating dies.

Die cut foliage with Simon Says Stamp Windswept Leaves and Tim Holtz Vault Festive Wreath.

Die cut the poinsettia from Tim's Vault Festive Wreath set from shades of pink left-over inky or watercolored papers. Die cut some foliage from various scrap paper. The Simon Says Stamp Windswept Leaves were die cut from Mint cardstock.

Assemble the flowers.

Shape the flowers just a little and then glue in clusters to the layout. Tuck foliage in here and there.


The Sparkle Fade is such a pretty stencil and worked well with the distressed look of the embossing. I used stickers from Tim's Christmas Sticker Book.


Distress the edges of all the papers to add dimension.

Pink paper flowers.

The largest cluster is under the photo, to help draw the eye to the photo.


I am very fond of alphabet stamps and being able to stamp and die cut my own words. Having coordinating dies makes it even easier. There is a strip of Christmas Backdrops paper under the title.


Thank you for visiting!

Happy Christmas crafting!

Anna-Karin

Supplies:

* Please note: the links are affiliate links, for which I receive a small percentage of sales generated by the link, at no extra cost to you.


Monday, November 25, 2024

Christmas Tree Tag

Hello crafters! It is Monday and time for a new Simon Says Stamp Monday Challenge Blog. We have had a good weekend with lots of snow, most of which seems to be melting as I am writing this.

Please note: this post has affiliate links, for which I receive a small percentage of sales generated by the link, at no extra cost to you.


This week we have an Tree theme at the Simon Says Stamp Monday Challenge Blog. I hope you will join us. Trees happen to be a favorite of mine. It is the last week for our November guest designer Teresa York who has created a stunning tag for the challenge.

Layers of ink - Christmas Tree Tag tutorial by Anna-Karin Evaldsson.

I have fond memories of looking for the perfect Christmas trees as a child in a forest that belonged to a relative. I decided to make the forest green, instead of snowy, on this tag since that is often the case in December. The Christmas tree has a dusting of snow on it though. I used a combination of Distress Ink and colored pencils for this tag.

Stamp the car from Tim Holtz Home for Christmas on the tag.

Start by stamping the car from Tim Holtz Home For Christmas on heavystock tag and on Simon Says Stamp Masking paper.

Ink with Distress Ink.

Place the mask on the tag and ink the background with Distress Inks.

Stamp with Simon Says Stamp Forest Scenery.

I wanted the forest to have a dreamy look, but also to disappear into the background, so that the car with the tree would still be visible. The trees were stamped with Simon Says Stamp Forest Scenery using various shades of green Distress Ink. Mist the stamp with water before stamping.

Color with Prismacolor pencils.

Remove the mask and color the car and the tree with pencils. I used Prismacolor pencils.

Add Simon Says Stamp Pawsitively Dazzling Gems.

Add shading to the car with pencils and a black pen. Add snow and highlights to the car and the tree with a white gel pen. I also glued Simon Says Stamp Sprout Pawsitively Dazzling Gems to the tree and Surf Gems to the sky. I also added Stickles Star Dust to the tree and the windows of the car.


Here you can see the effect of the glitter, gems and pen work on the tree. 

Color pencil car.

The car has these cool horizontal hatch lines and I added some more both with a black pen and with the white gel pen. The sentiment comes from Forest Scenery.

Add snow with a white gel pen.

As a last minute detail, I decided to add dots with the white gel pen, as softly falling snow. The sentiment also comes from Home For Christmas.


Magical was stamped repeatedly without reinking in between. It comes from the Forest Scenery set.


Finally, I found one piece of already dyed May Arts Faux Wrinkled Silk Ribbon on my table and added two organza ribbons.

Join us this week in our Trees challenge! You have a chance to win a $25 gift voucher to do some fun shopping at Simon Says Stamp. You have until Monday 8am Ohio time. 1pm UK time, 2 pm CET to join in.


Do you use Instagram? If so please add #sssmchallenge so we can see your entries there too.


Thank you so much for visiting my blog today! 

Happy Christmas crafting!

Anna-Karin

Supplies:

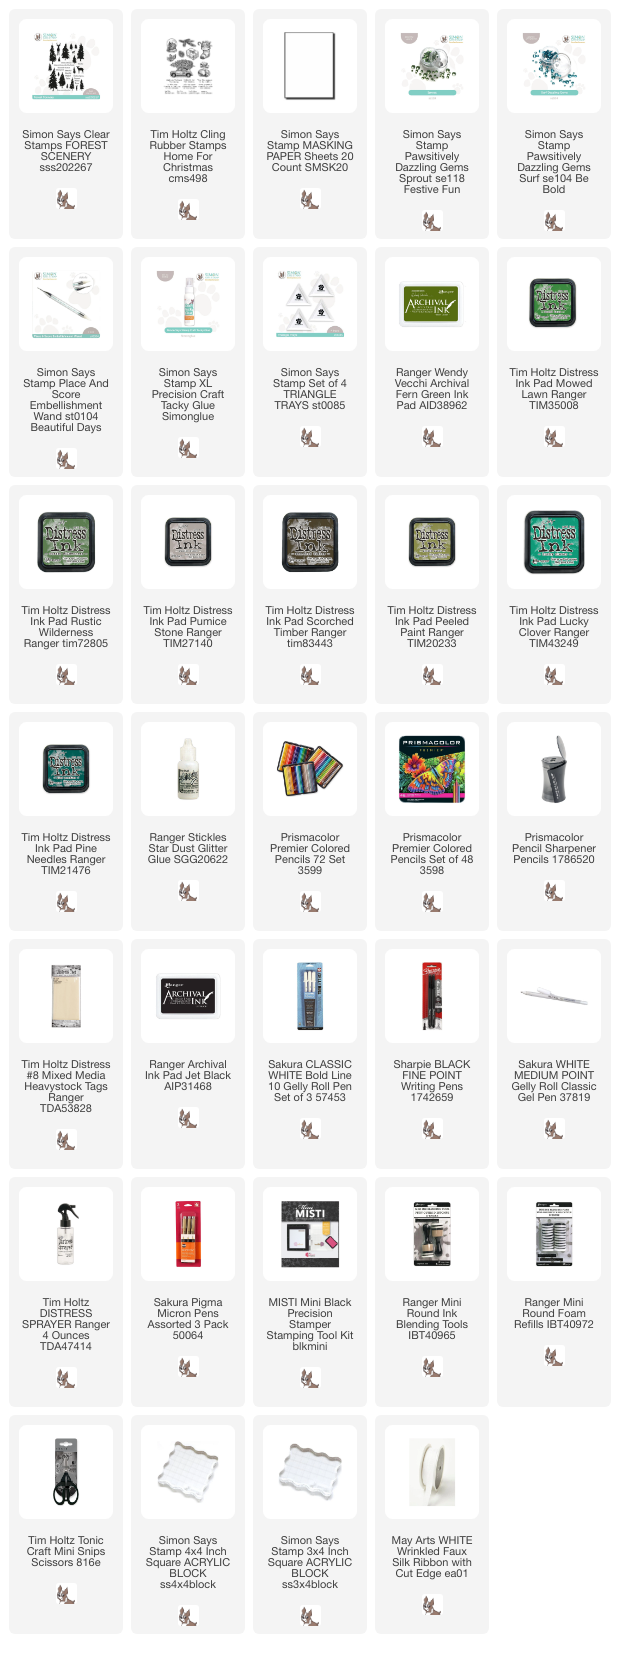
* Please note: the links are affiliate links, for which I receive a small percentage of sales generated by the link, at no extra cost to you.


Saturday, November 23, 2024

December Countdown Bauble Tags

Hello friends! I hope you are well! We have gotten a whole lot of snow here, the first snow of the year. 

Please note: this post has affiliate links, for which I receive a small percentage of sales generated by the link, at no extra cost to you.

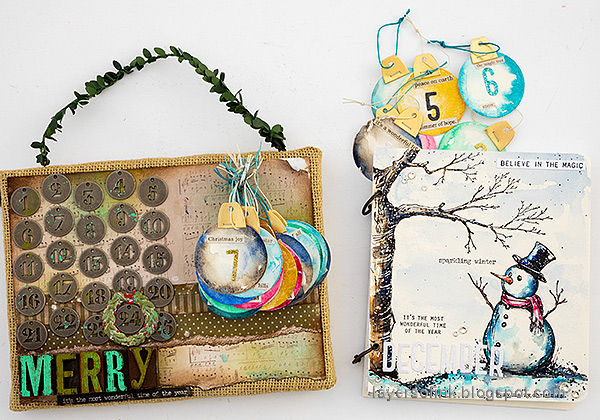
Layers of ink - December Countdown Bauble Tags Tutorial by Anna-Karin Evaldsson.

Every year I make countdown tags for December, which also double as date tag för my December Daily journal. This year I decided to make baubles instead of ordinary tags. Both the baubles and the tops were die cut with a label set (Simon Says Stamp Mixed Labels). I enjoy using products in ways they were not intended for. The baubles were watercolored and I added die cut numbers.

Layers of ink - December Countdown Bauble Tags Tutorial by Anna-Karin Evaldsson.

I made this burlap board for my December tags in 2015 and it holds my tags every year. You can find that original Christmas Countdown Calendar post here. It has a hook from where the tags hang.

Die cut circles with Simon Says Stamp Mixed Circles.

Die cut circles from watercolor paper with the circle from Simon Says Stamp Mixed Labels.

Die cut tops from gold kraft-stock paper with Simon Says Stamp Mixed Labels.

For the tops, I used another of the Mixed Labels dies and die cut labels from Tim Holtz Gold Metallic kraft-stock. Fold and staple to the tops of the baubles.

Watercolor all the circles.

Paint all the baubles with watercolor paint. Start from the outside and then pull paint into the bauble with a clean brush. I painted some of them with Pearl Gansai Tambi paint and Starry Colors Gansai Tambi paint.

Add the tops to the baubles.

Add all the gold tops.

Die cut numbers from Simon Says Stamp Glitter Cardstock.

I die cut the numbers with Tim Holtz Vault Seasonal Sketch. They were die cut from Simon Says Stamp glitter cardstock.

Add Christmas Stickers to each bauble.

I varied the colors and the glitter colors so that there aren't two with a similar color after each other.


I looked for sentiments in Tim Holtz Christmas Sticker Book. For some of the days, I picked sentiments that worked well for those particular days. Such as the 13 December, with the Saint Lucia celebrations.


You could also hang the baubles in a Christmas tree.

Christmas baubles.

The countdown tags go all the way to 26 December, since that is the last day of the Christmas celebrations here.


The tags painted with the pearl paint glimmer, as you can see here. 

Gold shimmer.

The tags painted with the Starry Colors shine even more. 


They look joyful on the calendar. I am looking forward to using them in my journal. 

Add the bauble tags to each page in the December Journal.

I will glue the tags to the pages and I might remove the twine.

Layers of ink - December Countdown Bauble Tags and December Journal by Anna-Karin Evaldsson.

This years combination of tags and my December Daily journal. You can find that tutorial here.


Thank you for visiting!

Happy Christmas crafting!

Anna-Karin

Supplies:

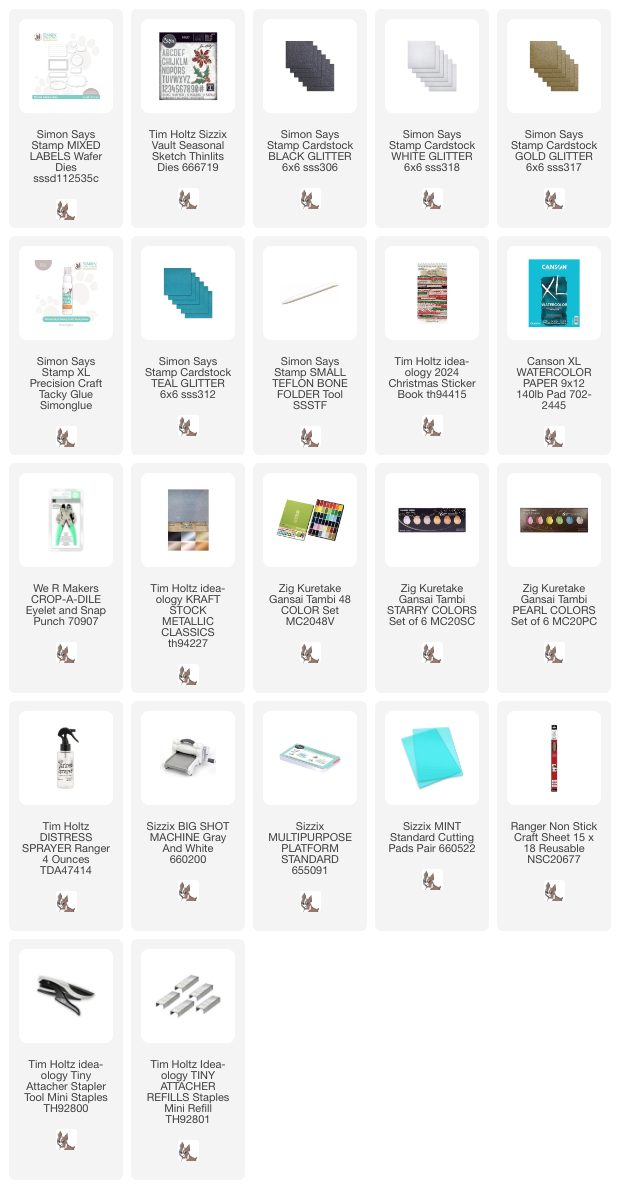
* Please note: the links are affiliate links, for which I receive a small percentage of sales generated by the link, at no extra cost to you.