
Hi crafters! I hope you are well and that you got some crafty time this weekend. Time flies, we are already way more than half-way into October.
Please note: this post has affiliate links, for which I receive a small percentage of sales generated by the link, at no extra cost to you.

This week we have a Something spooky/Add a little purple theme at the Simon Says Stamp Monday Challenge Blog. I hope you will join us! Our October guest designer Alison Bomber has created a really great project for the theme, don't miss it.

I made a tag featuring Elmira and her spooky house and cat. The background is Tim Holtz collage paper and as colored with Distress Watercolor pencils. I also used som purple for Elmira herself. Lots of fun little details here. You can easily turn the tag into a card instead if you rather make cards.

Start by die cutting the pieces from heavystock paper using Tim's Vault Wicked set.

Smear Distress Inks on a non-stick craft sheet and mist with water. Press the papers into the ink. Let dry and then repeat until you are happy with the look.

Coat a tag with gesso and when dry, adhere a sheet of Tim Holtz Halloween Collage paper with matte medium. Coat with clear gesso to give tooth to the background, making it easy to watercolor with pencils.

Watercolor the background with Distress Watercolor Pencils. I prefer to use a paint brush, especially on a project like this, which has small details.

Add details and highlights with black pens and a white gel pen. Add shape to the pumpkin with Tim Holtz Shaping Tool Kit.

I die cut bats from Simon Says Stamp Black Glitter Cardstock and glued to the sky.

Add sentiments from the idea-ology Halloween Sticker Book.

The cat was die cut once more from black glitter cardstock and her eyes from Lemon glitter cardstock.

I also added a bunch of Simon Says Stamp Pawsitively Dazzling Rainbow Gems. I like how the rainbow gems change color depending on how the light is falling.

I added a black die cut behind Elmira so that she would stand out better from the background.


Do you use Instagram? If so please add #sssmchallenge so we can see your entries there too.


Thank you so much for visiting my blog today!
Happy crafting!
Anna-Karin
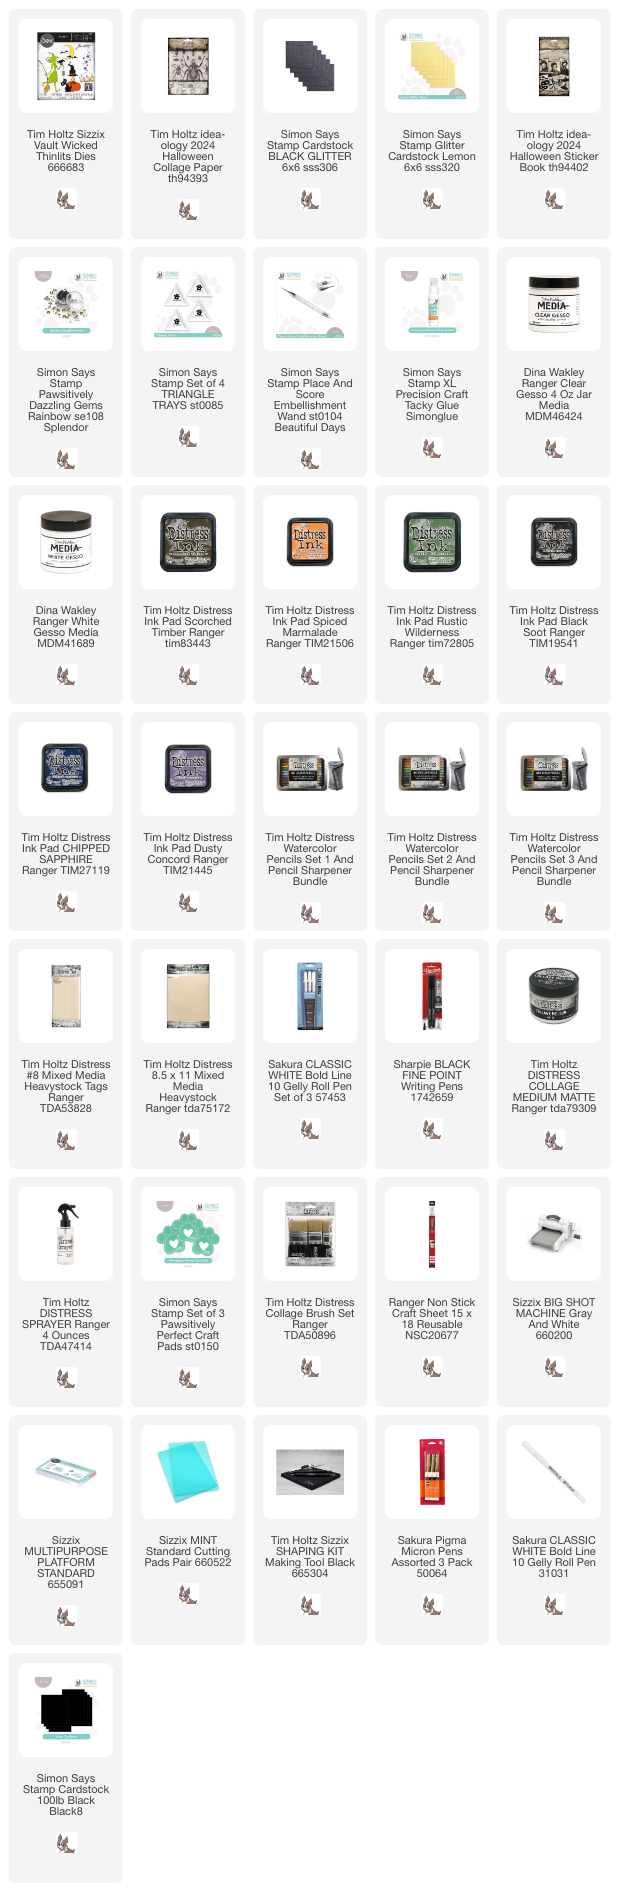
Supplies:
* Please note: the links are affiliate links, for which I receive a small percentage of sales generated by the link, at no extra cost to you.
* Please note: the links are affiliate links, for which I receive a small percentage of sales generated by the link, at no extra cost to you.
No comments:
Post a Comment
Thank you so much for leaving a comment! Happy Crafting!