Hi friends! Fall is here and most of the flowers in the garden have stopped blooming, but the amazing zinnias are still going strong, in all their colorful beauty.
Please note: this post has affiliate links, for which I receive a small percentage of sales generated by the link, at no extra cost to you.
I made a card inspired by the colors of the zinnias still blooming in our little garden. The flowers and the background were dry embossed and watercolored with a quick and easy technique.
Start by misting watercolor paper with water and emboss in Simon Says Stamp Zippy Zinnias folder. Die cut the three flowers with the dies included in the set, mist with water and emboss in the folder.
Apply a little Distress Micro Glaze to the flowers with your finger. Also apply Micro Glaze to the zinnias which will be visible on the background and on the stems.
Paint the background in shades of green and sprinkle salt on top. Different colors react differently to the salt technique and these shades of green only gave a subtle texture. Experiment with different colors and paints. Let dry and then remove the salt.
Paint the zinnias with Zig Kuretake Gansai Tambi watercolor paint. Drop brown into the center of the flowers before the paint is dry.
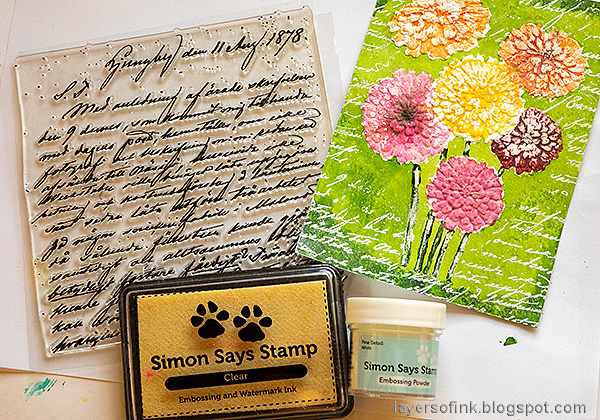
When dry, stamp the background with Simon Says Stamp Old Letter Background and emboss with white paint.
Shape the lose flowers a little and then adhere with Simon Says Stamp Pawsitivily Perfect Foam Tape.
Don't worry if you get some script stamping on the flowers, it just adds texture.
The sentiment was die cut with Tim Holtz new Vault Seasonal Sketch letters.
Stamp sentiments from Simon Says Stamp Forest Scenery. I also added Garden Blooms sequins to the card.
If you want to, you can add some white dots around the centers with a yellow paint pen.
It is fun to let the watercolor paint blend and mix on the flowers.


So pretty. Love this!
ReplyDelete