Friday, September 13, 2024

Plaid Mixed Media Background

Hi friends! Today I have an art journal page to share, but the techniques can also be used for other types of projects. 

Please note: this post has affiliate links, for which I receive a small percentage of sales generated by the link, at no extra cost to you.
Layers of ink - Plaid Mixed Media Art Journal Page Tutorial by Anna-Karin Evaldsson.

The Simon Says Stamps Stripes and Plaid builder stencil set is so versatile and you can make many different backgrounds with it. I used only two of the three stencils here and could seamlessly fill the whole background with them, even though the page in my Small Creative Journal is taller than the stencils. I used products from the Simon Says Stamp STAMPtember® release.

Autumn arrived here on Monday, after one last weekend of summer. 

Layers of ink - Plaid Mixed Media Art Journal Page Tutorial by Anna-Karin Evaldsson.

Start by coating the page with gesso. When dry, apply texture paste with a palette knife through the largest stripes of the set. Let dry.

Layers of ink - Plaid Mixed Media Art Journal Page Tutorial by Anna-Karin Evaldsson. Add diagonal lines.

Place the stencil back and complete the first diagonal stripes. It is easy to line up the stencil. Then repeat the process, but turn the stencil the other way around. I accidentality deleted some of the step photos for this project.

Layers of ink - Plaid Mixed Media Art Journal Page Tutorial by Anna-Karin Evaldsson. Paint with Distress Paint

Paint the page with watered-down Mustard Seed and a little Carved Pumpkin Distress Paint and let dry. The paint the thick stripes with Carved Pumpkin. Use more water for one direction to get a lighter color. Let dry and then use one of the other stencils. Sponge Abandoned Coral through the stencil. Repeat to cover the whole page. 

Layers of ink - Plaid Mixed Media Art Journal Page Tutorial by Anna-Karin Evaldsson.

Turn the stencil in the other direction and add more stripes with Abandoned Coral.

Layers of ink - Plaid Mixed Media Art Journal Page Tutorial by Anna-Karin Evaldsson.

Paint the whole page with watered-down Ground Espresso. Remove most of the paint with a paper towel. Skip this step, if you don't want a distressed look.

Layers of ink - Plaid Mixed Media Art Journal Page Tutorial by Anna-Karin Evaldsson. Add Stickles glitter gel.

Place one of the stencils back on the design and add Starshine Stickles Glitter Gel with a palette knife.

Layers of ink - Plaid Mixed Media Art Journal Page Tutorial by Anna-Karin Evaldsson. Die cut flowers from gold paper.

Die cut the flowers from gold paper with the Simon Says Stamp Crimped Floral Embossing Folder and Cutting dies and emboss in the coordinating folder. You can emboss a bunch of flowers at the same time.

Layers of ink - Plaid Mixed Media Art Journal Page Tutorial by Anna-Karin Evaldsson. Simon Says Stamp Just Because.

The Simon Says Stamp Fancy Just Because die was die cut from Simon Says Stamp Color-Blend cardstock, Lemon glitter cardstock and black cardstock.

Layers of ink - Plaid Mixed Media Art Journal Page Tutorial by Anna-Karin Evaldsson.

The die cut and embossed flowers look pretty in gold. For a different version of these flowers, check out my Just Because tag.

Layers of ink - Plaid Mixed Media Art Journal Page Tutorial by Anna-Karin Evaldsson.

Using a combination of texture paste, acrylic paint and glitter gives an interesting look to the plaid pattern.

Layers of ink - Plaid Mixed Media Art Journal Page Tutorial by Anna-Karin Evaldsson. Simon Says Stamp Just Because.

There is a piece of organza ribbon behind the title. I like the combination of the glossy Color-Blend cardstock and the glittery Lemon glitter paper. The second sentiment 'kindness matters' was stamped with the Simon Says Stamp Just Because stamp set.


STAMPtember


Don't miss all the surprises and inspiration during STAMPtember®! You can find the Simon Says Stamp Exclusive release here.


Thank you so much for stopping by here today! Have a good weekend!

Happy crafting!

Anna-Karin

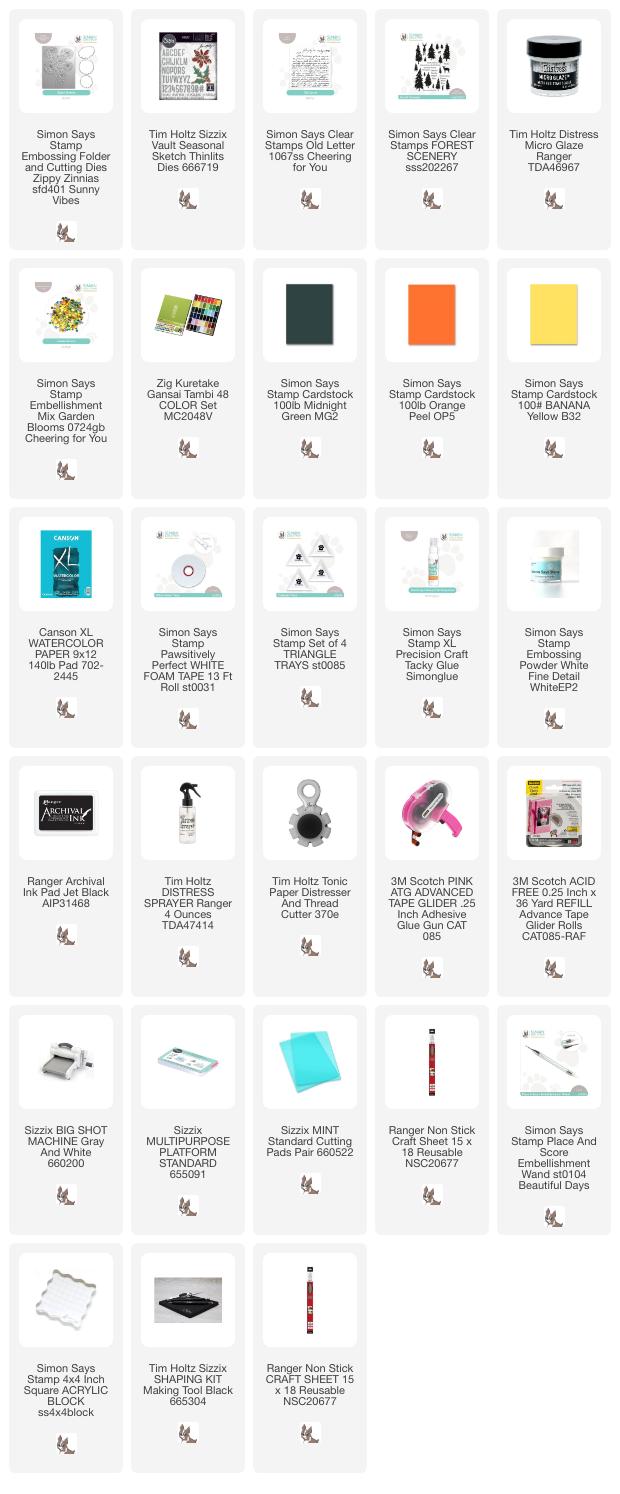
Supplies:

* Please note: the links are affiliate links, for which I receive a small percentage of sales generated by the link, at no extra cost to you.


Monday, September 9, 2024

Birthday Card with ink and pencils

Hi stampers! I hope you had a good weekend! We went to a fun Lego exhibit and an autumn market. Today we are continuing our STAMPtember® celebrations at the Simon Says Stamp Monday Challenge Blog.

Please note: this post has affiliate links, for which I receive a small percentage of sales generated by the link, at no extra cost to you.


In honour of STAMPtember® we have a Stamping theme this week. There is nothing better than stamping. Don't miss the fun project by our September guest designer Kerry B.

Layers of ink - Birthday Card with ink and pencils tutorial by Anna-Karin Evaldsson.

I made a birthday card this week using new Simon Says Stamp STAMPtember® exclusive stamps. The image was stamped with the Simon Says Stamp Birthday Party set and colored with colored pencils. I didn't add as much texture and details as I normally do.

Layers of ink - Birthday Card with ink and pencils tutorial by Anna-Karin Evaldsson. Stamp with Simon Says Stamp Birthday Party.

Start by stamping the image from Simon Says Stamp Birthday Party on heavystock cardstock.

Layers of ink - Birthday Card with ink and pencils tutorial by Anna-Karin Evaldsson. Color with Prismacolor pencils.

Color with pencils. I used Prismacolors. Color the light areas too, using a light color or white pencils. This is to protect them from the inking.

Layers of ink - Birthday Card with ink and pencils tutorial by Anna-Karin Evaldsson. Ink with Distress Ink.

I stamped the boy one more on Simon Says Stamp Masking Paper and masked him, but this step is not really necessary. I just wanted to make sure that I hadn't missed coloring any skin areas, since those areas would then become blue. The colored areas resist the ink. Ink with Distress Ink.

Layers of ink - Birthday Card with ink and pencils tutorial by Anna-Karin Evaldsson.

Remove the mask and ink around the edges. I like the way Scorched Timber blends with other colors, creating a dark grey/brown.

Layers of ink - Birthday Card with ink and pencils tutorial by Anna-Karin Evaldsson.

Add grass and a shadow with the colored pencils. Then add details and highlights and grass with a black pen and a white gel pen.

Layers of ink - Birthday Card with ink and pencils tutorial by Anna-Karin Evaldsson.

I stamped sentiments from Simon Says Stamp Birthday Party on the background. I also added Simon Says Stamp Pawsitively Dazzling Surf Gems. I love these gems. They are so sparkly.

Layers of ink - Birthday Card with ink and pencils tutorial by Anna-Karin Evaldsson.

I used bright colors since that fit with the birthday theme. 

Layers of ink - Birthday Card with ink and pencils tutorial by Anna-Karin Evaldsson.

I hope you enjoyed this project! 

STAMPtember


Don't miss all the surprises and inspiration during STAMPtember®! You can find the Simon Says Stamp Exclusive release here.


Do you use Instagram? If so please add #sssmchallenge so we can see your entries there too.


Thank you so much for stopping by here today! 

Happy crafting!

Anna-Karin

Supplies:

* Please note: the links are affiliate links, for which I receive a small percentage of sales generated by the link, at no extra cost to you.


Monday, September 2, 2024

Recycled Tag

Hello stampers! It is STAMPtember®! The best month of the creative year! This year it is extra special because it is the 15th STAMPtember®.

Please note: this post has affiliate links, for which I receive a small percentage of sales generated by the link, at no extra cost to you.


Our theme this week at the Simon Says Stamp Monday Challenge Blog is Recycle. Lots of fun options with this one! Since it is the first Monday of a new month, the team is showcasing products by a specific designer/company and this week it is Brutus Monroe. You can find all their stamps, stencils, papers, embossing powders and more here. You don't have to use products by Brutus Monroe, but it is fun if you do. 

We also have a new guest designer and during September Kerry B will be joining us. Visit her blog Kerry's Papercraft to see what she has created.

Layers of ink - Recycled Tag Tutorial by Anna-Karin Evaldsson.

I made a tag and used cardboard for the base of the tag. The buttons are also recycled from old clothes and all the die cuts were made from left-over paper. Autumn is starting to make its presence known, with a chill in the wind and some of the trees starting to change colors. 

Layers of ink - Recycled Tag Tutorial by Anna-Karin Evaldsson.

After cutting the tag, I tore off some of the top layer and coated the tag partly with gesso. When the gesso was dry, I applied texture paste with a palette knife through Brutus Monroe Lots of Lines Slimline Stencil. Let dry. 

Layers of ink - Recycled Tag Tutorial by Anna-Karin Evaldsson. Paint with Distress Paint.

Paint with Distress Paint and mist with Twisted Citron Distress Spritz for glimmer. 

Layers of ink - Recycled Tag Tutorial by Anna-Karin Evaldsson. Add Stickles Glitter Gel.

I placed the stencil back on the tag and applied Ranger's Starshine Glitter Gel with a palette knife.

Layers of ink - Recycled Tag Tutorial by Anna-Karin Evaldsson. Die cut with Tim Holtz Vault Foliage Wreath.

The autumn leaves were die cut from left-over paper with Tim Holtz Vault Foliage Wreath. I used paper that had been colored with Paper Artsy's Infusions Colored Stains.

Layers of ink - Recycled Tag Tutorial by Anna-Karin Evaldsson. Stamp with Simon Says Stamp Just Because.

The Just Because stamp set is from the Simon Says Stamp exclusive STAMPtember® release. I used the same stamp on a background on my STAMPtember® Blog Party post earlier today, but here I stamped it with black ink on inked heavystock cardstock to get individual sentiments that can be cut into strips.

Layers of ink - Recycled Tag Tutorial by Anna-Karin Evaldsson.

I cut out some of the sentiment and inked the edges with Scorched Timber. The leaves were shaped a little and glued here and there with Simon Says Stamp craft glue. I also glued recycled buttons to the tag. 

Layers of ink - Recycled Tag Tutorial by Anna-Karin Evaldsson.


Layers of ink - Recycled Tag Tutorial by Anna-Karin Evaldsson.

The Just Because die is also from the STAMPtember® release. I die cut it from left-over paper and from black cardstock. The die also comes with a matte, which you can see on my STAMPtember® blog party tag here.

Layers of ink - Recycled Tag Tutorial by Anna-Karin Evaldsson.

More gems and buttons.

Layers of ink - Recycled Tag Tutorial by Anna-Karin Evaldsson.

The Distress Spritz sinks in between the texture paste areas, while the Stickles Glitter gel glitters on the texture paste.

STAMPtember


Don't miss all the surprises and inspiration during STAMPtember®! You can find the Simon Says Stamp Exclusive release here.


Do you use Instagram? If so please add #sssmchallenge so we can see your entries there too.


Thank you so much for stopping by here today! 

Happy crafting!

Anna-Karin

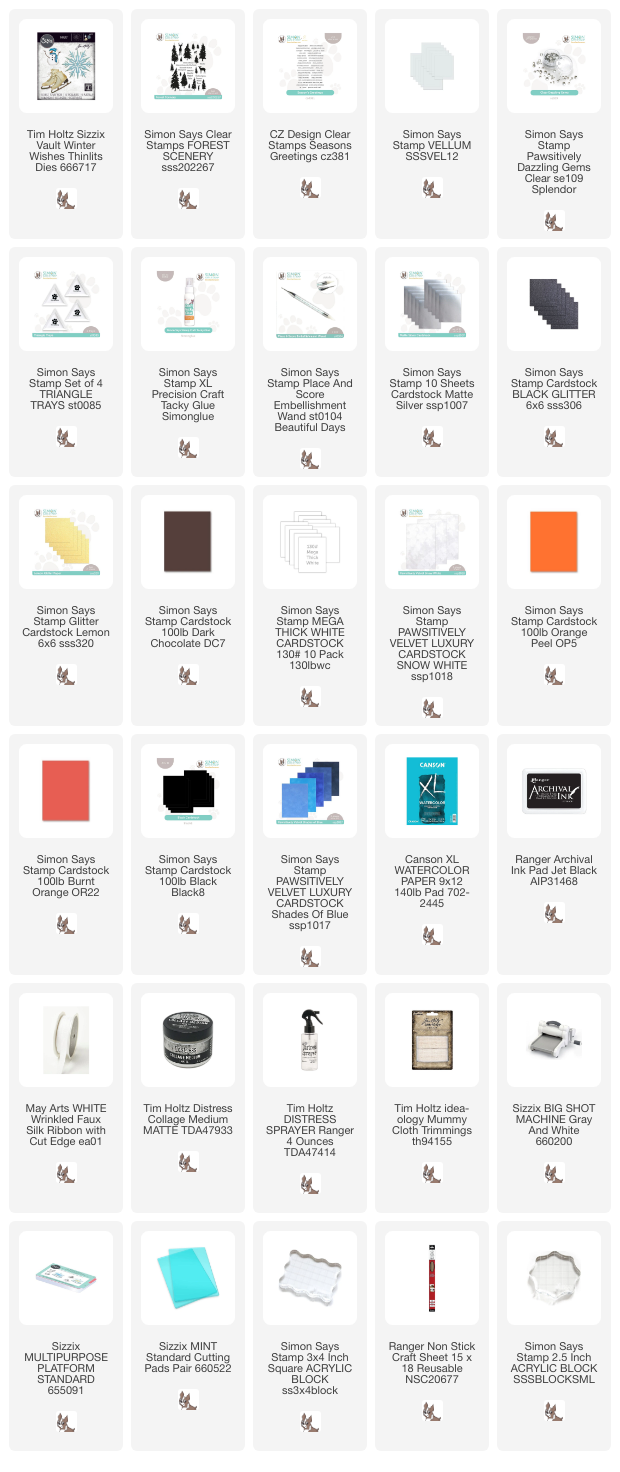
Supplies:

* Please note: the links are affiliate links, for which I receive a small percentage of sales generated by the link, at no extra cost to you.


Simon Says Stamp STAMPtember® Blog Party

Hello and welcome to my blog! The best month of the creative year has begun and I am happy to take part in the blog party to celebrate the start of STAMPtember® at Simon Says Stamp. This year it is extra special because it is the 15th STAMPtember®. There will be even more surprises than normally. And don't miss all the inspiration!

STAMPtember® is a month-long celebration of stamping at Simon Says Stamp, with inspiration, new products and many surprises. You can find the beginning of the blog party on the Simon Says Stamp Store Blog. It is a big party, with 82 stops!

Please note: this post has affiliate links, for which I receive a small percentage of sales generated by the link, at no extra cost to you.

Simon Says Stamp STAMPtember


There is of course also a big new exclusive STAMPtember® release. The STAMPtember® release is full of fantastic new stamps of course, but also dies, stencils, inks and paper products. So much! You can find it all here.

Simon Says Stamp STAMPtember party

I also have a free gift for you. You will get the Prism Pawsitivily Dazzling Gems free with a qualifying purchase, if you use the code DAZZ. It is valid while supplies last. 

I made a tag, but you can easily turn it into a card instead.

Layers of ink - STAMPtember just because tag tutorial by Anna-Karin Evaldsson.

Just Because is such a great sentiment since it works with many different themes and because it is fun to send a card or craft 'just because'. I really like both the Just Because sentiment die and the Just Because background stamp. This tag consists mainly of words, except for the flowers made with the Crimped Floral Embossing Folder and Cutting Dies.

Layers of ink - STAMPtember just because tag tutorial by Anna-Karin Evaldsson. Simon Says Stamp Just Because stamp.

Start by white embossing the Just Because stamp on a tag. I liked how most of the sentiments on one side of the stamp fit onto the tag.

Layers of ink - STAMPtember just because tag tutorial by Anna-Karin Evaldsson. Ink with Simon Says Stamp Pawsitively Satureated inks.

Ink with various Simon Says Stamp Pawsitively Saturated Inks. The embossing will resist the ink.

Layers of ink - STAMPtember just because tag tutorial by Anna-Karin Evaldsson.

Die cut the four flowers from Simon Says Stamp Crimped Floral Embossing Folder and Cutting Dies several times from watercolor paper. Mist with water and then emboss in the coordinating folder. Aren't these flowers cute? 

Layers of ink - STAMPtember just because tag tutorial by Anna-Karin Evaldsson. Color with dye ink.

Watercolor the flowers loosely with Distress Inks and Pawsitively Saturated Inks.

Layers of ink - STAMPtember just because tag tutorial by Anna-Karin Evaldsson. Shape the flowers.

Add a bit of shape to the flowers.

Layers of ink - STAMPtember just because tag tutorial by Anna-Karin Evaldsson. Ink Just Because with Pawsitively Saturated Inks.

Die cut the Just Because sentiment from heavystock paper and ink with Spring and Surf Pawsitively Saturated inks. 

Layers of ink - STAMPtember just because tag tutorial by Anna-Karin Evaldsson. Emboss.

Emboss with several layers of clear embossing powder. Be very careful when using a heat tool and never touch the melted powder until it has cooled down completely. Sprinkle white embossing powder into the last layer for a textured, almost marbled, effect.

Layers of ink - STAMPtember just because tag tutorial by Anna-Karin Evaldsson. Die cut from velvet paper.

I glued Simon Says Stamp Pawsitively Velvet Luxury Cardstock to cardstock and embossed Just Because again. 

Layers of ink - STAMPtember just because tag tutorial by Anna-Karin Evaldsson. Dye ribbon.

Dye May Arts Faux Wrinkled Silk Ribbon with Pawsitively Saturated inks.

Layers of ink - STAMPtember just because tag tutorial by Anna-Karin Evaldsson.

The shiny and speckled words look nice together with the soft, matte velvet paper. The sentiment was adhered with Simon Says Stamp Pawsitively Perfect Foam Tape

Layers of ink - STAMPtember just because tag tutorial by Anna-Karin Evaldsson.

I added Simon Says Stamp Dazzling Gems to the center of the flowers.

Layers of ink - STAMPtember just because tag tutorial by Anna-Karin Evaldsson.

The Just Because stamp works great as a background, but you can also use the individual sentiments.

Don't miss all the inspiration along the blog party. All the links are available at the Simon Says Stamp Store blog. Throughout the month there will be surprises. Don't miss it!

There is also a s special STAMPtember® Gallery where you can find inspiration and add your own projects.

Here are all the participants of the party: 

  1. Alberto Gava
  2. Allison Frazier
  3. Amy Rysavy
  4. Anna-Karin Evaldsson (you are here)
  5. Anne Fiene
  6. Barb Engler
  7. Barbara Tarayao
  8. Beth Opel
  9. Betsy Green
  10. Bibi Cameron
  11. Bobbi Lemanski
  12. Bonnie Crane
  13. Brennan Keane
  14. Caly Person
  15. Carly Minner
  16. Carol Hintermeier
  17. Cathie Cowles
  18. Cathy Zielske
  19. Charlene Madrid
  20. Cheiron Brandon
  21. Cindy Norberg
  22. Dana Joy
  23. Daniel West
  24. Debby Hughes
  25. Debby van Diepen
  26. Emily Midgett
  27. Enza Gudor
  28. Hanh Nguyen
  29. Hannelie Bester
  30. Heather Hoffman
  31. Heather Ruwe
  32. Inderjeet Kaur
  33. Jean Doeringsfeld
  34. Jenn Shurkus
  35. Jennifer Kotas
  36. Jennifer McGuire
  37. Jessica Vasher
  38. Joe Sysavath
  39. Joy Ott
  40. Kailash Naidoo
  41. Karen Boyce
  42. Karen Downs
  43. Karin Ã…kesdotter
  44. Kath Stewart
  45. Keisha Charles
  46. Kim Hamilton
  47. Kristin Sluhan
  48. Kulbir Kirkland
  49. Laura Bassen
  50. Lea Lawson
  51. Lien Leysen
  52. Lisa Addesa
  53. Lorraine Aquilina
  54. Maggie Haas
  55. Mary Reiner
  56. Maura Hibbitts
  57. Megin Brooks
  58. Michelle Peckham
  59. Michelle Short
  60. Mindy Eggen
  61. Miriam Prantner
  62. Misty Elam
  63. Mitchell Koenig
  64. Natasha Vacca
  65. Nichol Spohr
  66. Nicki Baxley
  67. Nina-Marie Trapani
  68. Pam Torkelson
  69. Rachel Alvarado
  70. Revati Panickar
  71. Rosemary Dennis
  72. Samantha Pfrimmer
  73. Sandi MacIver
  74. Seeka
  75. Shari Carroll
  76. Simeen Batra
  77. Sue Symens
  78. Susan Babcock
  79. Susan R. Opel
  80. Suzy Plantamura
  81. Tracy Ware
  82. Yana Smakula


Thank you so much for stopping by here today! 


Anna-Karin

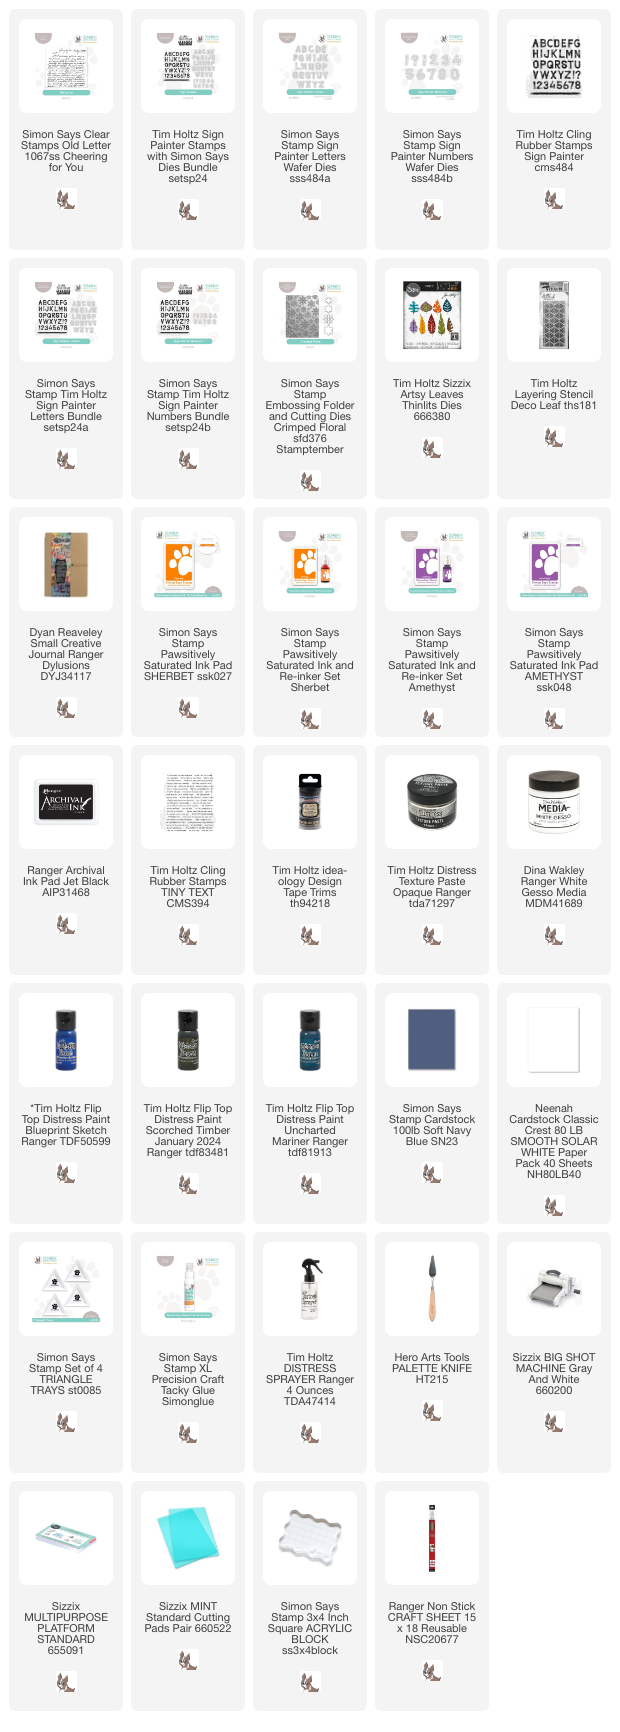
Supplies:

* Please note: the links are affiliate links, for which I receive a small percentage of sales generated by the link, at no extra cost to you.