Hello friends! I hope you had a good weekend! The boys are doing a lot of beading at the moment: Transformers, Minecraft and Pokemon themed, among others.
It is Monday and we have a new theme for you at the Simon Says Stamp Monday Challenge Blog, this week it is 'Not a Card'. Lots of option! Don't miss the beautiful project by our April guest designer Autumn Clark.
I made a notebook/sketchbook/journal this week, using some beautiful papers. My first thought when I got Tim Holtz Backdrops Vol. 1 and Vol. 2 were that many of the papers would make great journal covers, which is also a perfect way to use those pretty papers that you hardly want to cover up with anything. I used Eileen Hull's Folio Journal die to die cut the base for my book.
Die cut two covers with the
Folio Journal from
Sizzix Little Sizzles Mat Board. This is an XL die so you need the
XL cutting pads, but it fits perfectly in an ordinary
Big Shot. The journal can have fold in parts, but for this project I decided not to use them, so I only die cut the first part of the covers. You can see a little bit of the folding part on the cover to the left. I cut that off later.
You can also make this journal in different thicknesses, from a very thick spine to a thinner one. I wanted something in between and cut off one of the three spine pieces on each cover.
Glue the two spine pieces together as shown here.
The best thing with making your own sketchbooks or journals is that you can use your favorite papers. I used a mix of sketchbook and watercolor paper here and made two signatures. Stitch down the center, staple or just fold.
I die cut a piece of pink paper from
Backdrops Vol. 1 for the spine and glued it in place.
I added an extra hole as shown here with my
Crop-A-Dile.
Bind with a piece of elastic string. This is what it looks like on the outside of the spine. I used an old button to tie the strings, through the hole that I punched.
On the inside of the spine, the binding looks like this.
Slip the signatures under the elastic bands and your journal is ready. Later you can also exchange the signatures.
I tied the strings again to form a closure for the book and tied two beads to the ends.

The title was die cut from Backdrops Vol. 1 papers with Simon Says Stamp Beautiful die.
To finish the journal I used a Tim Holtz Quote Flair Button and a metallic sticker.
The back was left plain, but you could add embellishments here too. I almost never do, I like the back of a sketchbook or journal to be flat.
The Folio Journal makes for a book with a great size and I like that you can easily customize how thick you want it to be, from a really chunky book to a thin book.
I hope you enjoyed this post and that it inspired you to make some journals or sketchbooks. They are also wonderful gifts. For more examples using the Folio Journal die check out my
Foiled Folio and
Floral Folio.
I hope you will join us this week in our Not a Card challenge. You have a chance to win a $25 gift voucher to do some fun shopping at Simon Says Stamp. You have until Monday 8am Ohio time. 1pm UK time, 2 pm CET to join in.
Do you use Instagram? If so please add #sssmchallenge so we can see your entries there too.
Thank you so much for taking the time to stop by here today!
Happy crafting!
Anna-Karin
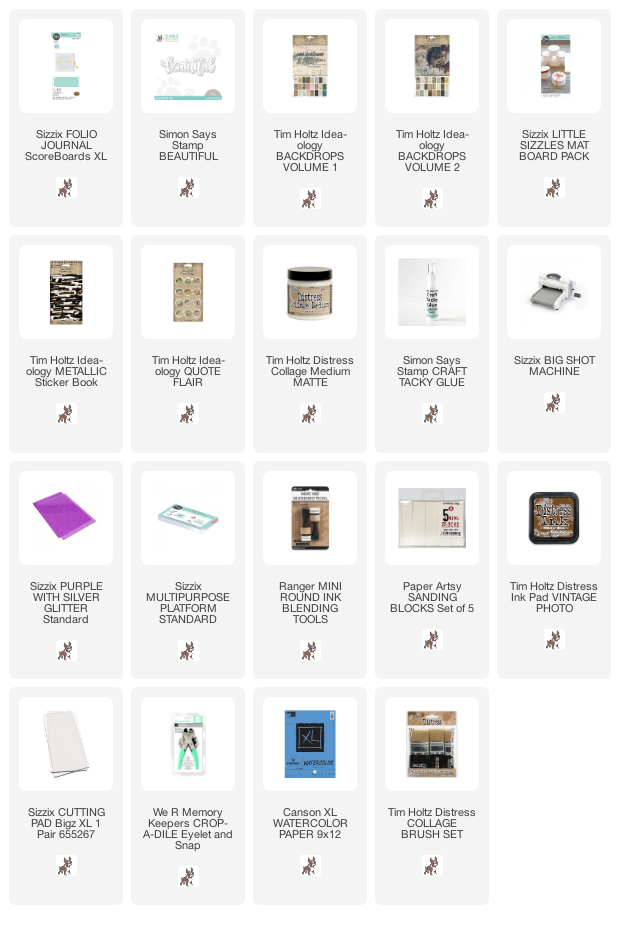
Supplies:
* Please note: the links are affiliate links, for which I receive a small percentage of sales generated by the link, at no extra cost to you.


Beautiful book! I love the new Backdrop papers - perfect for this cover! Just brilliant.
ReplyDeleteWhat a beautiful book Anna-Karin! Love the papers you used and your stitched signatures inside! xx
ReplyDeleteWhat a gorgeous book...thanks for the wonderful descriptions ...
ReplyDeleteAnna-Karin you do the best tutorials! And make the most beautiful projects! Love the paper and that cool beaded closure. Love it!
ReplyDelete