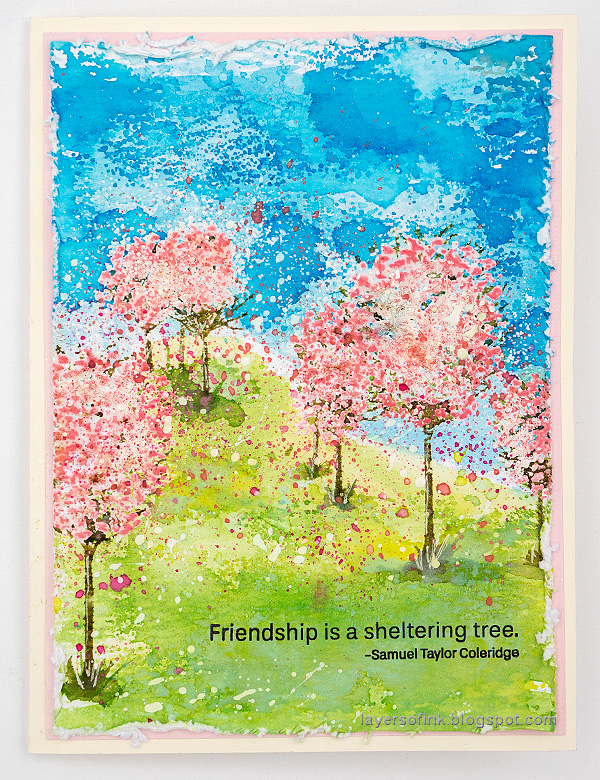
Hello friends! I hope you are well and had a good weekend. Around this time of the year, we usually go into Stockholm and look at the cherry trees blossoming, but this is now the second year that we miss that so instead I created my own cherry blossom trees. In the tutorial below you will see how easy it is.
Our theme this week at the Simon Says Stamp Monday Challenge Blog is 'Add a quote'. I really like to use quotes on my projects and I am looking forward to seeing all the quotes. I hope you will join us and don't miss the last project by our April guest designer Autumn Clark.
Please note: this post has are affiliate links, for which I receive a small percentage of sales generated by the link, at no extra cost to you.
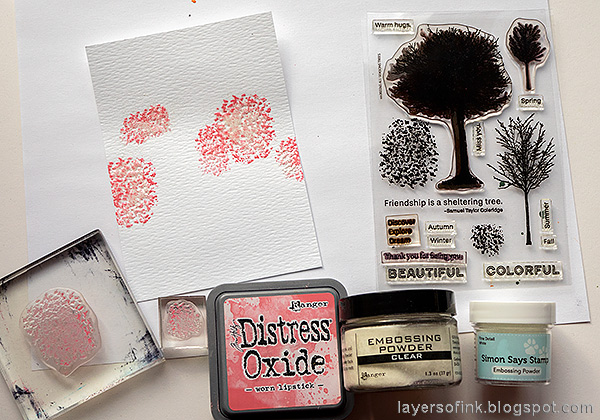
As I was thinking about missing the cherry blossom trees this year again, I thought about how nice the pink flowers look when photographed against a blue sky and suddenly got the idea for this card. I used the Simon Says Stamp All Seasons Tree. The trees on the set can be turned into a large number of trees and the two smaller trees were perfect for my cherry blossom trees.
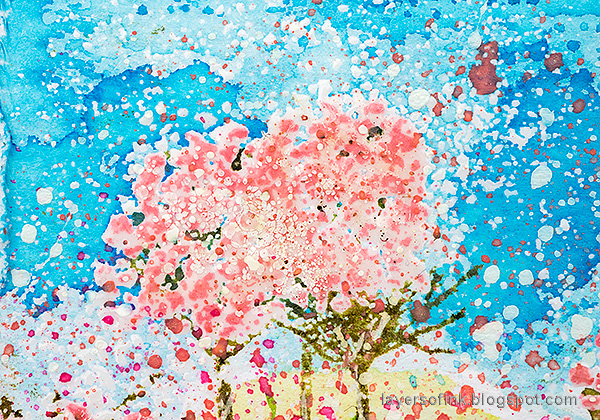
I started with the flowers and used the two leaf texture stamps on the set. Stamp them with Worn Lipstick Distress Oxide Ink on watercolor paper and immediately emboss with clear powder. Add more powder before the first layer is dry and repeat about three or four times. I also sprinkled a tiny bit of white powder. Be very careful when using a heat tool and never touch the melted powder until it has cooled down completely. I did one tree at a time since you need to work quickly.
Don't worry about stray powder, it will look like petals blowing in the wind later.
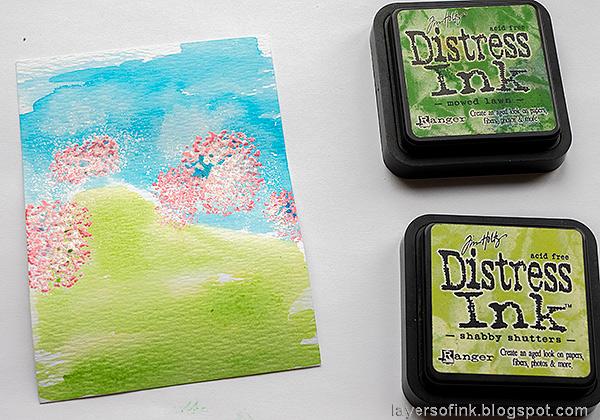
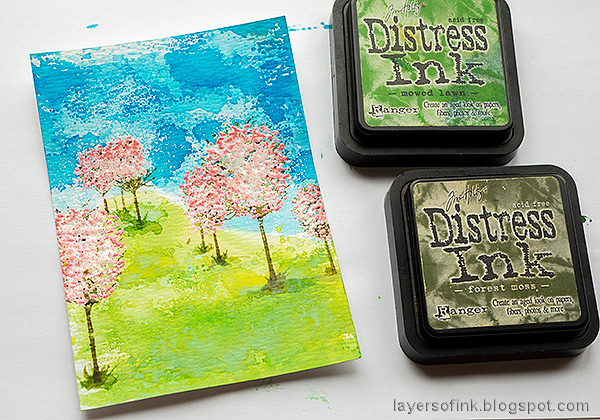
Smear Distress Ink on a craft sheet, mist with water and pick up with a paint brush. I used Tumbled Glass and Salty Ocean for the sky. Paint the scene.
When dry, apply Salty Ocean and Mowed Lawn to the craft sheet and mist with water. Press the paper into the ink, just here and there, to get more texture.
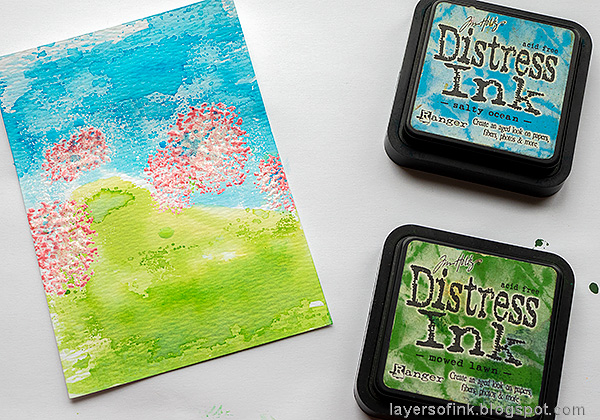
Repeat, but this time with Distress Oxide ink. I made the grass darker towards the front and the sky darker towards the top, which adds a sense of perspective.
Use the medium and the smaller tree from the set and ink with Forest Moss. Mist with water before stamping. Stamp for each tree. You can also use just a portion of a trunk to make a smaller tree.
Next, smear Mowed Lawn and Forest Moss on a craft sheet and mist with water. Use a paint brush and add shading and grass around the base of the tree trunks. I also painted branches in between the embossed blossoms here and there.
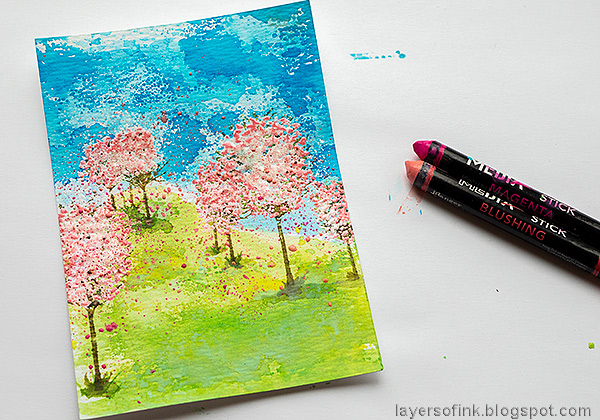
There are usually lots of blossoms in the air and on the ground and to get that look, I splattered with two shades of pink Scribble Sticks. Dip the stick in water and flick a paint brush against it. Avoid the area where you plan to stamp the sentiment.
Next, I also wanted some white splatters and used acrylic paint for that. Again, protect the area where you have stamped or plan to stamp the sentiment.
The trees look really nice with all the embossing powder and the mix of white, pink and green.
This is a lovely quote and I was happy when I found it and with how well it fit on the All Seasons Tree Set (it is one of the Simon Says Stamp sets that I designed).
The stray embossing powder in the background creates a great resist effect when you add the blue ink for the sky. I stamped one of the trees in the background a little too low, so you can see more of the branches than for the other trees. But, since this is also sometimes the case with cherry blossom trees, I decided that I was okay with that.
The petal-filled grass. And the white splatters might be white anemone flowers.
I with you could see the tree crowns in real life, since the effect of the embossing powder is hard to capture on photo. They also have a bumpy texture.
Using two shades of pink splatters add life. I also used a white gel pen on some of the trunks.
I hope you enjoyed this tutorial. You can make the trees any color by just using a different color Distress Oxide ink when stamping the crowns. For more inspiration on the All Seasons Tree set check out my: Three Mixed Media Tree ATCs, Spring Mixed Media Canvas, and Spring Forest Art Journal.
I hope you will join us this week in our Add A Quote challenge. You have a chance to win a $25 gift voucher to do some fun shopping at Simon Says Stamp. You have until Monday 8am Ohio time. 1pm UK time, 2 pm CET to join in.
Do you use Instagram? If so please add #sssmchallenge so we can see your entries there too.
Thank you so much for taking the time to stop by here today!
Happy crafting!
Anna-Karin
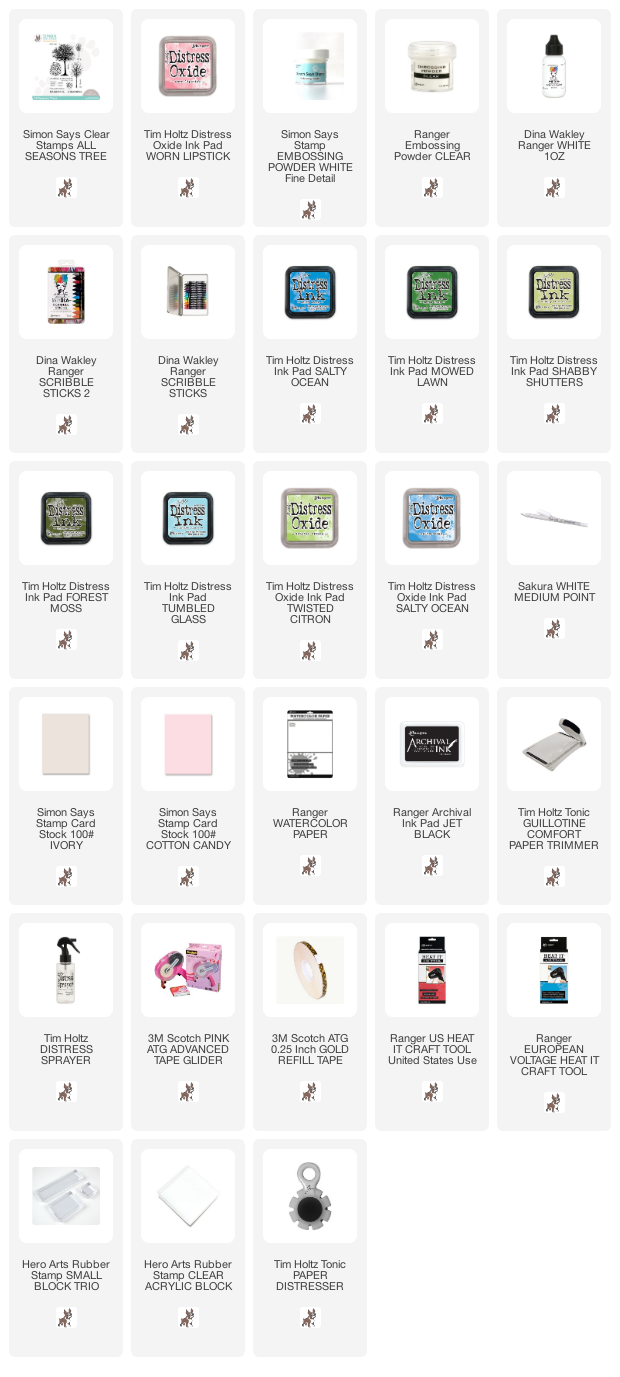
Supplies:
* Please note: the links are affiliate links, for which I receive a small percentage of sales generated by the link, at no extra cost to you.
* Please note: the links are affiliate links, for which I receive a small percentage of sales generated by the link, at no extra cost to you.











Wonderful watercolor card, I love the textures you created here, Anna-Karin! Looks like spring has arrived, Maura
ReplyDeleteI love your card, and that stamps is cool, I thought you had painted your whole page. What a great idea you have here.
ReplyDeletePeace,
KristyLee
These are so lovely - wonderful technique.
ReplyDeleteAlison x