
Hi everyone! I have been a quiet lately, and the reason for that is that we had to do an unplanned, extremely unwanted and very sudden move. It has been a challenge to go from sitting happily in my studio one day, to having to find a new place, pack tons of boxes, do all practical arrangements, and move within a month's time. We still need to unpack most of the boxes, but at least the worst parts are now done. The boys are very sad to have had to leave what they saw as their home, with no time to prepare for it. Shame on those who caused this, completely unnecessarily.

We have a new Simon Says Stamp Monday Challenge Blog for you, and since it is the first Monday of a new month, the team are showcasing products from a specific designer/company. This week the turn has come to Paper Artsy. You can find their wonderful range of stamps, media, paints, and more here. You don't have to use Paper Artsy products to join in the challenge, but it is always fun if you do.
Our challenge theme is Make Your Own Background, and for July our guest designer is Kerstin F with her beautiful blog Scrapbook Dreams. If you have never visited her blog, I hope you will do so, she makes fantastic projects.

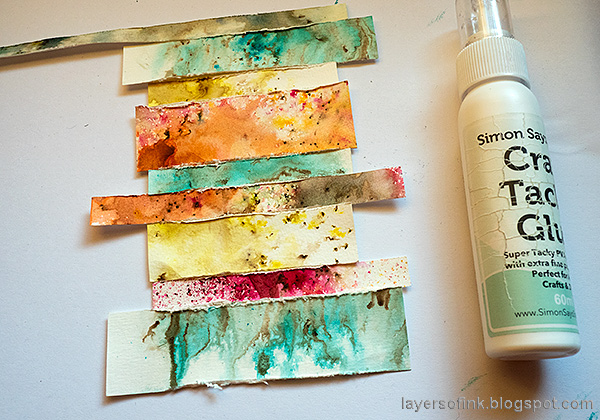
I love to make my own backgrounds using a whole lot of different techniques. Today, I decided to make a background with papers found in my scrap box. All of these papers were colored with Paper Artsy's Infusion Colored Stains, which I always enjoy crafting with.

I took out some Infusions scraps. The larger sheet is a sheet where I tested a bunch of new Infusions powders some months ago. It was perfect for this project. They were all made by first misting the paper with water, then adding a tiny bit of Infusions powders and finally misting with more water to blend.

Cut the papers into strips and plan how to place them on a tag.
Distress the edges and glue the strips down.

Distress all the edges on the tag.

When the glue is dry, stitch on the tag, using a mix of messy zig zag and straight stitching.

Stamp the background with Hickory Smoke ink, for a softer look than black ink. The stamp is from Paper Artsy Ecletica3 Scrapcosy 11 set.

Emboss the compass also from Scrapcosy 11 with white embossing powder.

Add a tiny bit of Infusions powders to a small amount of water in a paint palette and paint the compass using a paint brush.

Die cut an anchor using the Simon Says Stamp Anchor die, from the new Rest and Refresh release. Apply embossing ink to the die cut and emboss with a three layers of Ranger's Gunmetal powder. Be very careful not to burn yourself. Do NOT touch the melted powder until it is completely cool.
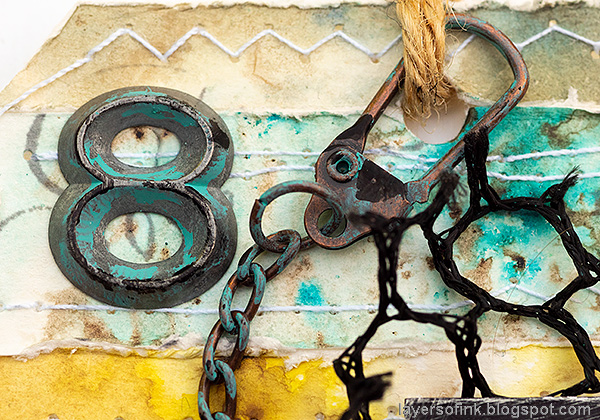
I also distressed some ideaology metal pieces with paint.

I love this sentiment, and it looks great with a little bit of sanding. The black netting comes from a squeeze ball that one of the children had, which broke. The white netting is cheese cloth.

I added a gear and a game spinner to the compass.

And there is a Quote Token with a great sentiment.

Have fun mixing different colors of scrap papers.

I love the look of the metallic anchor.
I hope you will join us this week in our Make Your Own Background challenge. As always, you have a chance to win a $50 gift voucher to do some fun shopping at Simon Says Stamp. You have until next Monday 8am Ohio time. 1pm UK time, 2 pm CET to join in.


Do you use Instagram? If so please add #sssmchallenge so we can see your entries there too.


Thank you so much for taking the time to visit my blog today!
Happy crafting!
Anna-Karin
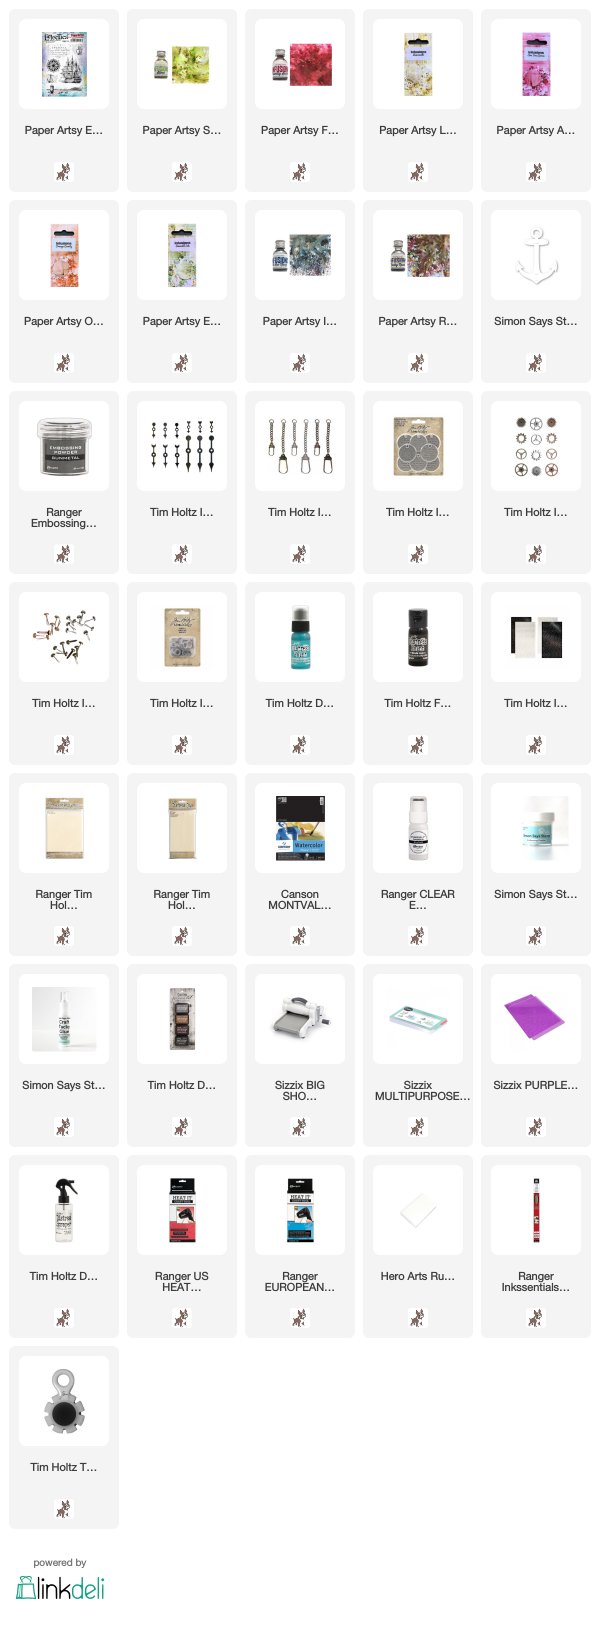
Supplies:
* Please note: the links are affiliate links, for which I receive a small percentage of sales generated by the link, at no extra cost to you.
* Please note: the links are affiliate links, for which I receive a small percentage of sales generated by the link, at no extra cost to you.
I cannot tell you how much this tag speaks to me! Absolutely love it!
ReplyDeleteBeautiful work, Anna-Karin. I love how you've used up scrap pieces of "test" papers, and even the netting from a broken toy, to create your tag. The stitching adds a nice touch. Love that vintage stamp too.
ReplyDeleteI'm sorry to hear about that sudden move. I'm sure it's been quite stressful. I hope life gets back to normal soon.
I just adore what you've done with the Infusions - those rainbow stripes are delicious, especially with that gorgeous vintage stamp over them. Fabulous tag.
ReplyDeleteHow horrible to have to move so suddenly and with no warning - it sounds like you've been having a really rotten time. Glad you've found somewhere to live for now, and I hope you won't have to be uprooted again.
Alison x
Fantastic tag, Anna-Karin! I love how you created your papers and then sewed on bits to the tag. The sea themed embellishments are a lovely touch. Thinking of you and the boys, and what an upsetting time this is for you all. I sincerely hope it all settles for you soon, and life begins to mend. Hugs to you all, Maura
ReplyDelete