Hello friends! It is a new month and a favorite month for me. During April, the Eileen Hull Inspiration Team has been sharing Notebook projects. Don't miss all the inspiration. A couple of weeks ago one of our neighbours showed us two spots in the vicinity where you could find two kinds of rare spring flowers: blue anemones, and pasque flowers. It was a really nice outing and it inspired the spring-themed notebook that I made today.

I was so happy to finally get to craft with Eileen's new Notebook die. Most of you already know that I love to make minibooks and notebooks, and this die has a great size and is a wonderful complement to, for example, the Wrapped Journal and the Journal dies. The finished size is 4 x 5 in.
One of the places we visited on our outing was an ancient grave, a barrow, which you can also see on the front of my notebook. I used watercolor paint together with Tim Holtz Distress Resist spray, to create the look of a white anemone field.

Start by die cutting the notebook from mat board and from watercolor canvas. Or you can use watercolor paper.

Glue the canvas or paper to the mat board and leave to dry under a heavy book.

Mist Distress Resist Spray on the background, focusing mainly on the meadow areas.

To mask out the birch trees, I used a Molotow Art Masking pen, which is very easy to use.

Paint the scene with watercolors. Don't worry about perfection here, paint loosely.

When the paint is dry, carefully rub off the masking liquid.

Add details to the trunks, and add more shadows, to create depth.

To create the look of the blue and purple flowers, I splattered some acrylic paint on the background, holding a piece of scrap paper over the trees.

You can bind this journal in many different ways. I decided to punch some holes. Two at the bottom, two at the top and one in the center of the spine.

Cut papers 6.6 x 4.7 in (12 x 17 cm), fold and score. The amount of papers per signature depends on the thickness of the paper you use. The best thing with making your own notebooks is that you can use your favorite paper for the inserts. Stitch down the center, use staples, or leave them lose.

Thread a piece of elastic as shown here.

Tie the ends through a button at the spine.
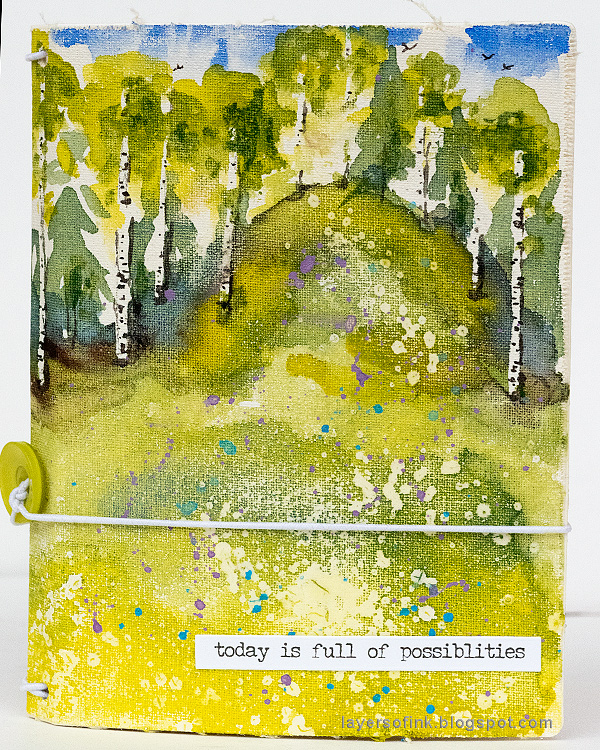
Tie the ends, to create a closure mechanism.

I frayed the edges of the canvas slightly. Add some birds to the sky to create life.
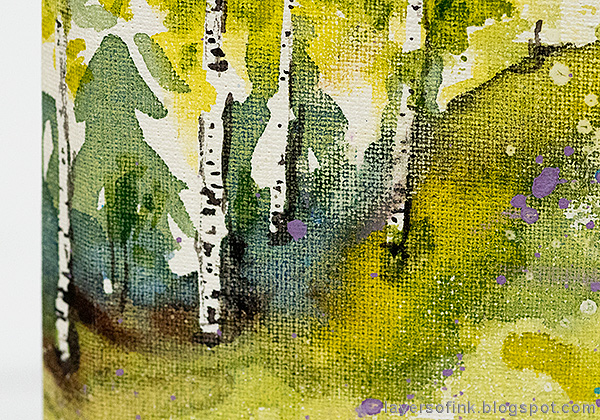
Here's a close up of the birch trees and the shadows.
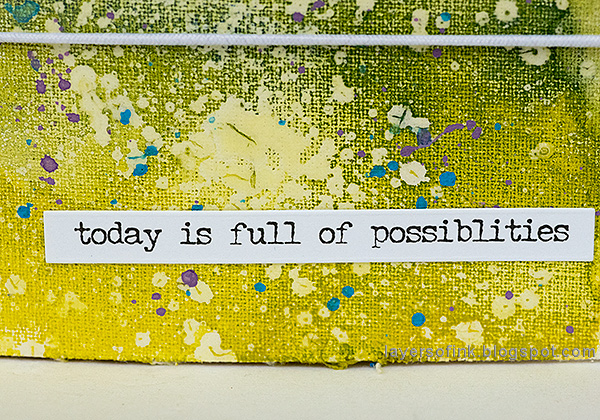
I kept the cover simpel and just added a Small Talk sticker.

The Distress Resist Spray gives a really cool, somewhat random effect. For more Distress Resist Spray inspiration check out my tag post from this Monday, showing two different backgrounds using the spray together with a stencil.
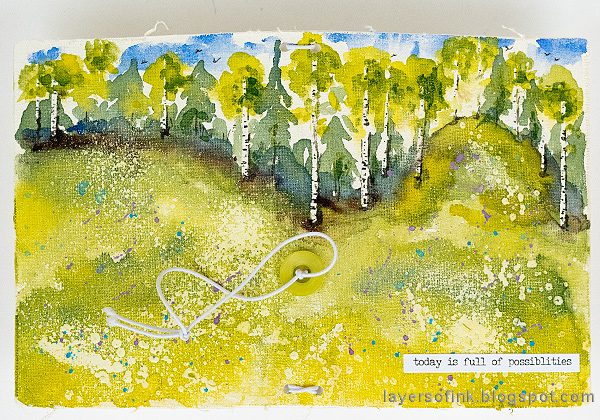
Folded out, the scene looks like this.

Tuck the signatures under the elastic. You can also add new signatures later on.

The back of the notebook.

The notebook is ready to be filled with sketches, notes and memories. This would make a great gift, and you can also use patterned papers instead, and fill the notebook with photos.
Thank you so much for taking the time to visit my blog today!
Happy crafting!
Anna-Karin
Supplies:
* Please note: the links are affiliate links, for which I receive a small percentage of sales generated by the link, at no extra cost to you.
* Please note: the links are affiliate links, for which I receive a small percentage of sales generated by the link, at no extra cost to you.
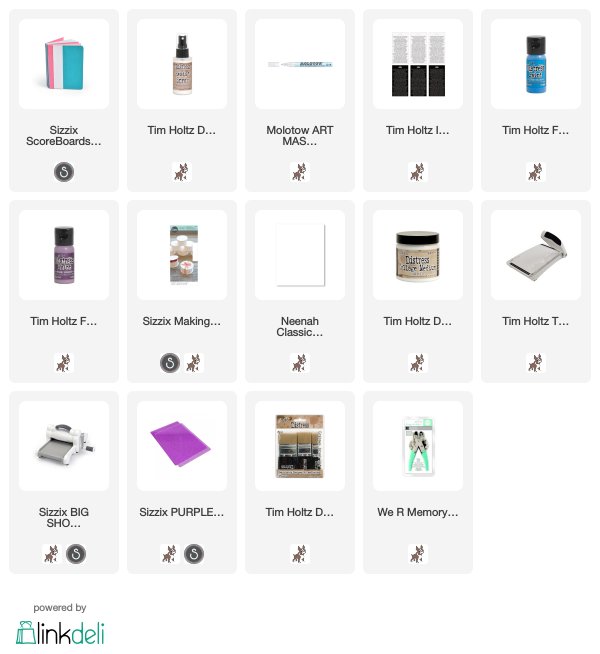
Other supplies:
Fredrix Watercolor Canvas
Daler & Rowney Watercolor paint

Oh that is just beautiful Anna-Karin! And your tutorial almost makes me believe I could do something like this myself :-) Thank you!
ReplyDeleteStunning and a great tutorial
ReplyDeleteThis is so good!!!!! I love it x
ReplyDeletePerfect. I couldn't love this more.
ReplyDeleteTHIS just blew me away it is so GORGEOUS!
ReplyDeleteAwesome colouring, your painted landscape on the notebook is just stunning!
ReplyDelete