
Hi friends! I hope your weekend was good. We went to the movies, decorated for Easter, and went to a local museum. A big thank you to everyone who left a comment on my SSS Blossoms and Butterflies release blog hop post. If you missed the blog hop, I hope you will have a look at all the inspiration, and there is still a chance to win prizes.

This week at the Simon Says Stamp Monday Challenge Blog, we have a Beautiful Blooms theme. I am looking forward to seeing all the floral projects that will be posted. Adding flowers to projects is a favorite of many of us. Remember to check out the project by our April guest designer Sabrina Perna.

I made a card this week, with a bouquet of inky, dimensional flowers. These flowers are quick and easy to make, and you can use any ink color that you have at home. For the background, I wanted something quite dark, so that the flowers would really stand out, and went with a dark tone-on-tone design with some grungy, metallic edges.

Start by die cutting flowers from mixed media paper, using Tim Holtz's Funky Floral Large die set.

The flowers were first inked using a Mini Round Blending tool, and then darker details were added with Detailed Blending Tools. This is a quick and easy way to add darker ink in some areas only.
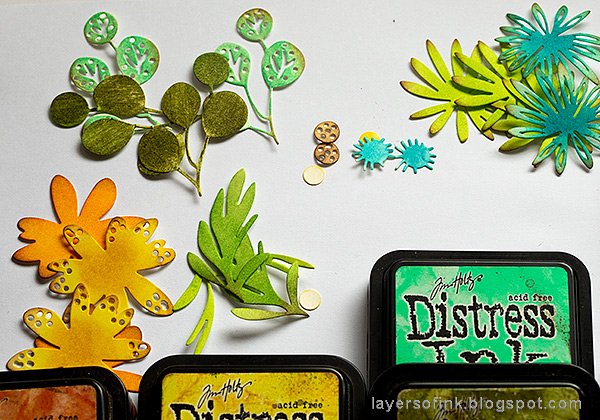
Continue coloring the flowers and leaves, using any color you can think of.
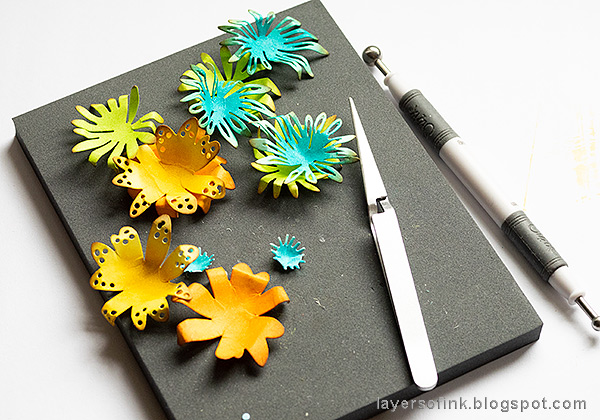
Give the flowers dimension and life with the Sizzix Paper Sculpting Kit. Place the flowers on the foam mat, press and roll with the embossing tools. Bend and roll petals back and forth with the tweezers.

The background paper was first inked a pretty dark brown.

Then I stamped it with Tim's Fragments set, using Ground Espresso Archival Ink. I love the worn wall-paper look of these stamps.

Distress the edges with an edge distressor. Apply ink to the edges with an Emboss It Dabber and emboss with Ranger's Hammered Mixed Media powder. Don't touch the melted powder until it is completely cool.

Layer the flowers together and glue them to the background.

I added some dots to the center of the flowers.

I just love the shape of these leaves. To give the flowers a base, I layered some Design Tape and a piece of lace trim at the background, forming a table.

The Mixed Media powders give a really cool effect.
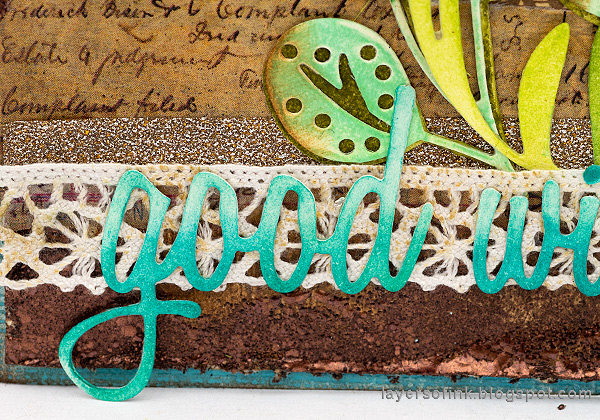
The sentiment was die cut and inked in an ombre fashion with Peacock Feathers and Mermaid Lagoon.

Here you can see the dimension of the flowers better.
I hope you will join us this week in our Beautiful Blooms challenge. As always, you have a chance to win a $50 gift voucher to do some fun shopping at Simon Says Stamp. You have until next Monday 8am Ohio time. 1pm UK time, 2 pm CET to join in.


Do you use Instagram? If so please add #sssmchallenge so we can see your entries there too.


Thank you so much for taking the time to visit my blog today!
Happy crafting!
Anna-Karin
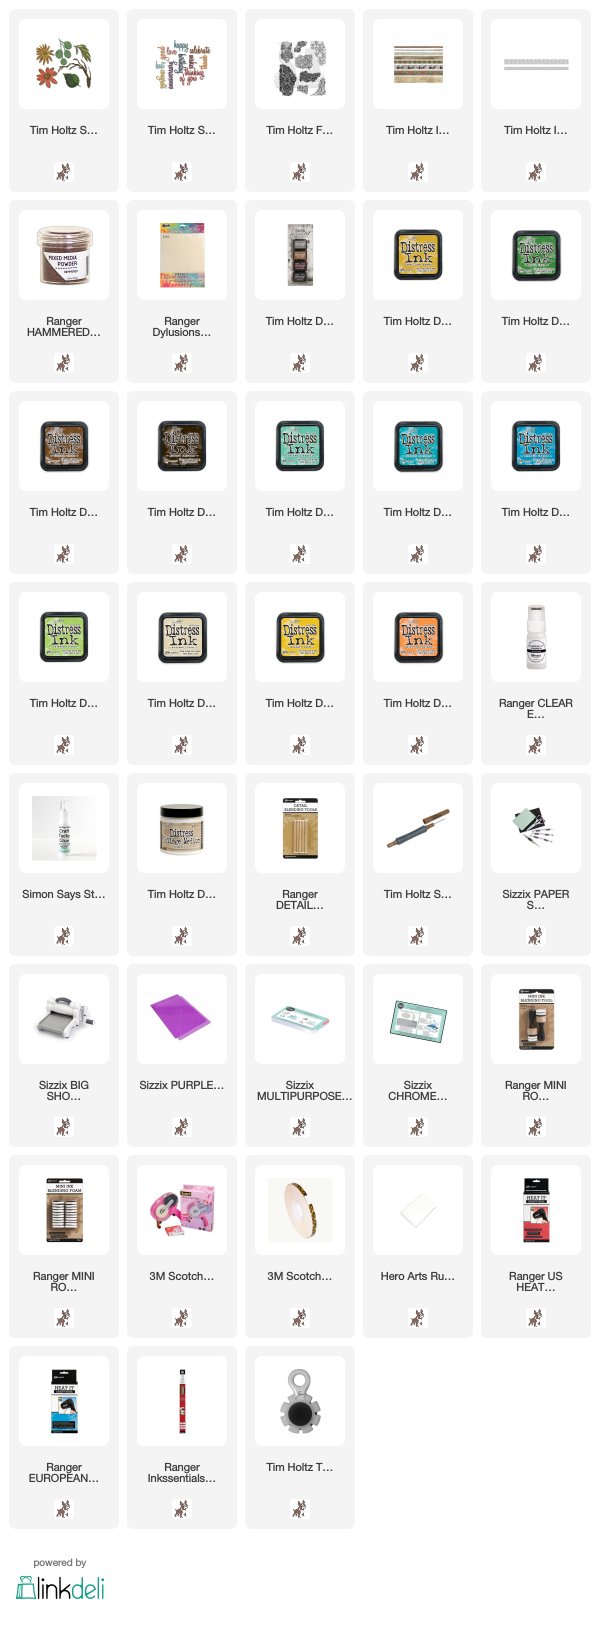
Supplies:
* Please note: the links are affiliate links, for which I receive a small percentage of sales generated by the link, at no extra cost to you.
* Please note: the links are affiliate links, for which I receive a small percentage of sales generated by the link, at no extra cost to you.
GORGEOUS card Anna Karin! the background is fabulous and I love those flowers, the colours and designs are AWESOME!! LOVE it :-)
ReplyDeleteHope you have a great week!
luv
Lols x x x
So pretty! Love the weathered background! Such a pretty image... also love the gold embossing! Cool!
ReplyDeleteOMG! This background! <3 I just love it for all the shades of brown and the amazing stamping, what a beauty! The idea of breaking the deep brown background with all those colorful flowers was genius. Love this card! Hugs, Macarena
ReplyDeleteWOW!!! Your projects always amaze me!!! This is just fabulous!!! Love any detail!!
ReplyDeleteLove the colors and awesome design. Great dies and details.
ReplyDeleteWOWZERS! Gorgeous, I love the flowers and weathered background!
ReplyDeleteLove all the beautiful vibrant colors and the fabulous details of the flowers! Anna-Karin. This is such stunning project! :)
ReplyDeleteAnother beautiful project! I love the detail and shading you were able to give to your flowers with the use of the blending tools.
ReplyDeleteGorgeous flowers and colors, oh I love the colors! Your background looks like a vintage piece of tapestry, Anna- Karin - wow, just wow!! hugs, Maura
ReplyDeleteFabulous palette Anna-Karin! love so much your skill to arrange these flowers, beautiful background! barbara
ReplyDeletebeautiful project,love the bright bold flowers against the vintage background, hugs kath xxx
ReplyDeleteThese flowers are awesome!!!
ReplyDeleteFabulous card, Anna-Karin! Love the bright flowers against the brown background, very striking! Hugs, Sandra
ReplyDelete