
Hi crafters! I hope you had a good weekend. Everybody is healthy again here after a couple of weeks of colds. The snow is melting, but it might come back again. I am looking forward to the ice melting off from one of my favorite paths, which is almost impossible to walk when its icy.

This week at the Simon Says Stamp Monday Challenge Blog, we are having a Typography challenge. Lots of fun! It is all about the words and the letters. Don't miss the project by our February guest designer Lucyna Marynowska, with her blog u Luli.

I made a tag inspired by the letter 'A', which is one of the favorite letters in our house since two of our names start with an 'A'. It has also got such an interesting shape. Three words are hiding in the background, surrounded by a whole lot of 'a's. The background was made with Tim Holtz Sizzix dies and colored with Distress Crayons. I took step photos.
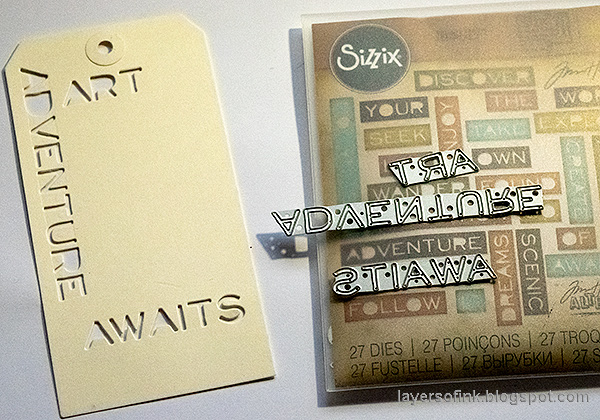
Start by die cutting the three words.
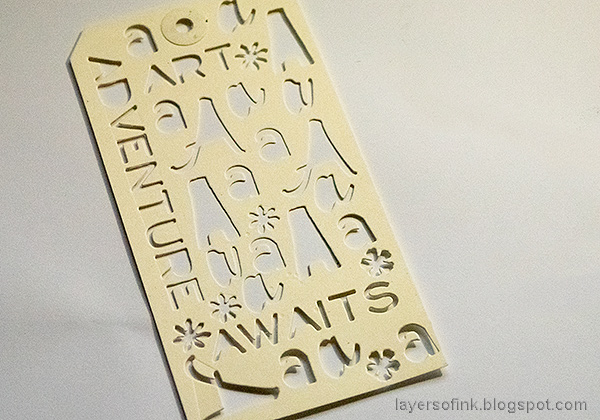
Continue by filling the space with 'A's from different die sets. I used: Cutout Script, Alphanumeric Script, Alphanumeric Marquee, and Alphanumeric Cutout Lower. Here and there, I used a small flower as a filler.
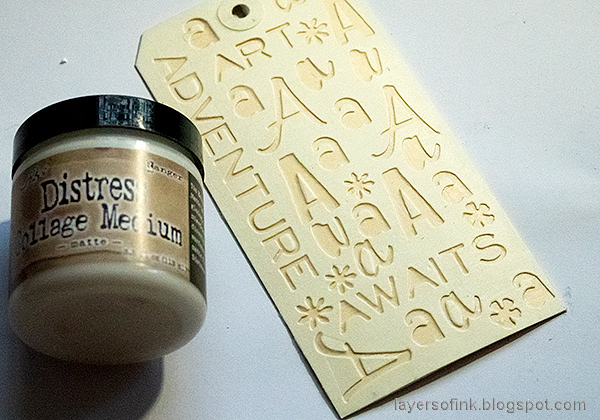
Adhere to a second tag with matte medium.
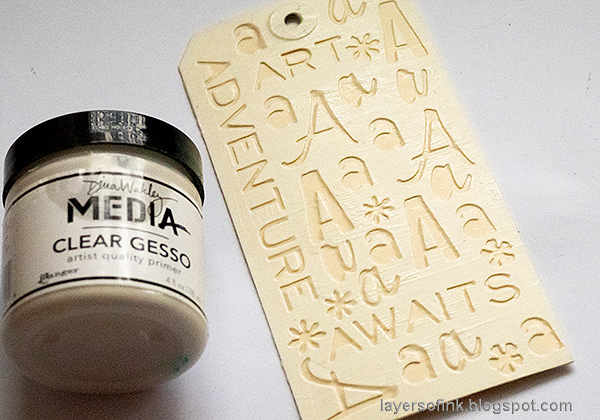
Add a layer of clear gesso on top, to give the tag some tooth for the next step.
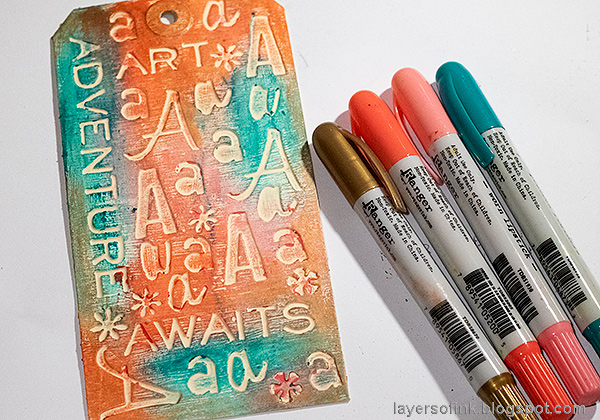
When dry, color with Distress Crayons, blending them with your finger. I used: Abandoned Coral, Worn Lipstick, Peacock Feathers and Antiqued Bronze.
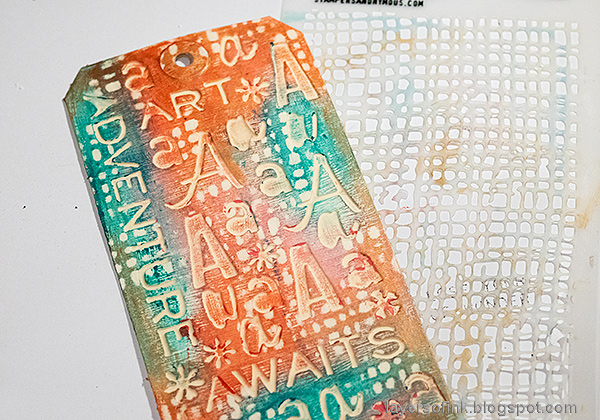
Rub some of the color off with a slightly moist cloth, through a stencil.
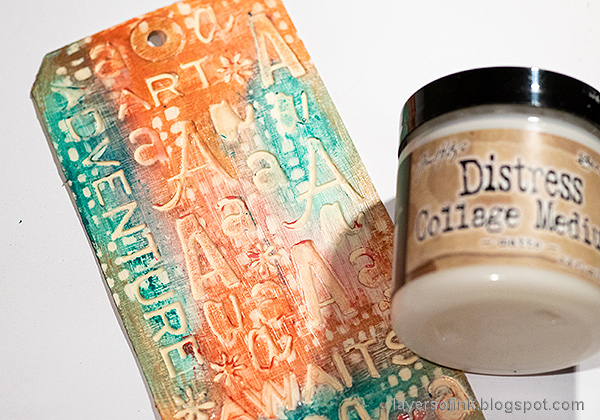
Add a layer of Matte Medium on top, to set the Distress Crayon. Don't go back and forth with the paint brush, just go over every area once. Otherwise, you might lose some detail.
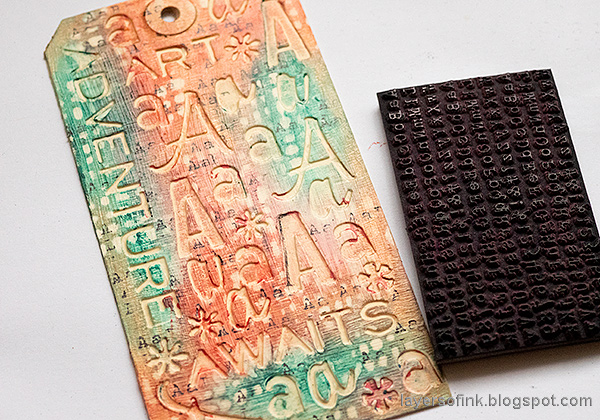
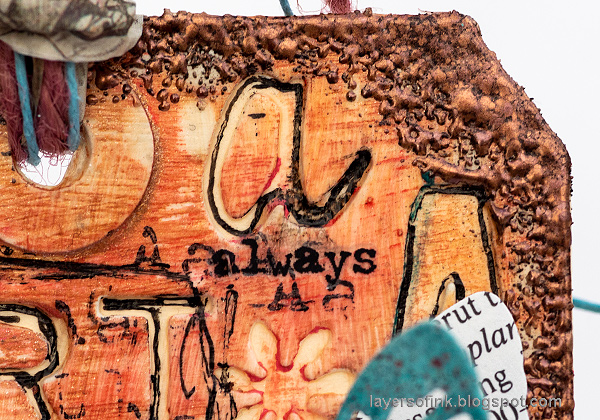
I stamped it with 'a's from the alphabet stamp from Tim Holtz's School Desk set.
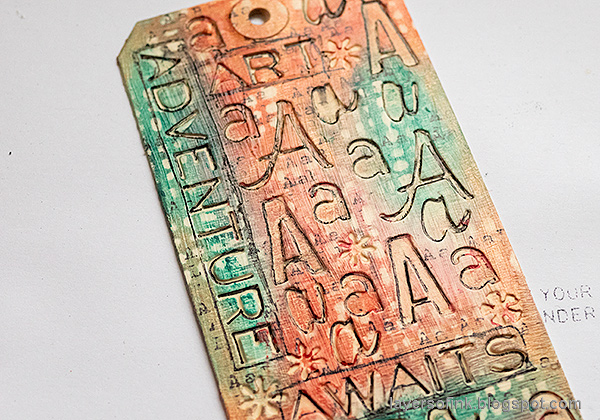
If you want a brighter looking tag, you can skip this step. I had a marker next to me on the table and decided to just add some lines inside the letters and around the words. It gives a grungier look to the tag.
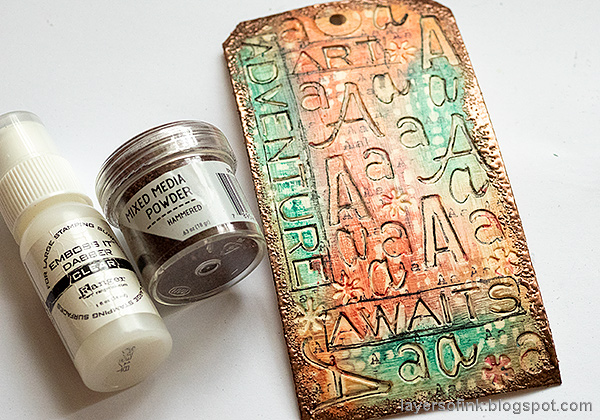
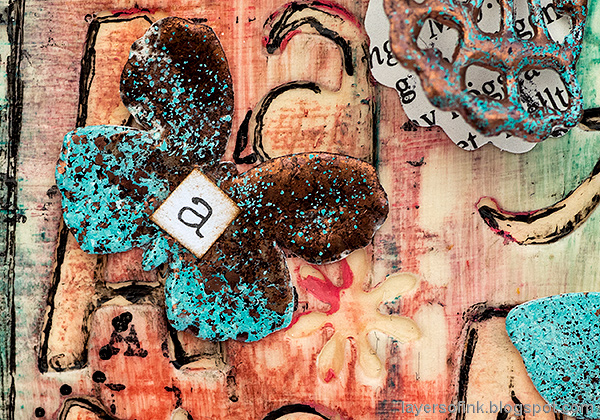
Apply embossing ink along the edges with an Emboss It Dabber and sprinkle with Hammered Mixed Media powder. Melt with a heat tool. Be very careful not to burn yourself when using a heat tool.
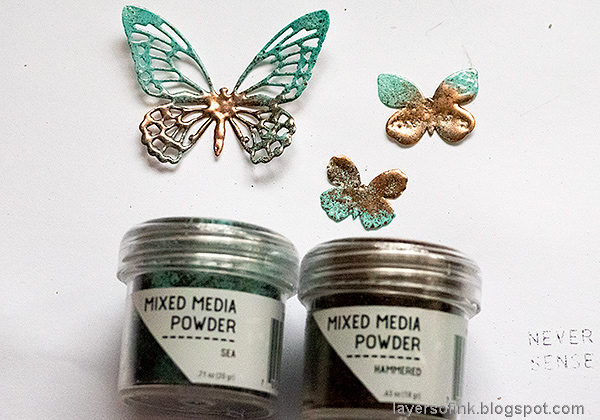
Die cut a butterfly from the Mini Detailed Butterflies set, and the two butterflies from Springtime Side-Order. Apply embossing ink to them and sprinkle first with Sea powder, on about half the butterflies. Melt and then continue with Hammered powder. Do not touch the melted powder until it is completely cool.
Here you can see the cool textured from the Hammered powder. I also added some rub-ons here and there.

Die cut the second butterfly from an old dictionary page and layer the two together. Add a sticker to the butterflies.
The butterflies look really cool with the embossing powders.
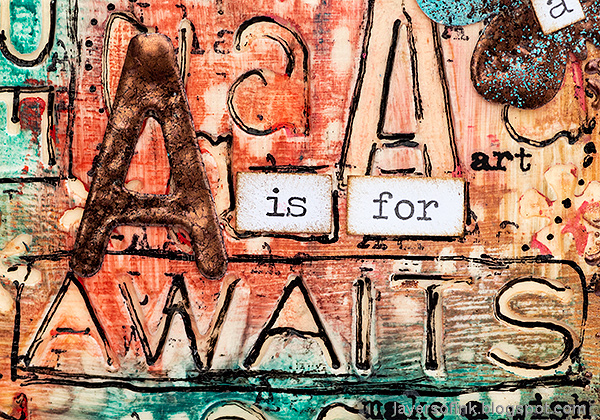
I also die cut an A with the Letterboard die and embossed with Hammered powder.
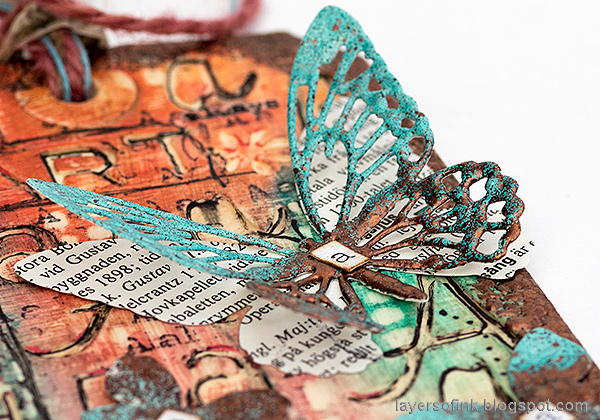
The big butterfly was only glued in the center, giving it dimension.
I hope you will join us this week in our Typography challenge. As always, you have a chance to win a $50 gift voucher to do some fun shopping at Simon Says Stamp. You have until next Monday 8am Ohio time. 1pm UK time, 2 pm CET to join in.


Do you use Instagram? If so please add #sssmchallenge so we can see your entries there too.


Thank you so much for taking the time to visit my blog today!
Happy crafting!
Anna-Karin
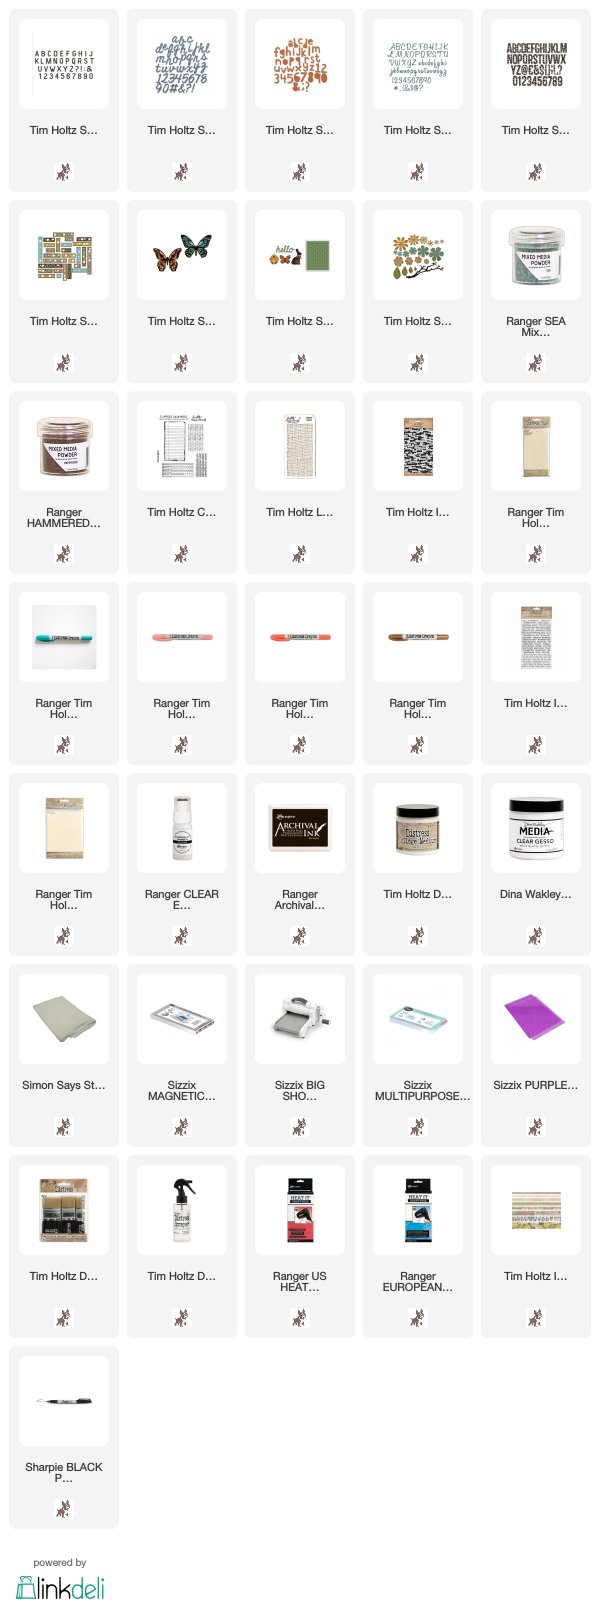
Supplies:
* Please note: the links are affiliate links, for which I receive a small percentage of sales generated by the link, at no extra cost to you.
* Please note: the links are affiliate links, for which I receive a small percentage of sales generated by the link, at no extra cost to you.
Gorgeous tag Anna-Karin :-) I love how you used the dies to create some fabulous nexative texture on there, so clever, and the colours and grungy details are fabulous, love the butterflies too, altogether awesome!
ReplyDeletehope you have a great week! :-)
luv
Lols x x x
Wow! such an adorable project - you have such a fantastic style always UNIQUE!
ReplyDeleteLucyna xx
Beautiful!
ReplyDeleteWonderful tag Anna-Karin! this is one of my favorite color palette and the technique you used is so beautiful! Barbara
ReplyDeleteThis is fantastic! What a great creation of texture. This is layering at its best and I always look forward to seeing how you use products in such unique ways.
ReplyDeleteOh yeah, negative die cuts - this is what I really love. You rocked the background with texture and colors. And thanks to your previous posts I got my mixed media powders and they are amazing! Thanks for sharing and inspiring. Hugs XX
ReplyDeleteYou rock negative die cuts! And I am happy to hear you like the powders! They are fantastic. :)
Deletewow stunning tag Anna-Karin, love how you created the negative with die cuts and I agree with Macarena, you rocked that background, hugs kath xxx
ReplyDeleteOh wow! I love your double tag method to get that amazing type texture, Anna-Karin! Awesome mix of colors, this is one fabulous tag!! LOVE it! Thanks so much too for covering me last week - much appreciated, hugs, Maura
ReplyDeleteWhat a fun tag Anna-Karin, love your die cut background with all those different fonts and amazing textures and colours as always. Thanks so much for sharing it, Deb xo
ReplyDeleteLove love love the fantastic texture and colors on the background, Anna-Karin. Such a stunning tag! :)
ReplyDelete