
Hi crafters! I hope you weekend was a good one. We got even more snow and the kids are enjoying it. And so do I, especially now when there is enough snow to cover up the layer of ice, so that I can go for walks without having to think about slipping on ice. It was very icy the last couple of weeks, so it is a welcome change.

This week we have a Love is in the air challenge at the Simon Says Stamp Monday Challenge Blog. I hope you will join us! And don't miss the gorgeous project by our January guest designer Wendy Baysa.

I made a Valentine's day card, inspired by vintage Valentine's cards. I was reading about Esther Howland who popularized Valentine's Day cards in the US. She developed a card making business and designed very detailed and elaborate cards. The cards had a lot of lace and gold details, as well as pretty focal images, all of which I included here.
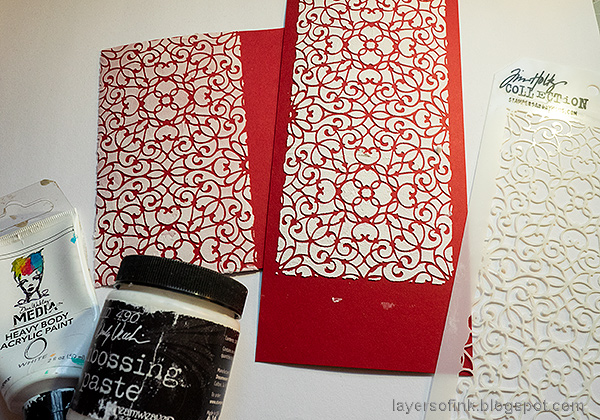
Some of the vintage cards had a background of lace over red cardstock, which I imitated by using texture paste and Tim Holtz's Ornate Stencil on red SSS Schoolhouse Red cardstock. If you add a little bit of white paint to the paste, it becomes more opaque and less of the red paper shines through. You can maybe see the difference between the paper to the left (without paint) and the one to the right (with paint).

To make a layered frame, I die cut the Simon Says Stamp Outline Floral Frame from watercolor paper and the Leafy Frame from vellum.

I inked the watercolor paper with Distress Inks. These are the layers: white cardbase, sanded gold kraft paper, red stencilled paper, lace trim, vellum leafy frame, and watercolor floral frame. The lace trim was glued around the edges of the red cardstock, and adds dimension, since it is thicker than the other surfaces.

To give the ephemera piece the look of an old bookmark, I first sanded it slightly, inked it and then applied gold Stickles around the edges. A piece of cheese cloth was placed underneath the image.
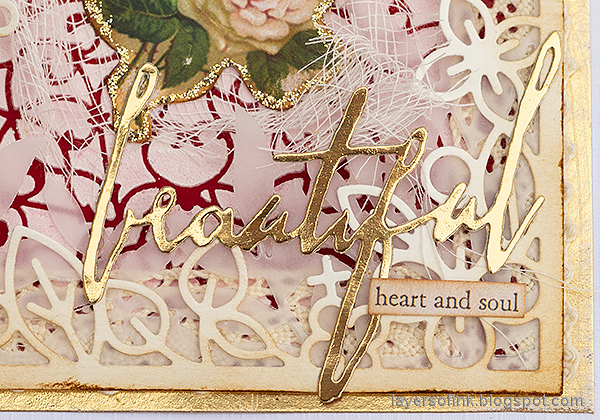
The sentiment was die cut from gold paper using Tim's Handwritten Love set.


Do you use Instagram? If so please add #sssmchallenge so we can see your entries there too.


Thank you so much for taking the time to visit my blog today!
Happy crafting!
Anna-Karin
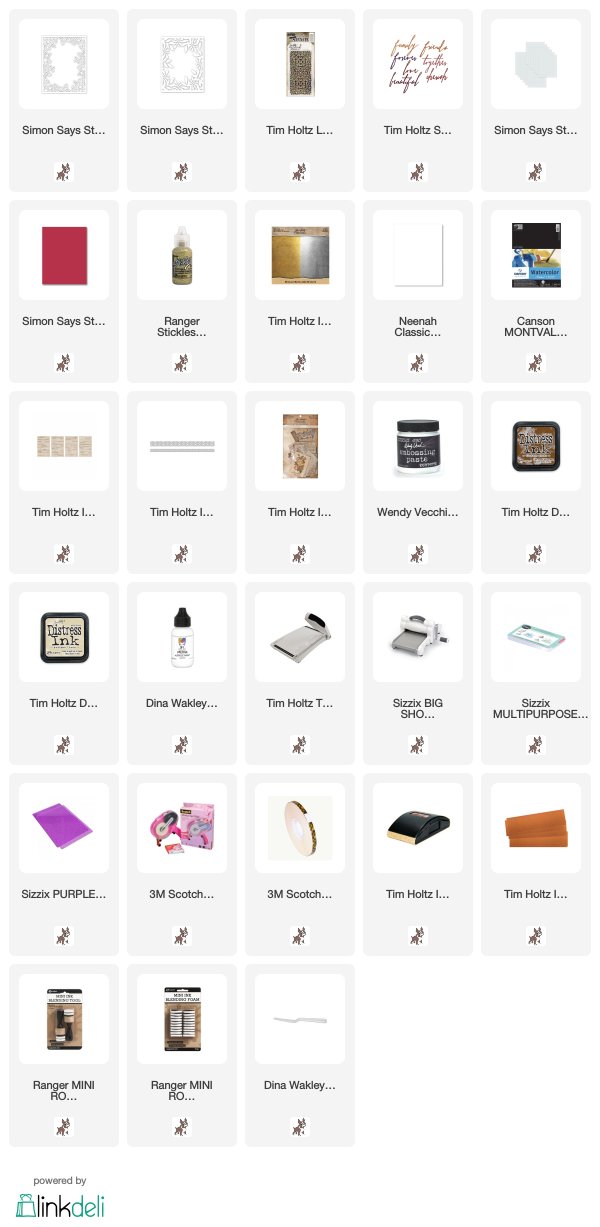
Supplies:
* Please note: the links are affiliate links, for which I receive a small percentage of sales generated by the link, at no extra cost to you.
* Please note: the links are affiliate links, for which I receive a small percentage of sales generated by the link, at no extra cost to you.
Gorgeous card Anna Karin! I love how you used 2 frames together, what a beautiful effect! I would never have thought to do that, I now need to buy me those frames!! the whole design of this is so pretty! LOVE it :-)
ReplyDeleteEnjoy the snow!! I am sure the kids love building snowmen and snowball fights are such fun! I used to love those haha :-D
hope you have a great week!
luv
Lols x x x
What a great idea to layer different frame patterns and got such a nice depth to the project. I wouldn't think about that. Great soft look and lovely colors. Hugs, Macarena
ReplyDeleteGorgeous vintage valentine vibes! I love the way the stenciled background turned out and with the layered frames it’s such a beautiful ornate creation. Just lovely! Thank you for sharing xx
ReplyDeleteTHIS is just STUNNING, Anna! LOVE all of the layers!
ReplyDeleteSo beautiful Anna-Karin and it really does look like a vintage Valentine with all of your amazing details. Great tip about adding some white paint to the texture paste as well, thanks so much for sharing! Deb xo
ReplyDeleteI adore all these layers Anna-Karin! they are absolutely wonderful and give a fabulous dimension to your work! Barbara
ReplyDeleteThis is so pretty, Anna-Karin! Love the dimension and layers and vintage feel to this, as well as how you've used the cheesecloth! I know what you mean about the slippery ice, feel like I am tip toeing out there some days. Have fun in the snow, Maura
ReplyDeleteWhat an interesting read about Esther Howland you card is truly inspiring with that vintage element shining through. A beautiful piece full of warmth and love. Thank you so much for the inspiration.
ReplyDeleteCreative wishes Tracey x
This is SOoOoOoo pretty! I love how you used all of those elegant supplies and how you incorporated a ton of texture. The gold gives it such a classy feel and the whole thing came together beautifully.
ReplyDeleteWow... this is such a gorgeous card, Anna-Karin. Love the elegant embellishments and beautiful vintage effect. :)
ReplyDeleteso beauiful Anna-Karin, love how you layered up the frames to create such a stunning effect, hugs kath xxx
ReplyDeleteBeautiful and oh-so romantic!
ReplyDelete