
Hi everyone! It is Monday again, and I hope you had a good weekend. It's been very cold here and the boys had fun in the snow. Yesterday the sun was shining, and few things are more beautiful than sun shining over a snow-filled landscape.

This week we have a Alcohol - Drinks of Inks challenge at the Simon Says Stamp Monday Challenge Blog. I hope you will join us! And don't miss the gorgeous project by our January guest designer Wendy Baysa.

I made a fun hot air balloon shaker card this week, which Leo immediately wanted to keep for himself. I used Ranger's alcohol ink both to color the acetate and to color glossy cardstock for the sentiment and small balloon. The card background was done with the Sizzix Hot Air Balloon Impresslits Cut and Emboss. This card might look complex, but it is super quick to do.

Start by folding a piece of watercolor paper. Smear Distress Inks on a craft sheet, by smearing three lines of ink, to create an ombre effect. Mist with water and press the paper into the ink. Let dry and then repeat until you are happy with the result.

The Hot Air Balloon Impresslits Cut and Emboss embosses and die cuts in one go, so the background is very quick to create.

Sand the embossed areas to reveal the white of the paper.

For the shaker window, I cut two pieces of acetate and colored one of them with yellow and orange alcohol ink, using an ink blending tool with a felt applicator.

Adhere one of the sheets to the inside of the card, and then place foam tape all around the window. Place sequins and beads in the window and add the other piece of acetate on top. At this stage, I changed my mind and turned the shaker part around, with the orange acetate facing inwards. I liked it better when the sequins and beads were their true color.

Color a piece of gloss cardstock with the same to shades of alcohol ink. Die cut one of the sentiments from the Hot Air Balloon Impresslits set and five tiny balloons from the cardstock.

For the inside, I cut/embossed a second balloon panel and adhered it with foam tape. This step is not necessary, but it gives a neater look to the inside. Here you can see how the shaker looks from the orange side.

Here are the tiny balloons. Aren't they cute? Glue them here and there.

I cut a piece of burlap to use as a basket for the balloon, and layered the sentiment on lace trim.

Shaker cards are such fun, and the Sizzix Hot Air Balloon Impresslits Cut and Emboss makes this one quick and simple to make. For an even quicker version, use plain cardstock instead of inking watercolor paper.

If you open the card, the shaker is transparent and Leo likes to look through it. Here I held it up against some background trees, so you can see that it is transparent.


Do you use Instagram? If so please add #sssmchallenge so we can see your entries there too.


Thank you so much for taking the time to visit my blog today!
Happy crafting!
Anna-Karin
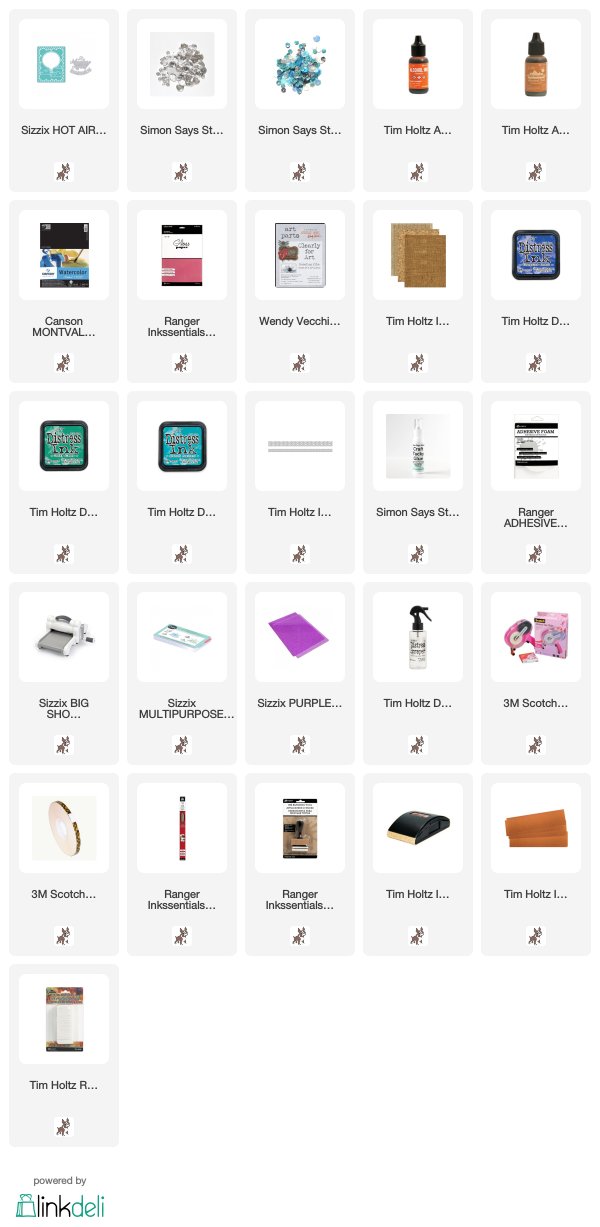
Supplies:
* Please note: the links are affiliate links, for which I receive a small percentage of sales generated by the link, at no extra cost to you.
* Please note: the links are affiliate links, for which I receive a small percentage of sales generated by the link, at no extra cost to you.
Oh WOW!! what a fabulous shaker card! I love the hot air ballon and how awesome that the folder cuts and embosses in one go!! I need to get me one!! this is brilliant! :-) I am not surprised Leo wanted to kep it for himself :-)
ReplyDeleteHope you have a great week and be careful in that snow ;-)
luv
Lols x x x
This is shaker-style at its best! I love everything about it, including the colors and the composition. I've never seen that hot air balloon Impresslits, so I'm always learning about new supplies and techniques from you! Thanks for the inspiration!
ReplyDeleteAmazing, just AMAZING!!!
ReplyDeleteWOW Anna-Karin, this is awesome. I love the marbled/mottled look of the pattern you get with alcohol inks, so beautiful.
ReplyDeleteSo quick and pretty! Love the sunny colors inside the balloon and the great embossing folder you used.
ReplyDeleteOh, I LOVE this! The colors are gorgeous and remind me of India/Morocco - that area of the world, they are so bright and vibrant! Love that shaker balloon and fun design. Awesome make, Anna-Karin! stay warm! Maura
ReplyDeleteLove the fabulous colour contrasts here, especially the echo of the sky in the tiny beads inside the shaker - so clever, and so pretty.
ReplyDeleteAlison x
What a fabulous card and I adore the hot air balloon, what a great Impresslits die! Fun and colourful and the shaker sequins look amazing with your fab ombre background. Thanks so much for sharing, Deb xo
ReplyDeleteWow... this is such a fantastic shaker card! Anna-Karin. The colors on the background and the whole shaker design are stunning! :)
ReplyDeleteFabulous in every way! Love colors, design, shaker... fantastic project! barbara
ReplyDelete