
Hello friends! Today I have a quick Sizzix tutorial to share with you. I've had a fun day at a second-hand fair and found some great stuff. I really enjoy looking at old things and to think about their history.

I made a quick card, but the techniques can be used for other projects too. You might have thought that I used an embossing folder for the background. It certainly looks like that, but in fact it is a Thinlits die by Tim Holtz combined with Sizzix Emboss and Transfer set. I also used some fun new surfaces by Sizzix. This was a hard card to photograph since it is very shiny.
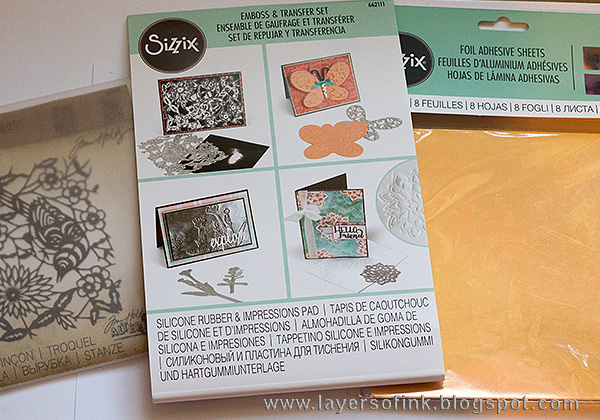
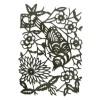
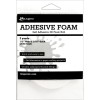
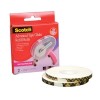
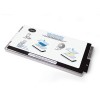
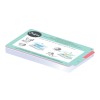
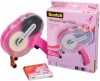
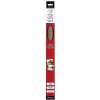
Here you can see the Paper-Cut Bird Thinlits die, the Emboss and Transfer set and the Foil Adhesive Sheets.

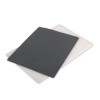
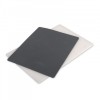
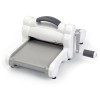
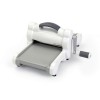
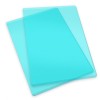
I used the light blue foil adhesive sheet and cut a piece large enough for this big and intricate die. Depending on the thickness of your material, you might need to experiment a bit with the sandwich, particularly when it comes to using tab 1 on the Multipurpose Platform or no tab at all. I didn't use any of the tabs. This was my sandwich: Multipurpose Platform no tab, Cutting Pad, die facing up, foil, rubber sheet and finally the plastic pad. The latter two are in the Emboss and Transfer set.

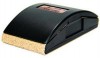
Here's the result, a beautifully debossed pattern. The Emboss and Transfer set makes this technique so easy.

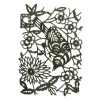
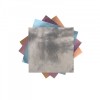
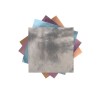
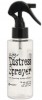
Cover the sheet with Black Soot paint.

Wait a little and wipe off most of the paint with a slightly moist cloth.

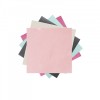
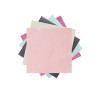
I also used the new Brite-Ons paper which is a very glimmery paper. Flowers were die cut with the Small Tattered Florals set.

I shaped the flowers a bit with a ball tool and folded the leaves.
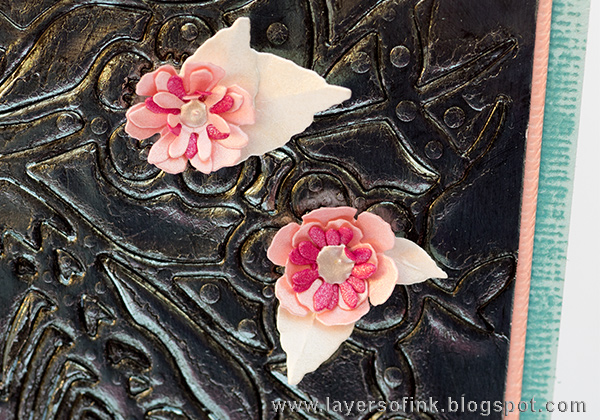
Assemble the flowers and add leaves. In the center, I added a dot of Liquid Pearls. Actually a slightly too large dot, which you can see if you look closely.

I wish you could see the shine of the Brite-Ons paper, it is really pretty, but doesn't show well on the photo.
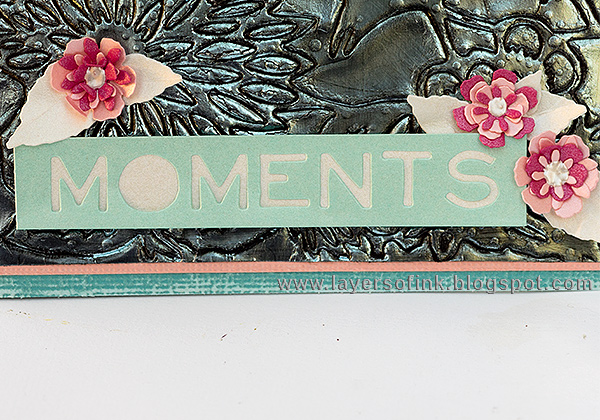
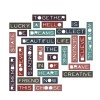
The sentiment was die cut from Brite-Ons paper and layered on top of another piece of Brite-Ons paper.
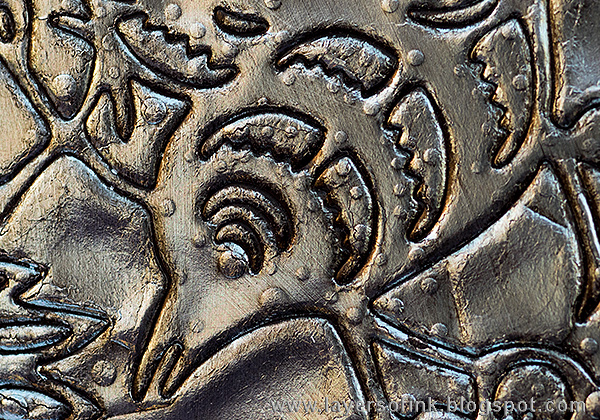
The debossed metal looks cool. This is a great additional use for your wafer-thin dies. I really like it when products can be used in many ways.
Thank you so much for visiting here today!
Have a lovely rest of the weekend!
Anna-Karin
Supplies:


This is just beautiful! Thank you for the idea!
ReplyDeleteVery cool technique with a lovely vintage looking card! Thank you for sharing this great step out!
ReplyDeleteSo nice to see new products in use. Thank you. A pretty card.
ReplyDelete