Hello friends! Today I have a Sizzix tutorial to share with you featuring one of my favourites objects to make, namely houses. I have a whole little village of houses that I have made at home, and now I am adding another three to the collection, in the form of a word village.

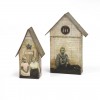
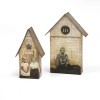
For this project, I combined making houses, building scenes and using words, all of which I really enjoy. I've been looking forward to using Tim Holtz new Tiny Houses die, since I knew I would love the little houses. The tall house measures 5 in and the smaller one is 4 in. I used three other die sets by Tim to decorate the houses, as well as a bunch of idea-ology embellishments. The background technique on the houses is lots of fun and works for all kinds of projects.
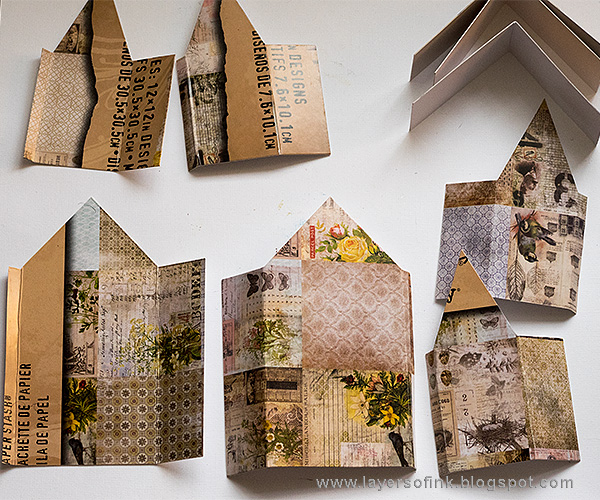
Start by die cutting two larger houses, four smaller houses and three roofs. I die cut them from packaging from one of Tim's Wallflower paper stash, which has the perfect thickness for the houses. At first, I was going to use the white side, but then changed my mind and decided to go with the patterned one instead. As you might see, I should have turned the packaging around then die cutting every second house, to get the side pieces on the right side.

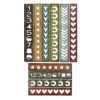
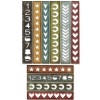
Die cut words and patterned strips from mixed media cardstock using the Friendship Words Block, Shape Strips and Sentiment Words Thin sets.
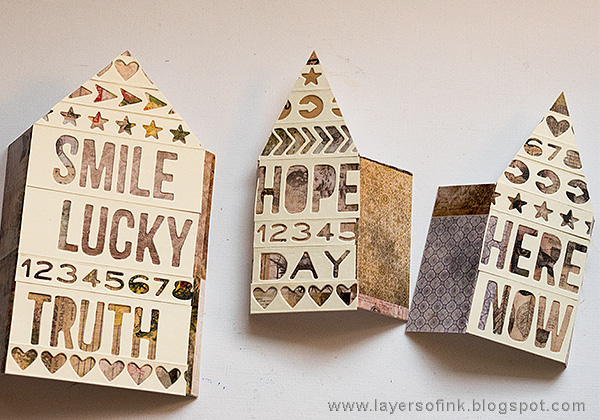
Arrange the die cut words and strips on the front of the houses until you are happy with the look. Glue them with Matte Medium and also add a layer on top.
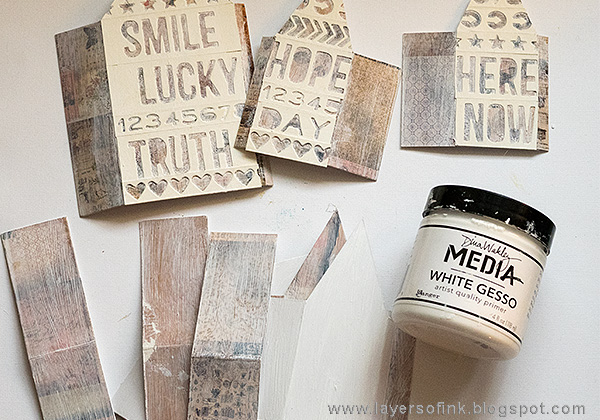
Coat everything with a thin layer of gesso.
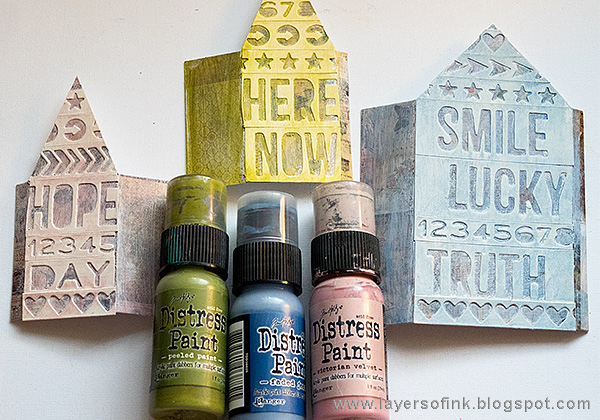
Paint the houses with three colors Distress Paint. I used Victorian Velvet, Peeled Paint and Faded Jeans.
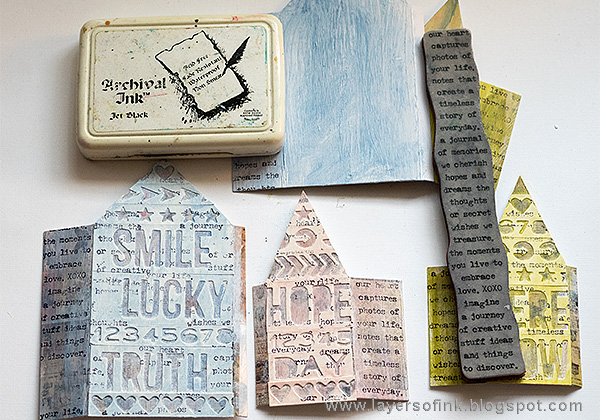
When dry, stamp with the long sentiment stamp from Stuff to Say. I love the words and sayings on this stamp. I stamped full sections of it on the sides of the houses.
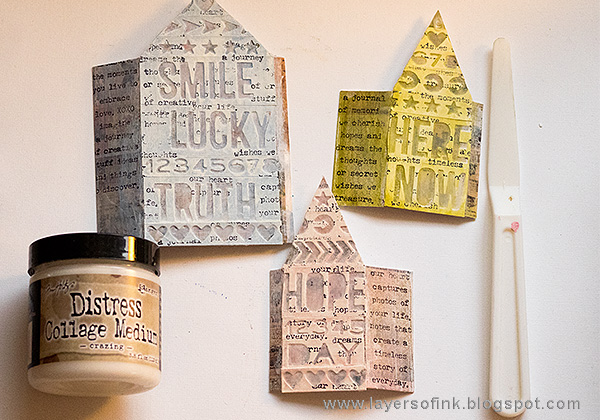
Use a palette knife and apply Crazing Medium all over the houses, avoiding the flaps you will use to assemble the houses. I also avoided most of the side pieces, since I wanted the words there to be clearly visible. One the front, press down the palette knife so that most of the crazing medium gets into all the words and grooves, while the rest of the area is only covered in the thinnest of layers. This is important for the technique to work. You can also use an old plastic card.

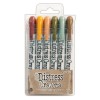
When the crazing is dry, use two shades of Distress Crayon on each house, matching up the colors, and rub the crayon into the cracks. Wipe off excess with a slightly moist cloth.
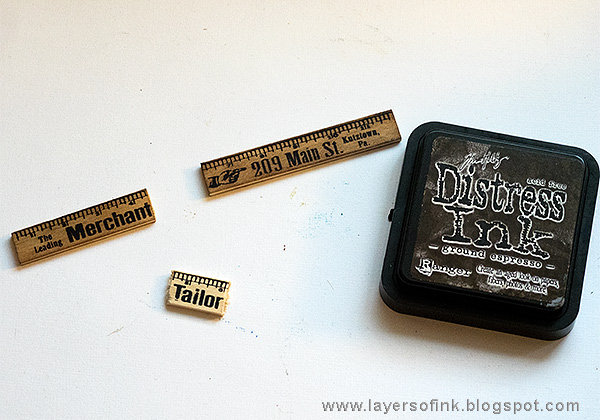
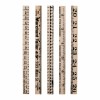
I wanted a wall at the front of the garden and cut one of the new Tim Holtz Ruler Pieces apart. The edges were sanded to smooth them out and I inked it with Ground Espresso.
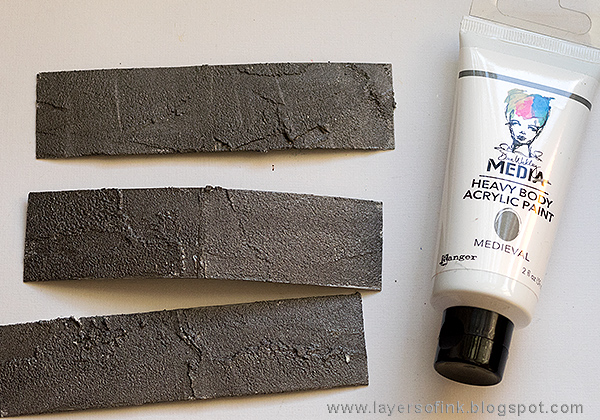
The roof was coated with Grit-Paste and when dry painted with Dina Wakley's new Medieval paint, which is one of three gorgeous vintage pearlescent paints. I used the other two on my Fringed Flowers in a Vintage Frame project.

The base for the garden is a Salvaged Baseboard, which is very sturdy. It was coated with a very thin layer of gesso, followed by Peeled Paint, so that the patters still show through.
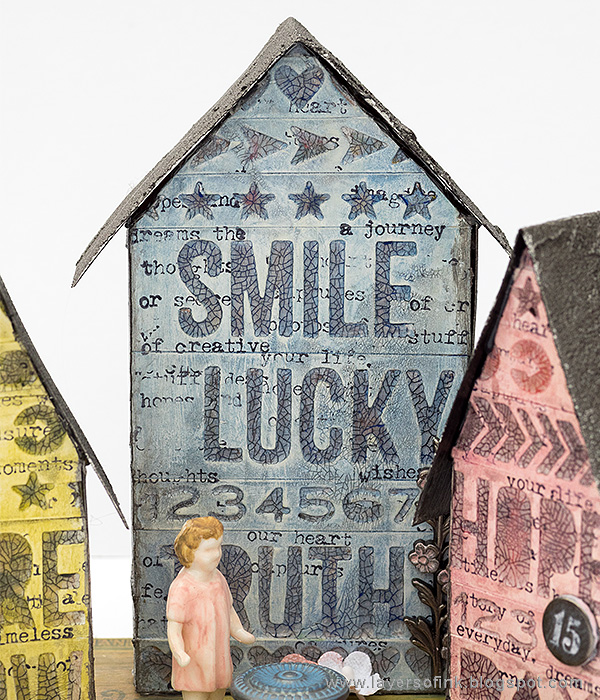
The houses are easy to assemble. Just apply adhesive along the flaps, and then along the top edges for the roof.

Here's a better look at the texture and shine of the roof.

The Crazing technique is really cool and I love how there are large cracks in all the die cut words and patterns. Because the medium was applied with a palette knife, a much thicker layer of medium ends up in the openings, and a very thin layer, almost non-existent on the rest of the house. I did the same technique on my Pastel Paper Gingerbread House.

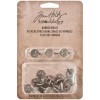
I wanted my houses and garden to have inhabitants and painted a Salvaged Doll with Distress Paint. Then I happened to look at the new Mini Hardware set and realized one of them looked a bit like a table. The top was painted with Faded Jeans. Isn't it cute?

The dog comes from the Treasures Adornments set and I cut off the loop on it's back and painted him brown.

I also painted a flower adornment and glued it to the blue house.

I wanted more flowers and used the new Bouquet flowers. They were misted lightly with Tattered Rose and glued to the green house and to the garden itself.

The wall was glued at the front of the garden, leaving an opening.
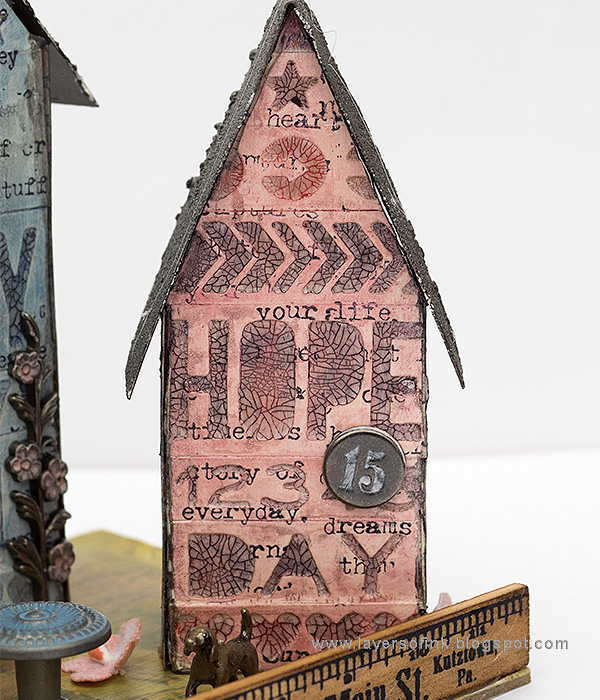
Here's a closer look at the pink house. I really like the combination of the larger die cut words and the smaller stamped ones. Everywhere you look there are words and meanings. Paint was rubbed into the numbered brad.
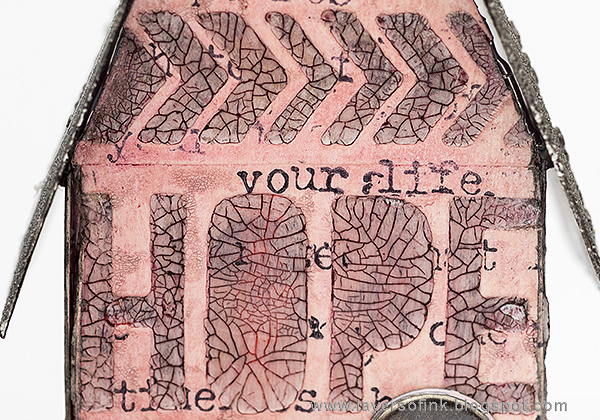
The cracks really stand out once you add Distress Crayons to them.

The green house might be my favourite, since I like the 'here, now' combination of words. The die cut strips also give the look of planks going across the houses.

The technique even work for the smaller areas, such as the stars.

You can see some of the background peeking through on the sides which aren't covered in die cuts.

I didn't add much Crazing medium to the side areas since I wanted the text to be easy to read.

And one of the sides of the blue house.

You could add stamping and embellishments to the back too, but I left them with only the Crazing.

Using two colors Distress Crayon on each house makes the cracks look even more interesting. Here you can see the combination of Hickory Smoke and Blueprint Sketch.
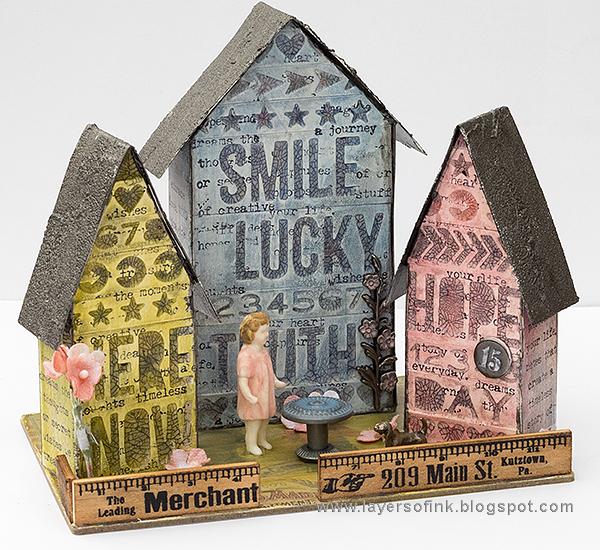
You can of course make your houses in any color you want, or add fewer or more houses. I really enjoyed making this addition to my little homemade village of miniature houses.
Thank you so much for looking at this long post!
Happy crafting!
Anna-Karin




























Gorgeous houses! I love all the words and the crazing. The courtyard scene is so cute!
ReplyDeleteI really enjoyed your wonderful tutorial Anna-Karin, the houses are beautiful and I love that tip with the Crazing Medium, it looks amazing the way you have applied it. I love the little table and the dog is adorable! Thanks so much for sharing! Hugs, Anne xx
ReplyDeletePrachtig en mooie gewerkt met de materialen
ReplyDeleteThese are amazing! I love the little dog :)
ReplyDeleteWonderful work. TU for the clear directions. Love that doll and doggie!
ReplyDeleteWow, how clever and gorgeous project!! Even fabulous with the cute scene added around the houses!!! :)
ReplyDeleteThank you for your great tutorial!! Hugs to you and happy week!