
Hello friends! Today I have an inky ombré tutorial for you, made for the Eileen Hull Inspiration Team. This month, the team is showing you techniques with Eileen's ColorBox Blends inks by Clearsnap. Don't miss all the inspiration.

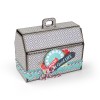
I used three different shades of turquoise-blue Blends to create an ombré effect on this toolbox. It's very quick and easy to achieve this effect and the inks are lovely to work with. All the stamping on the box was also done with the Blends. I really like the shape of the Toolbox and I have made a bunch of them before.
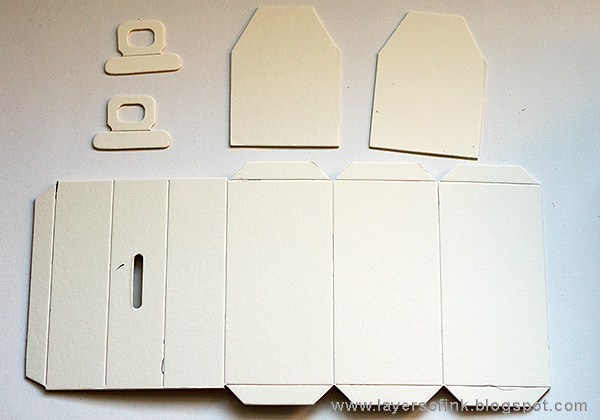
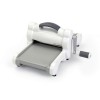
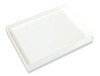
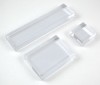
Start by die cutting the Toolbox from white mat board. These are the pieces you need. The Toolbox die is a ScoreBoards die and both cuts and scores the material, as you can see here.
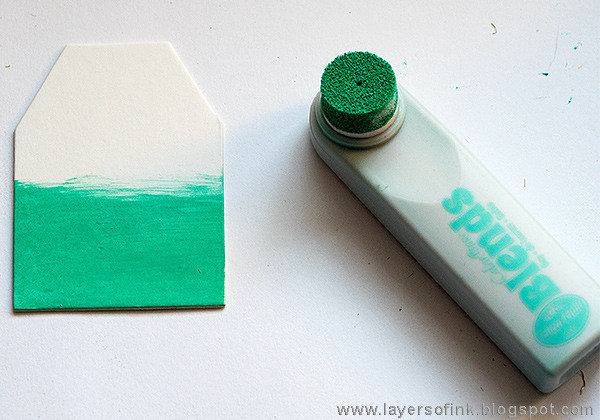
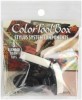
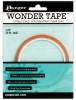
The Blends look like this and come with a built in sponge. Activate the inks by pressing them down on a piece of scrap paper or craft sheet. The Blends are pigment inks and contain 10 times as much ink as an ordinary pigment ink pad. Apply about half way up the shape. This is the Bay color.
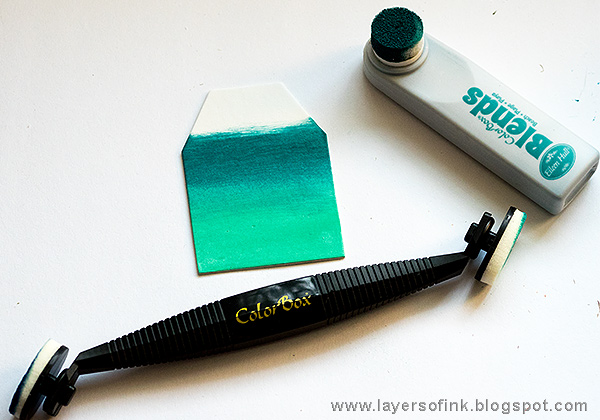
Continue with Beach, blending it into the lighter color. I also used one of my favourite tools to smooth out the blending a little, namely the ColorBox Stylus tool, with oval blending tips. This is a really great inking tool, with great precision and the foam on the tips is of a high quality. I use it a lot, especially for scenic stamping.
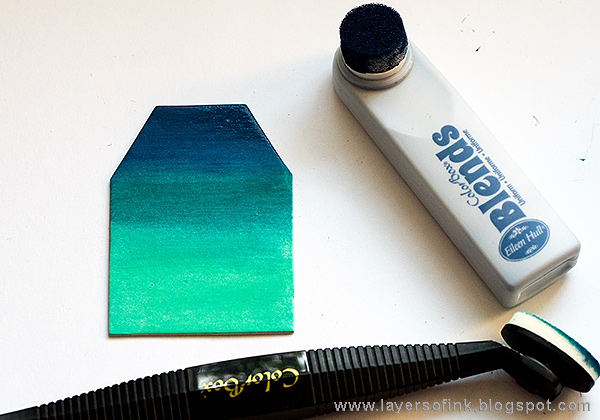
Finally, apply the darkest shade (Uniform) at the top, blending it into the color below.
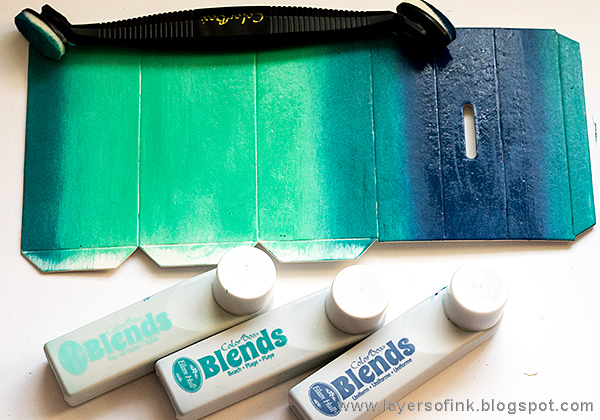
Do the same on the large piece. You need to plan it a little to make sure that you apply the ink in the right direction, since the shape gets folded into a box later.
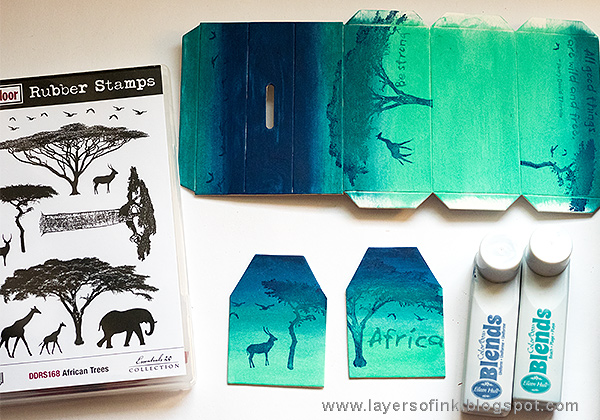
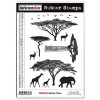
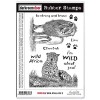
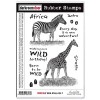
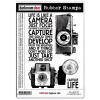
The Blends also work great to stamp with. Just pounce the sponge on the stamp until you can see that the whole stamp is covered. It is also much easier to use more than one colour ink on a single stamped impression, than if you use normal ink pads, since the Blends have great precision. I inked the tree stamps with Beach and Uniform, and also inked one of the sentiments with both inks. The stamps are by Darkroom Door; African Trees, Wild Africa Vol. 1 and Wild Africa Vol. 2. I love these stamps and they make me think of South Africa.

My favourite white pigment ink is the ColorBox Frost White and I was curious to see how the Coconut Blends ink would stamp on my background. It worked wonderfully. You can see how white it looks, even on the darkest blue. I really like the look of white stamping on top of a darker surface.
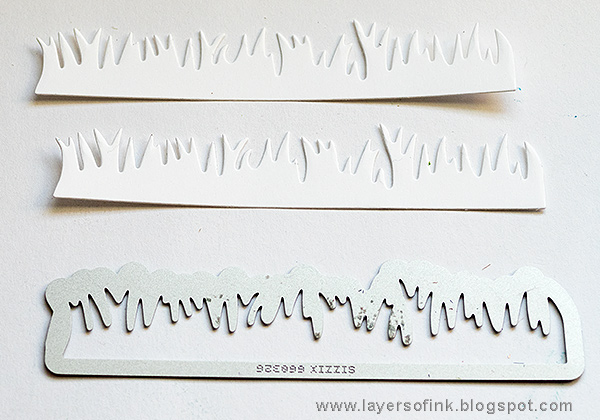
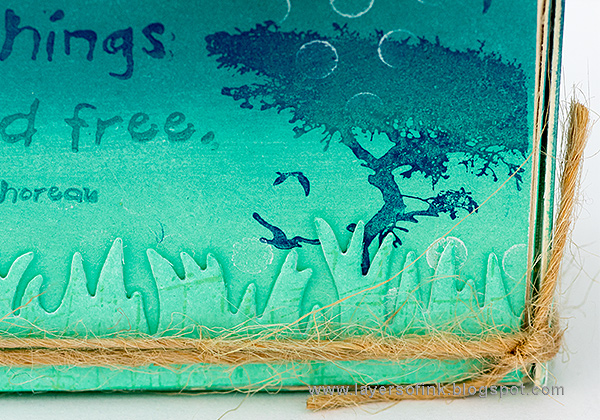
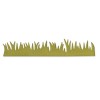
Die cut grass from white paper, you need three pieces.
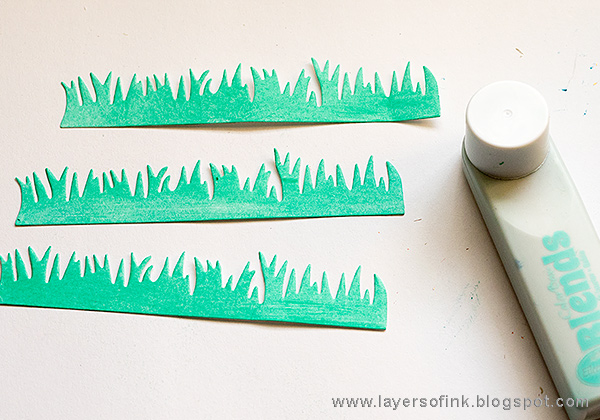
Colour with the Bay ink. Very quick and easy.

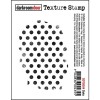
When the ink is dry, stamp with a texture stamp and again with the Bay ink, creating a subtle tone-on-tone effect.
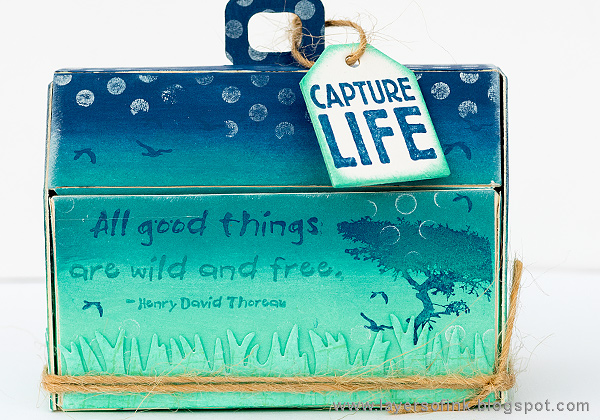
Glue strips of grass all around the box. Assemble the box using a strong adhesive. The sentiment on the front of the box was easily inked with two shades of ink and adds to the ombré effect.
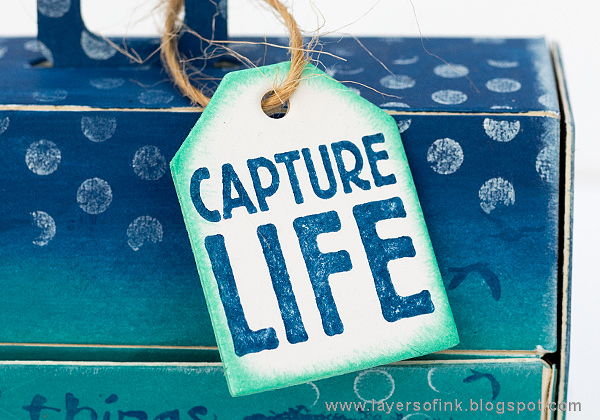
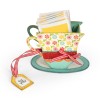
The tag comes from the 3-D Tea Cup die and was stamped with another sentiment and inked softly around the edges.
I tied a piece of twine around the box.
I inked the darker edges with the white ink.
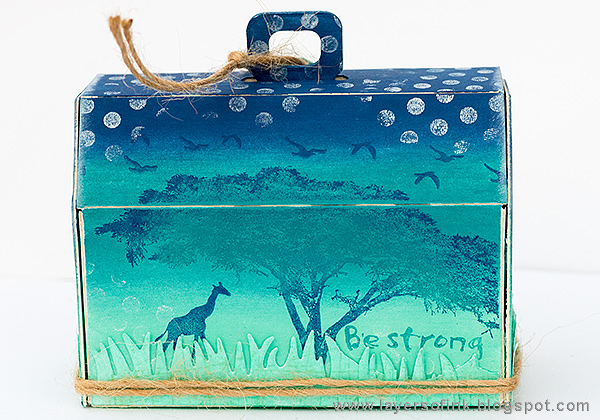
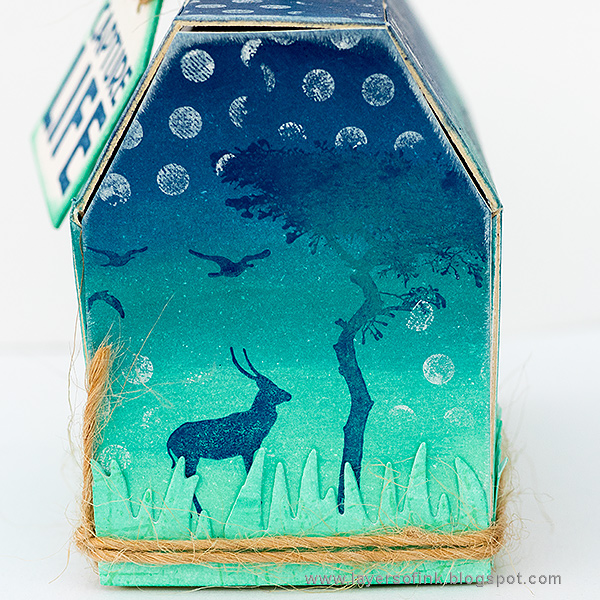
Here's the back of the box, with a larger tree and a giraffe.

Here you can see that the tree was inked with two shades of Blends.
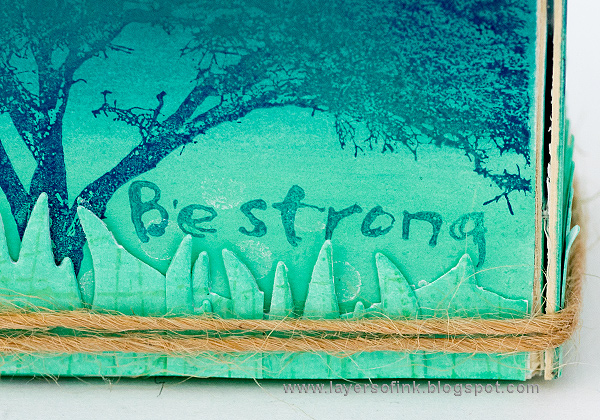
I stamped 'Be strong' too far down and it would have been covered by the grass. To avoid that, I cut the grass up a bit and added some shorter straws at the front.
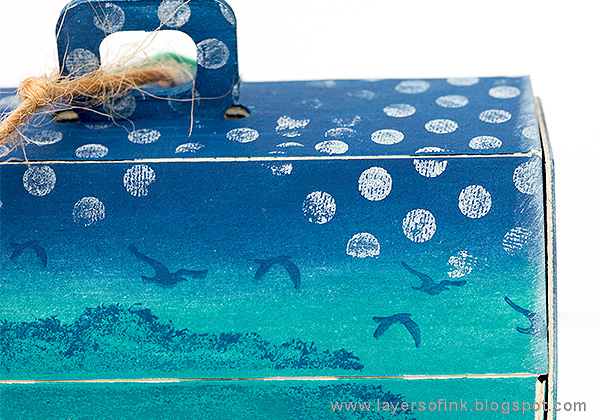
The white stamping stands out so well on the dark background.
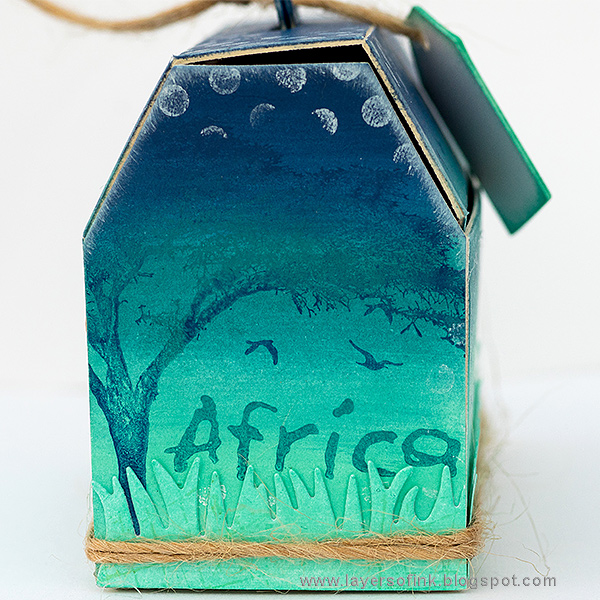
The other side of the box, with a partial impression of the big tree, and another word stamp.

The box opens like this. You can fill it with a gift or sweets. I also made one with an accordion mini-book inside, which you can find in this Nature's Toolbox tutorial, if you want more inspiration. You can also find a Ten Minute Watercolor Toolbox here.
Thank you so much for visiting! I hope you enjoyed this inky post.
Happy crafting!
Anna-Karin
Supplies:
Inks: ColorBox Eileen Hull Blends: Bay, Beach, Uniform, Coconut


Love the ombré effect Anna-Karin, gorgeous make . Tracy x
ReplyDeleteLove your box, the ombre looks amazing in those colours and the white is brilliant on the darker background. I have loved using the inks too! Anne x
ReplyDeleteI love this tool box. The colors are beautiful, love how you did the ombre effect. Your stamping always inspires me.
ReplyDeleteThis ombre box is stunning! Thanks for the step-by-step tutorial, especially the note about the planning ahead - very detailed! I love making boxes :)
ReplyDeleteThanks also for stopping by my blog!
Oh wow, this is great :)
ReplyDeleteVery cool, project! Your art always amazes me with the details you include to make everything extra special. TFS.
ReplyDelete