
Hello everyone! It is Monday again and of course time for a new Simon Says Stamp Monday Challenge. Our theme this week is Spread Your Wings.

I hope you will be able to join us this week and don't forget to check out our wonderful guest designer Autumn Clark.

I was looking through a pile of photos and came up on these photos of Anton from about 2.5 years ago. He was helping me to die cut some flowers (Tim Holtz Tattered Florals), from scrap paper, which we layered together and gave to his teacher as a spring gift. He also stamped papers with hearts which we used to die cut flowers from. I've wanted to scrapbook these photos before, but never got to it. It was also fun seeing some details from the desk in my previous study/studio. The theme of the layout is that art can give you wings.

I started out with a piece of watercolour paper and covered it with gesso. The lines were pressed into the gesso with a ruler.
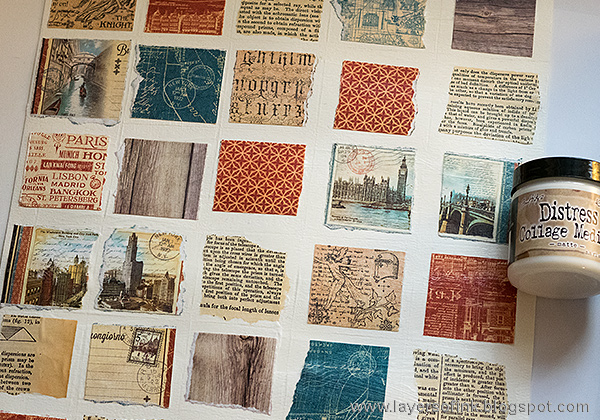
Squares were partly cut and partly torn into roughly the same size, using patterned papers by Graphic 45, and some vintage text paper. They were adhered with Matte Collage Medium.
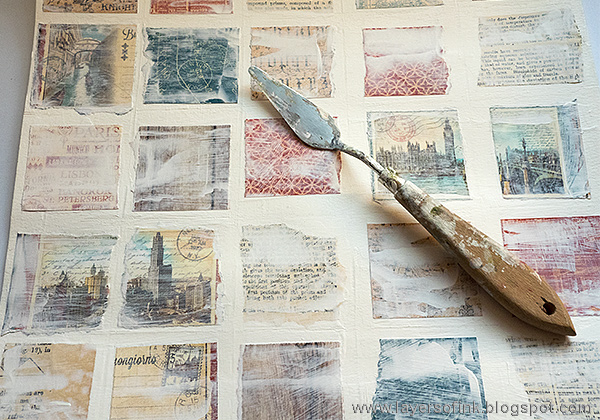
Tone down the papers with an uneven layer of gesso.

To add colour, I first painted the page with watered-down Antique Linen and Pumice Stone and, when dry, rubbed a brown Distress Crayon on the gesso lines, to make them more visible. Most of the crayon was rubbed off with a slightly moist cloth.

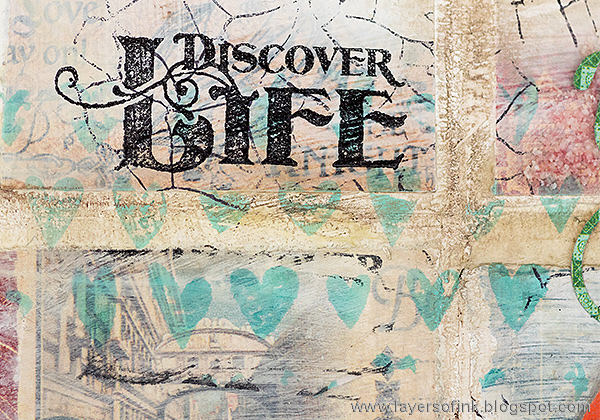
Stamp here and there with a crackle stamp.

I used the lovely Butterfly Journeys StencilGirl stencil by Carolyn Dube and applied texture paste through it (I missed taking a photo of that step, it was late at night). When the paste was dry, I painted the butterflies with Distress Paint.

The background was also stamped with the same Drawn Hearts stamp that Anton uses in the photos, and Forget-me-not ink.
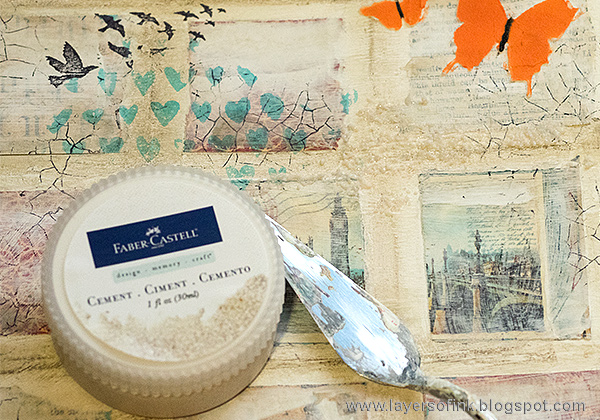
Because I hadn't used it before, I wanted to try some Faber-Castell Cement Paste and smeared a thin layer on three places of the page.

The page was stamped with a mix of Graphic 45 stamps, most of them from the Safari Adventure line, and my favourite Tim Holtz bird stamp.
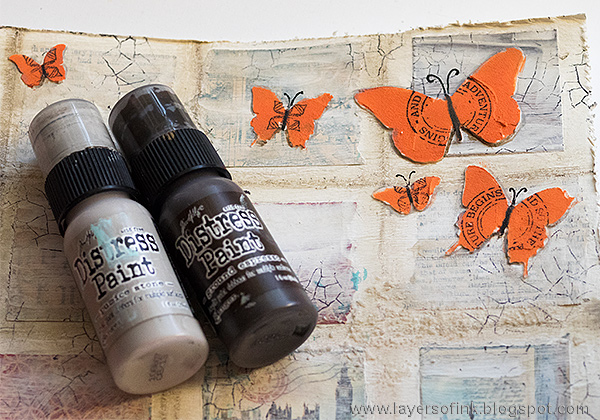
I added shadows to the butterflies to make them look more grounded to the page.

I like all the layers on this page, from the gesso with the grid outlines, to all the patterns in the papers, the stamping, colouring, butterflies and finally some embellishments and words.

You was die cut with the SSS Missing You die, using only the second part. Here you can also see the effect of the Cement Paste a little better.

The circle stamps worked well on the butterflies and I found a little stamp on the Safari Adventure 2 set, which was perfect for the small butterflies.

Under the photos I layered some Graphic 45 patterned papers and cut a big tag from mixed media cardstock. I love the Angled Corner Chomper tool, which makes it so easy to make tags in odd sizes and shapes. The journaling is written on the tag.
Guess what happened below the stamped sentiment here? I dropped the stamp on the background when I lifted it up. Oops.

I finished the page with a couple of quotes.

Create was also die cut from patterned paper and label stickers were used as arrows pointing to the title.
I really hope you will join us in our Spread Your Wings challenge. As every week, you have a chance to win a $50 gift voucher from Simon Says Stamp. You have until Monday 8am Ohio time. 1pm UK time, 2 pm CET to join in.

If you want to, follow Simon Says Stamp on Instagram, they post great stuff daily.


Thank you so much for visiting today! Have a lovely week!
Happy crafting!
Anna-Karin
Supplies:


Gorgeous layout Anna-Karin, the photos of Anton crafting are fabulous and you framed them beautifully :-)
ReplyDeleteluv
Lols x x x
I love all those squares, a great idea. Wonderful page, crafting from an early age.
ReplyDeleteWhat a fun page, Anna-Karin! I love the background you created and how you framed everything. Anton looks like he's having a blast!
ReplyDeleteCathie ♥
the photos of Anton are great - he looks like he is having fun! I love how you made all the blocks in the background, Anna-Karin and then added in the paints and layering - great layout! hugs, Maura
ReplyDeleteThis is such a beautiful patchwork! Great idea and what sweet photos to highlight. AWE!!! :) Hugs, Autumn
ReplyDeletebeautiful layout! Your son is so sweet and I love that he is creating art along side you. The layers upon layers on this page are really wonderful.
ReplyDeleteThis is such a fun and wonderful layout! Anna-Karin. The texture on the background you created is amazing. Love those cute photos, too. :)
ReplyDeleteSuper fun layout; love the patchwork idea! Thank you for taking us through your steps and for all the close up photos; extra work for you, but I sure do appreciate it! Fabulous photos with Anton creating! I hope he will always do this!:)
ReplyDeleteLove your layout with your sweet boys helping you craft, Anna-Karin! Also love the paper tiling in the background! Really lends a hand to an interesting background!!
ReplyDelete*mwah*
Steph
Simon Says Stamp!
Wow! The way you made that background with the squares of patterned paper is brilliant! I also really love seeing you incorporate your crafting skills into family time. Such sweet pictures! Your boys have always been adorable!
ReplyDeleteWhat a great collage! Love the idea of building up the background this way. Love the mix of pastels and the butterflies popping up. Hugs, Marzena!
ReplyDeleteLove that crackle stamp and all the wonderful layers!
ReplyDeleteAs always your layout is fabulous! the patchwork as background is fa fabulous idea and every detail is perfect! Great work! barbara
ReplyDeleteamazing layout as always...you are the Queen of Texture and Detail and I love the pop of orange and blue you added with the butterflies...hugs kath xxx
ReplyDeleteA gorgeous layout and such precious photos, your children are adorable Anna-Karin and thank you so much for sharing these gorgeous pictures of Anton! :)
ReplyDelete