Thursday, March 16, 2023

Mushroom Tag Tutorial

Hi crafters! Today I have a tag to share using inks to create a lot of texture and layers.

Please note: this post has affiliate links, for which I receive a small percentage of sales generated by the link, at no extra cost to you.

Layers of ink - Mushroom Tag Tutorial by Anna-Karin Evaldsson.

Simon Says Stamp has a brand new release called Just For You and this tag was made with products from that release. I wanted to create something of a magical mushroom forest using the new Mushroom Stems die set

Simon Says Stamp Just For You

The Just For You release has a great mix of stamps, dies, stencils and other products which are great for both Easter, spring-time and other themes. There is even a pair of Pawsitively Everyday Scissors

Layers of ink - Mushroom Tag Tutorial by Anna-Karin Evaldsson. Simon Says Stamp Leaf Edges.

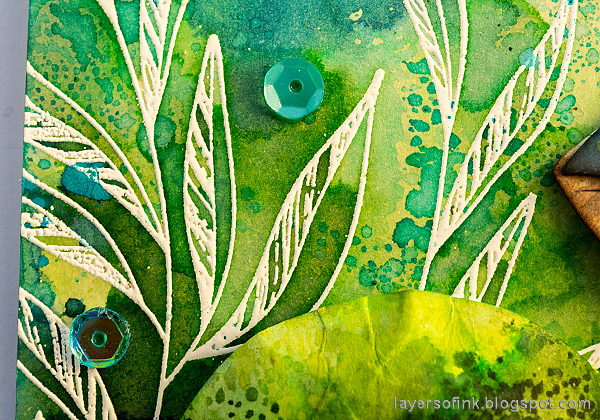
I started by white embossing one of the pretty Simon Says Stamp Leaf Edges stamps on a tag.

Layers of ink - Mushroom Tag Tutorial by Anna-Karin Evaldsson. Color tag with Distress Ink.

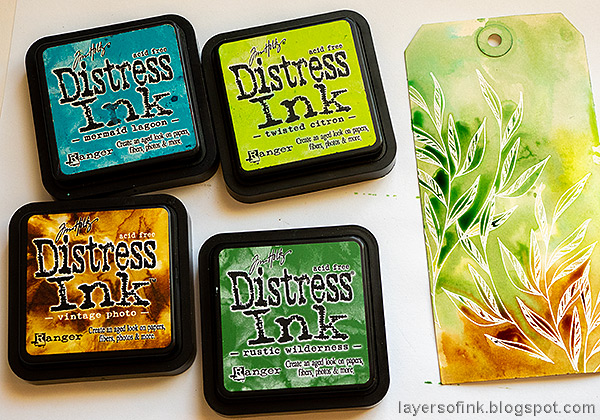
Smear Distress Inks on a non-stick craft sheet, mist with water and press the tag into the ink. Let dry.

Layers of ink - Mushroom Tag Tutorial by Anna-Karin Evaldsson.

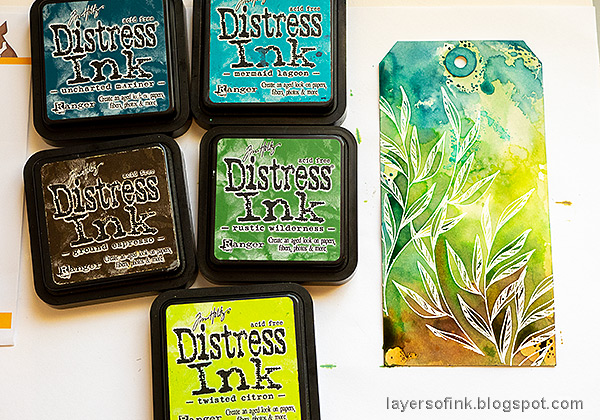
Repeat to get deeper colors and more texture. I added one more layer of Distress Ink after this photo and then finished with a tiny bit of Distress Oxide ink. I missed taking a photo of that step unfortunately.

Layers of ink - Mushroom Tag Tutorial by Anna-Karin Evaldsson. Die cut Simon Says Stamp Mushroom Trio.

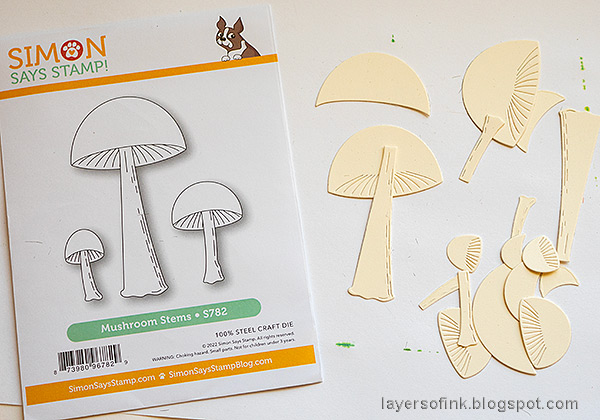
Die cut the Simon Says Stamp Mushroom Stems twice from heavystock paper.

Layers of ink - Mushroom Tag Tutorial by Anna-Karin Evaldsson.

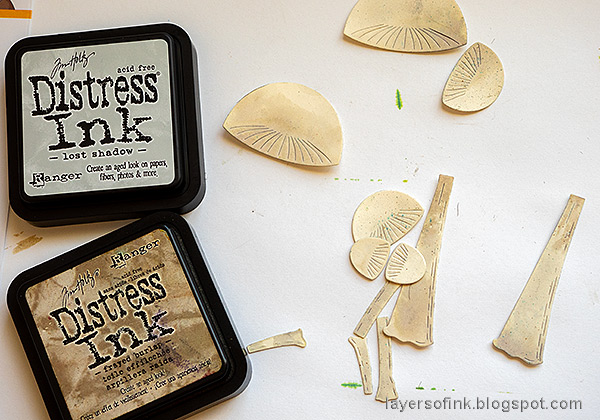
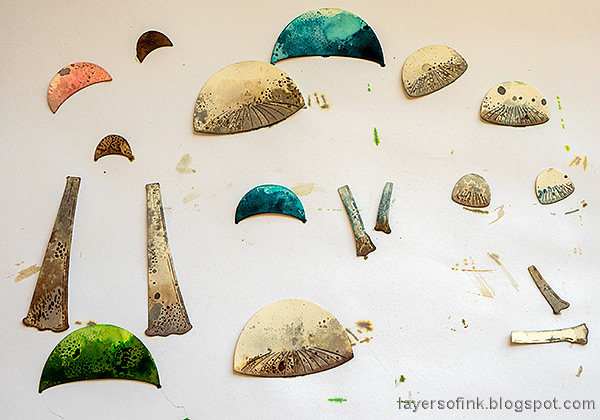
Press Lost Shadow and Frayed Burlap on a non-stick craft sheet, mist with water and press the mushroom parts into the ink. I used mainly Lost Shadow.

Layers of ink - Mushroom Tag Tutorial by Anna-Karin Evaldsson.

Color the hats in the same way using various colors. 

Layers of ink - Mushroom Tag Tutorial by Anna-Karin Evaldsson.

Let dry and then repeat the process once or twice with Distress Ink. If you only touch the paper to the ink you get a splotchy appearance. As with the background, I did a final layer using Distress Oxide inks, but only in a few areas of the images.

Layers of ink - Mushroom Tag Tutorial by Anna-Karin Evaldsson.

Shape the mushrooms with Tim Holtz Shaping kit and adhere the colorful hats with Simon Says Stamp Pawsitively Perfect Foam Tape.

Layers of ink - Mushroom Tag Tutorial by Anna-Karin Evaldsson. Dye ribbon with Distress Ink.

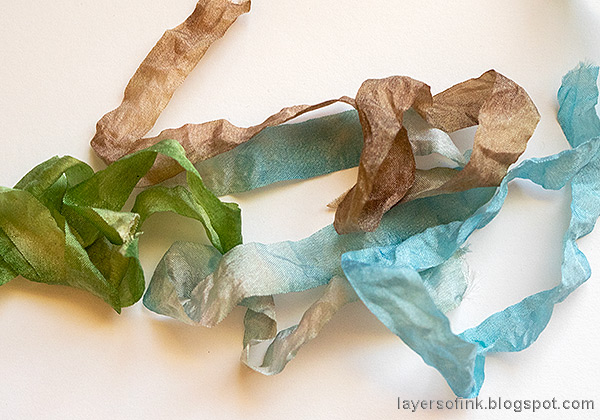
Dye May Arts Wrinkled Faux Silk Ribbon with Distress Ink, mist with water and crinkle.

Layers of ink - Mushroom Tag Tutorial by Anna-Karin Evaldsson. Simon Says Stamp Mushroom Stems.

I adhered the mushrooms to the tag with more foam tape.

Layers of ink - Mushroom Tag Tutorial by Anna-Karin Evaldsson.

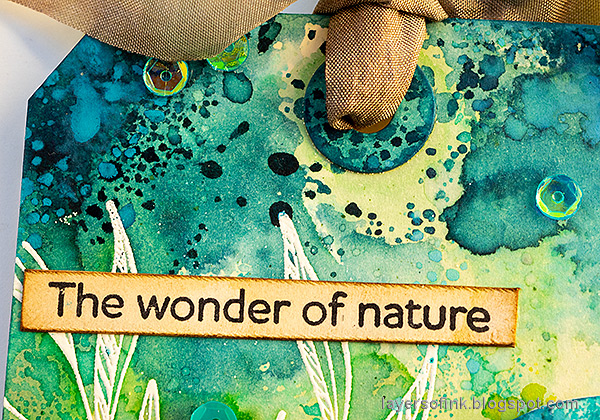
The sentiments were stamped with Simon Says Stamp Forest Scenery, which wasn't a part of the new release. Here you can see the effect of the opaque Distress Oxide inks. 

Layers of ink - Mushroom Tag Tutorial by Anna-Karin Evaldsson.


Layers of ink - Mushroom Tag Tutorial by Anna-Karin Evaldsson.

You can make these mushrooms in any color imaginable.

Layers of ink - Mushroom Tag Tutorial by Anna-Karin Evaldsson.

I dyed cheese cloth to form soil or undergrowth for the mushrooms. 

Layers of ink - Mushroom Tag Tutorial by Anna-Karin Evaldsson.

The small mushrooms are so cute.

Layers of ink - Mushroom Tag Tutorial by Anna-Karin Evaldsson.

We had lovely sunny weather today, even though there is still some snow left. I am looking forward to spring-time in the forest.

Layers of ink - Mushroom Tag Tutorial by Anna-Karin Evaldsson.

The tag has quite a bit of dimension. There will be more Just For You inspiration here on Saturday.


Happy stamping!

Anna-Karin


Supplies:

* Please note: the links are affiliate links, for which I receive a small percentage of sales generated by the link, at no extra cost to you.

Monday, March 13, 2023

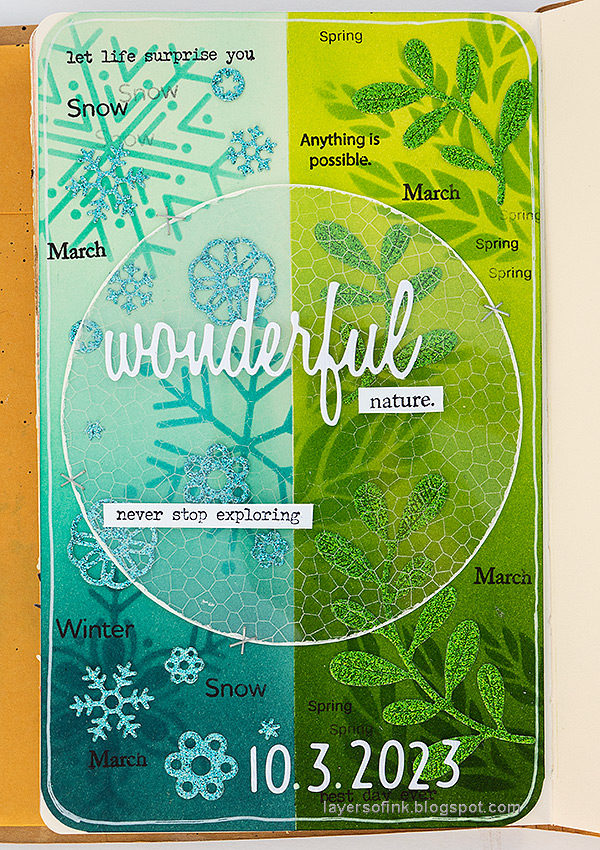
March Weather Art Journal Page

Hi friends! Our theme this week at the Simon Says Stamp Monday Challenge Blog is 'Whatever the Weather', which is a great theme for the weather we had the past week. Spring was in the air, spring flowers started to come out and then we got more snow than ever before this winter. 

Please note: this post has affiliate links, for which I receive a small percentage of sales generated by the link, at no extra cost to you.


Don't miss the beautiful project by our March guest designer Pauline C

Layers of ink - March Weather Art Journal Page by Anna-Karin Evaldsson.

My youngest and I was talking about how spring and winter are almost fighting with each other during the month of March and the sudden change in weather inspired me to do this art journal page. Have the page is winter and the other half is spring, with a very harsh edge between the two. 

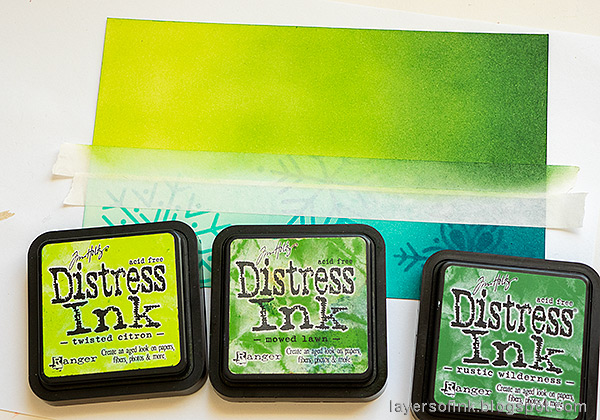
Layers of ink - March Weather Art Journal Page by Anna-Karin Evaldsson. Ink with Distress Ink.

I used Simon Says Stamp Very Very Low Tack Tape as a mask and inked one half of the page with shades of blue. Add the same shades of blue through snowflakes from Simon Says Stamp Four Flakes.

Layers of ink - March Weather Art Journal Page by Anna-Karin Evaldsson.

Repeat on the second half of the page with shades of green.

Layers of ink - March Weather Art Journal Page by Anna-Karin Evaldsson.

Apply green ink through the Simon Says Stamp Tumbling Leaves stencil and remove the tape.

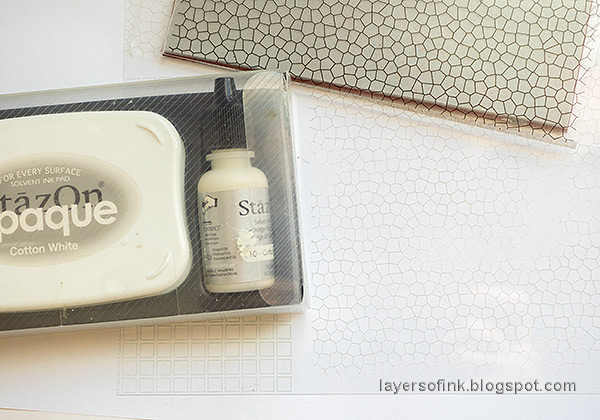
Layers of ink - March Weather Art Journal Page by Anna-Karin Evaldsson. Stained glass background.

When I last stamped with Cotton White Stazon ink I used up all the ink on the pad by stamping background stamps on Simon Says Stamp new Acetate Sheets. You need to reink this ink pad each time you use it, so I always try to use up all the ink.

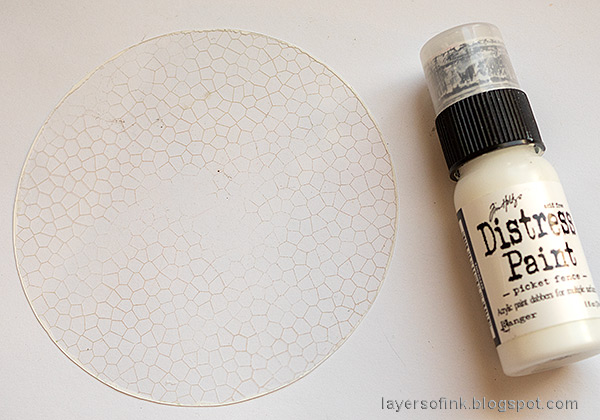
Layers of ink - March Weather Art Journal Page by Anna-Karin Evaldsson.

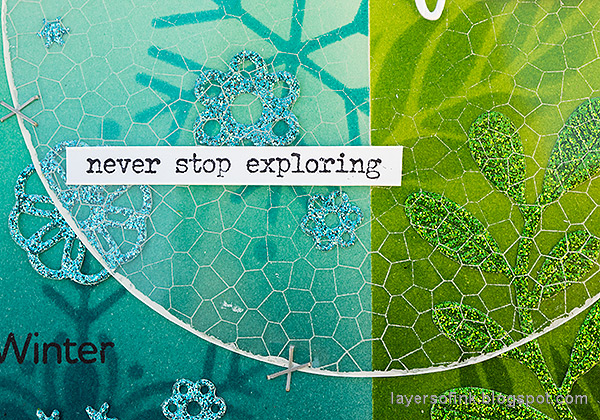
I used an area stamped with Simon Says Stamp Stained Glass background and die cut it with Simon Says Stamp Nested Circles. Add white paint around the edge.

Layers of ink - March Weather Art Journal Page by Anna-Karin Evaldsson.

The white edge gives a nice effect and created a border between the circle and the background. Attach the circle with Tim Holtz staples. 

Layers of ink - March Weather Art Journal Page by Anna-Karin Evaldsson.

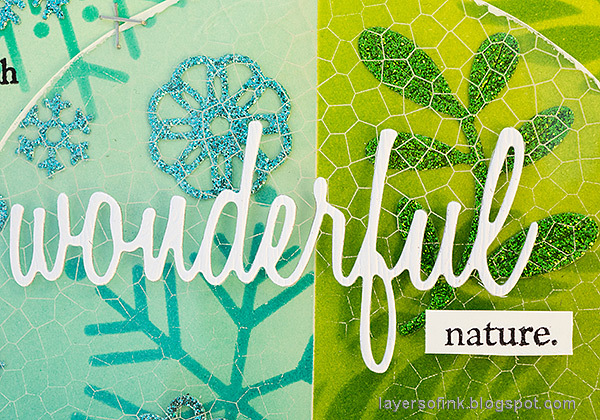
I stamped a bunch of different sentiments on the background, which fitted with the message I wanted the page to have. Although we were all waiting for spring, we also got some beautiful bonus snowy days. The Simon Says Stamp Snow Flurries snowflakes were die cut from glitter paper.

Layers of ink - March Weather Art Journal Page by Anna-Karin Evaldsson.

And on the spring side, the Simon Says Stamp Olive Leaves were die cut from green glitter cardstock.

Layers of ink - March Weather Art Journal Page by Anna-Karin Evaldsson.

I die cut the title from Tim Holtz Woodgrain paper using his Friendship Script set.

Layers of ink - March Weather Art Journal Page by Anna-Karin Evaldsson.

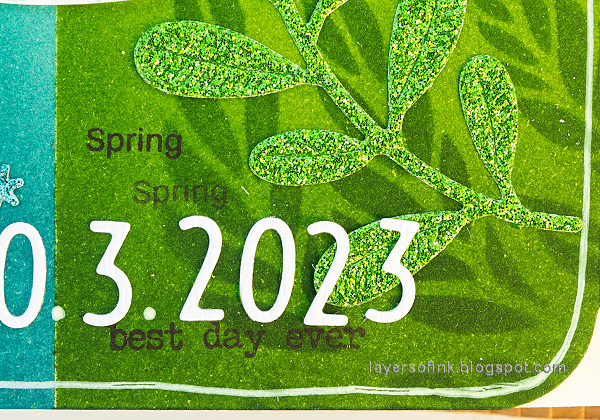
The date was die cut with Tim Holtz Collector. I added a white border with a gel pen.

Layers of ink - March Weather Art Journal Page by Anna-Karin Evaldsson.

The acetate gives a nice reflective and shiny surface to the page and adds a layered effect without much bulk.

I hope you will join us this week in our Whatever the Weather challenge. You have a chance to win a $25 gift voucher to do some fun shopping at Simon Says Stamp. You have until Monday 8am Ohio time. 1pm UK time, 2 pm CET to join in.


Do you use Instagram? If so please add #sssmchallenge so we can see your entries there too.


Thank you so much for stopping by here today! 

Happy crafting!

Anna-Karin

Supplies:

* Please note: the links are affiliate links, for which I receive a small percentage of sales generated by the link, at no extra cost to you.


Monday, March 6, 2023

Giraffe Tag Tutorial

Hi friends! We had another weekend filled with friends' birthday parties. 

Please note: this post has affiliate links, for which I receive a small percentage of sales generated by the link, at no extra cost to you.


This week we have an Emboss It theme at the Simon Says Stamp Monday Challenge Blog. Since it is the first Monday of a new month the team is showcasing products by a specific company/designer and this week it is Simon Says Stamp Exclusive products. You can see the wide range of stamps, dies, stencils, inks, papers, tools and more here. You don't have to use Simon Says Stamp products to join, but it is always fun if you do. 

We also have a new guest designer and during March Pauline C will be joining us. Be sure to check out her blog Passion for Papercraft to see what she has created for this week's challenge.


Layers of ink  Giraffe Tag Tutorial by Anna-Karin Evaldsson.

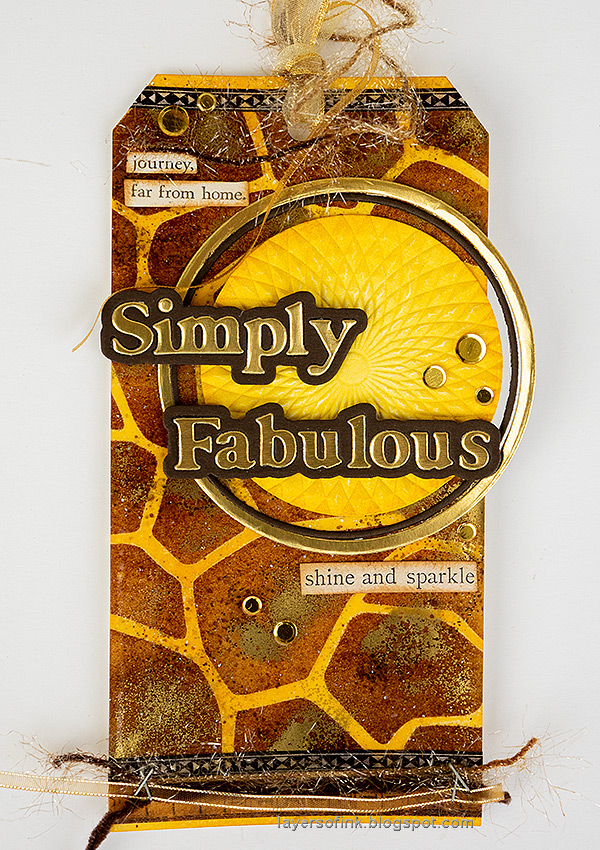
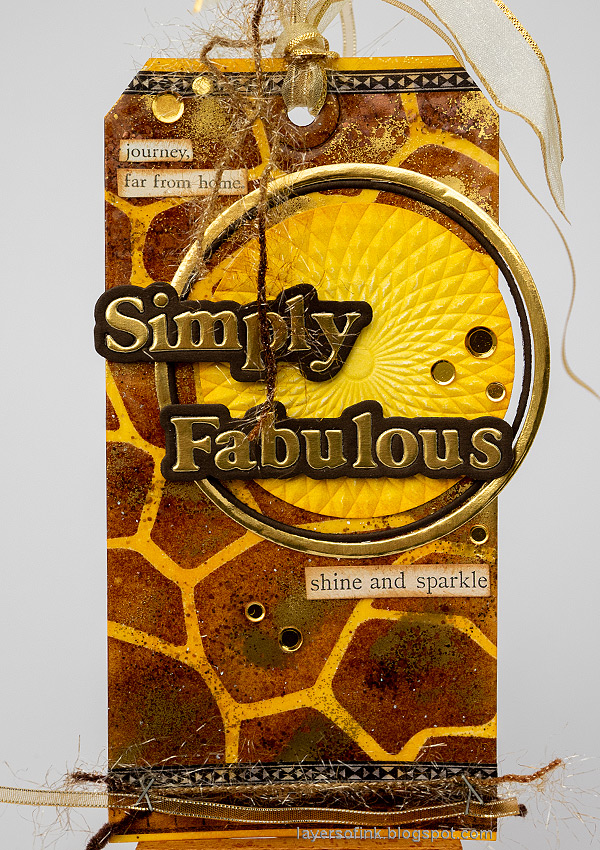
I did both heat and dry embossing this week and made a tag with a giraffe theme. The entire background is heat embossed and the yellow circle is dry embossed. The yellow circle is meant to symbolise the warm African sun. You can easily turn it into a card instead or use the techniques in your art journal.

Layers of ink  Giraffe Tag Tutorial by Anna-Karin Evaldsson.

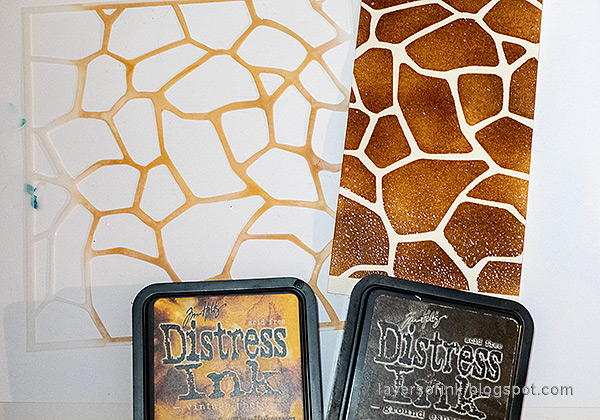
Start by inking through the giraffe stencil from Simon Says Stamp Animal Print stencil set with two shades of brown Distress Ink. Immediately cover with clear embossing powder. Always be very careful when using a heat tool and do not touch the melted powder until it has cooled down completely. 

Layers of ink  Giraffe Tag Tutorial by Anna-Karin Evaldsson.

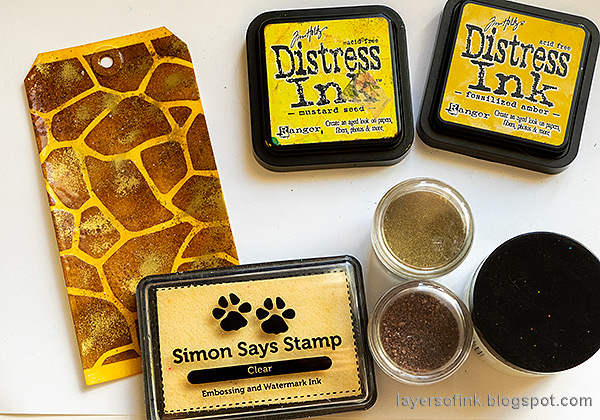
Ink the entire tag with yellow Distress Ink and then cover with clear embossing powder. Add more layers of powder. You might need to use clear embossing ink in between. Finish with just a little gold and Hammered mixed media powder.

Layers of ink  Giraffe Tag Tutorial by Anna-Karin Evaldsson.

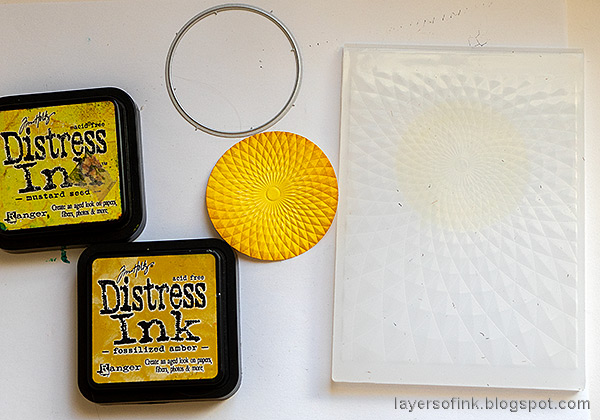
Die cut a circle from heavystock paper with Simon Says Stamp Nested Circles. Ink with Mustard Seed and then with a little Fossilized Amber. Emboss in the Simon Says Stamp Triangle Burst folder

Layers of ink  Giraffe Tag Tutorial by Anna-Karin Evaldsson.

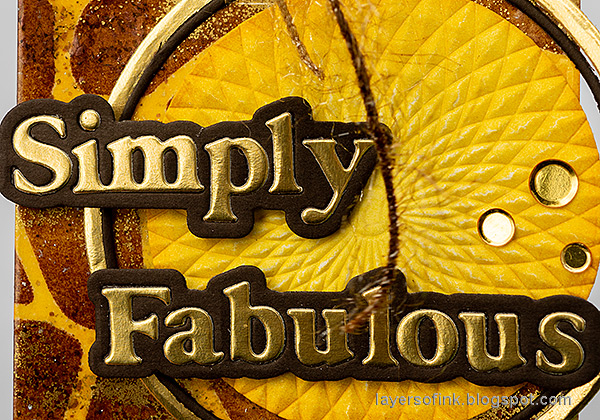
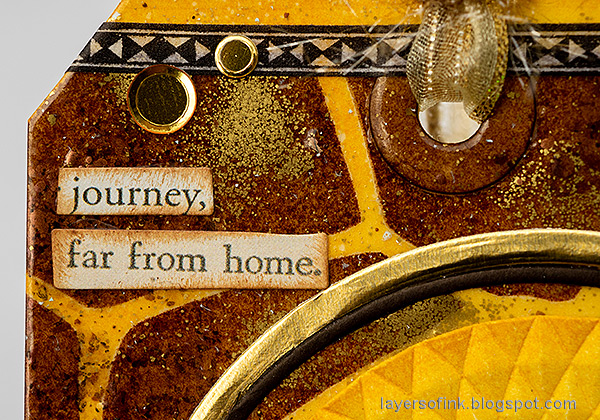
The Simply Fabulous sentiment comes from the new Simon Says Stamp Be Creative release. I die cut it from Simon Says Stamp Matte Gold and brown paper. The sentiments were adhere with Simon Says Stamp Pawsitively Perfect Foam Tape. The circles around the sun are die cut from the same papers with Simon Says Stamp Thin Frames.


Layers of ink  Giraffe Tag Tutorial by Anna-Karin Evaldsson.

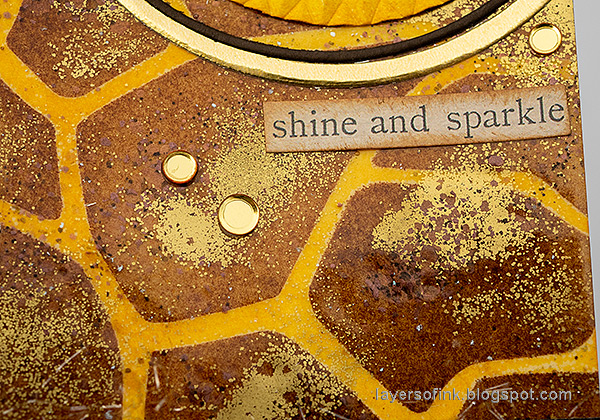
I added a couple of Clippings sentiments, Tim Holtz Design Tape Trims and some gold sequins.


Layers of ink  Giraffe Tag Tutorial by Anna-Karin Evaldsson. Double embossing.

It is always difficult to photograph the effect of a heat embossed background as it looks different depending on the way the light falls on it. From one angle the gold powder shines like this.

Layers of ink  Giraffe Tag Tutorial by Anna-Karin Evaldsson.

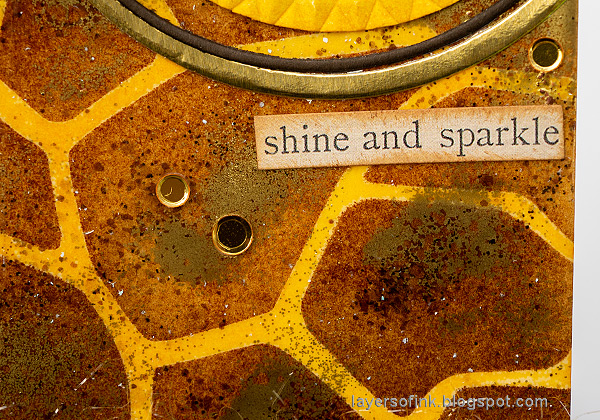
And from another the background looks like this.

Layers of ink  Giraffe Tag Tutorial by Anna-Karin Evaldsson.

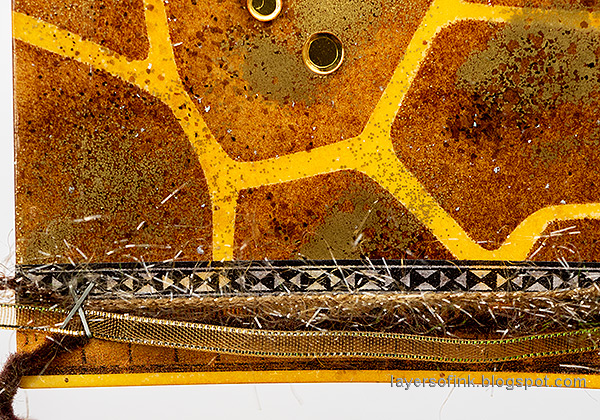
I also added some fibers and sheer ribbons.

Layers of ink  Giraffe Tag Tutorial by Anna-Karin Evaldsson.

I hope you enjoyed this tutorial and that it inspired you to do some embossing.

I hope you will join us this week in our Emboss It challenge. You have a chance to win a $25 gift voucher to do some fun shopping at Simon Says Stamp. You have until Monday 8am Ohio time. 1pm UK time, 2 pm CET to join in.


Do you use Instagram? If so please add #sssmchallenge so we can see your entries there too.


Thank you so much for stopping by here today! 

Happy crafting!

Anna-Karin

Supplies:

* Please note: the links are affiliate links, for which I receive a small percentage of sales generated by the link, at no extra cost to you.