
Hello stampers! Today I have a no-line coloring tutorial to share with you, using watercolors, colored pencils and a white gel pen.
Please note: this post has are affiliate links, for which I receive a small percentage of sales generated by the link, at no extra cost to you.

I used the new Simon Says Stamp Floral Garden stamp, from the All The Feels release. It is big stamp (almost 6x8 in) and features lots of flowers. I framed my project and plan to give it away later. But you could also make a card or an art journal page.

Stamp the Floral Garden on watercolor paper with Antique Linen ink. Since the stamp is so large, I used the Misti to stamp it. You can also use a Sizzix cutting pad as a stamping block.

Mix up various watercolor shades and start painting the flowers. Leave some of the paper showing, for highlights. Don't worry if you make some mistakes, it can be fixed later.

Continue until you have painted all the flowers and the stems.

Next, I added Zig Kuretake Gansai Tambi Pearl colors to some of the flowers and leaves. This gives a beautiful pearlescent finish.

When dry, add details and highlights with a white gel pen.

Next, I decided to use some color pencils too. I like mixing watercolors and colored pencils on projects and since this design has fairly small details, it is easy to add shading with pencils. Deepen some of the colors, add lines and add shading. If you look at the pearl hyacinths, for example, you can see the difference that the pencils make. I used Faber-Castell Polychromos pencils.

Splatter a little green watercolor paint on the background.

Here is the finished panel. You can of course also use different colors, or just stamp a part of the design on a card or a tag. It is fun seeing the stamps come to life through the coloring process. The sentiment comes from Simon Says Stamp Laugh In Flowers and was stamped with green ink and cut out.

If you look closely, some of the stamped lines are still visible, but they add details and definition to the flowers, and you don't really see them unless you look closely.

Here you can see the combination of watercolor, the white gel pen and the textured lines from the colored pencils.

This little flower might be my favorite, since I love how the blue and yellow watercolor paint blended here. The yellow paint was added when the blue paint was still wet.

You could also stamp the sentiment directly on the background, using black ink, but I wanted a soft looking sentiment stamped in green ink, which made it better to stamp and then cut it out.

The pearly shine from the Zig Kuretake Gansai Tambi Pearl colors was hard to capture on photo, but you can see it if you look at the blue and purple flower here.

Thank you so much for stopping by here today! I hope you were inspired to stamp and paint some flowers and create your own garden.

Thank you so much for taking the time to stop by here today! I will see you again tomorrow.
Happy crafting!
Anna-Karin
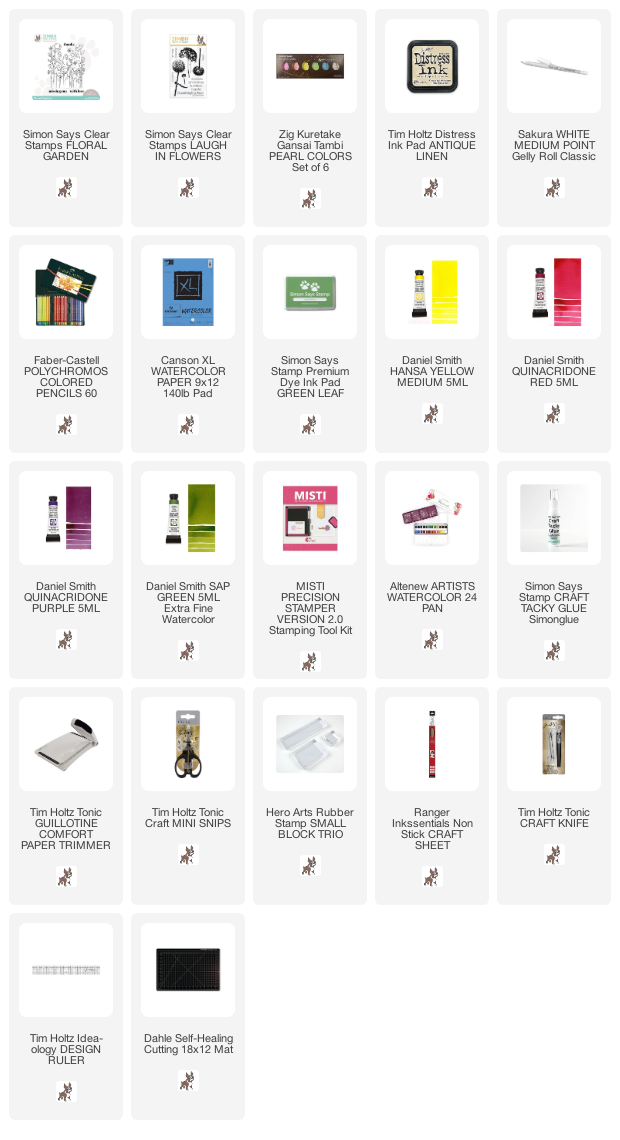
Supplies:
* Please note: the links are affiliate links, for which I receive a small percentage of sales generated by the link, at no extra cost to you.
* Please note: the links are affiliate links, for which I receive a small percentage of sales generated by the link, at no extra cost to you.
That is really clever - I never would have thought that was a stamped image originally!
ReplyDeleteThis is so beautiful! I just love the loose water colour style you achieved with this stamp. What a lovely technique. Thank you so much for sharing. :)
ReplyDelete