

I am continuing my use of Tim Holtz's Abandoned paper stash, since I like the papers so much. These cards were made with just the one sheet of paper. I also used the Simon Says Stamp STAMPtember® Thinking of You Heart, which is perfect for a shaker card, but also for many other techniques. On the card to the left, you can see straight through the card, while that is not the case with the card to the right.

Start by cutting one 8 x 8 in paper into two pieces, and die cut the heart from each one.

Die one heart and sentiment from Shimmery Coal paper, and die cut the sentiment from the heart die cut from the greener side of the paper. I didn't use all of these hearts here, and you can see some of them on my Inky Bird Art Journal page from last week.

Stamp a sentiment from the Buttercup set on acetate.

Place it in the window of the greener card, and trim the edges if needed.

Apply embossing ink around the edges and emboss with Ranger's Mint Chip powder. Be very careful when using a heat gun and do not touch the melted powder until it has cooled down completely.
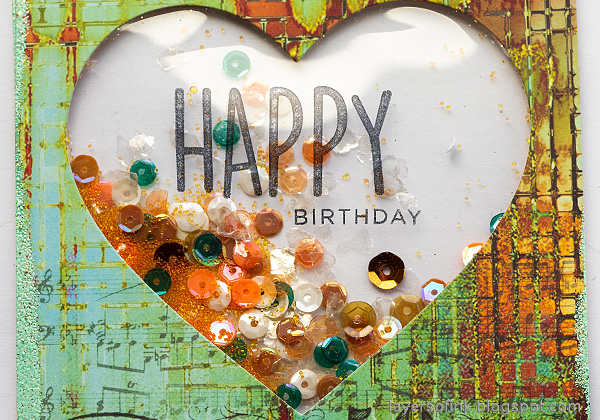
Use foam strips around the edge of the heart, fill with sequins, micro beads and some mica flakes and adhere a second piece of acetate on top of the adhesive, to close the shaker.

Die cut the heart from a folded piece of black cardstock, to create a window.

Emboss the edges of the darker paper with Gunmetal powder.

Die cut the SSS Daisy Stem from cardstock and cut off the stem. Apply embossing ink to the flowers and emboss with the Mint Chip powder. Again, be careful and don't touch the melted powder until it is completely cool.
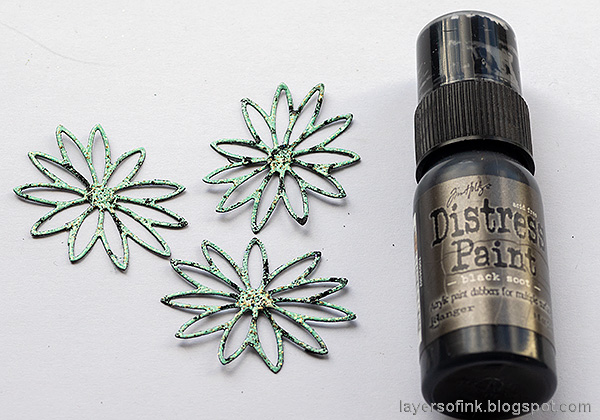
I thought they were a little too bright and distressed them with Black Soot paint.

Die cut the smaller Peeking Daisy for the second card and emboss with Scarlet Mixed Media powder.
Make a shaker for the second card too, and fill it with mica flakes. Glue the sentiment heart to the front and mount on Shimmery Coal paper. Adhere the entire panel to the folded cardstock with foam tape.

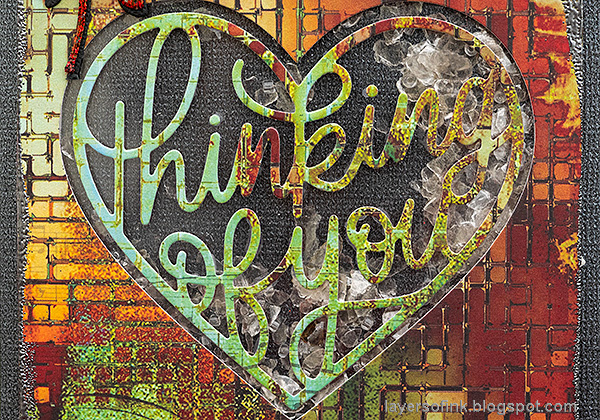
The window shaker effect is pretty cool, and very easy to do. This card was decorated with a sentiment die cut from black and Shimmery Cool paper. Like the other card, the whole panel was adhered to the background with foam tape.
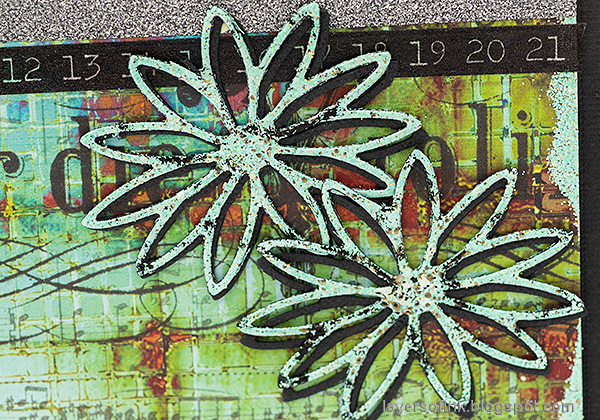
I also die cut the daisies from black cardstock, and offset it a little bit to create a shadow effect.

The embossing powder gives a fun, random effect to the edges.

I glued the thin edge of the die cut Shimmery Coal heart to the shaker.
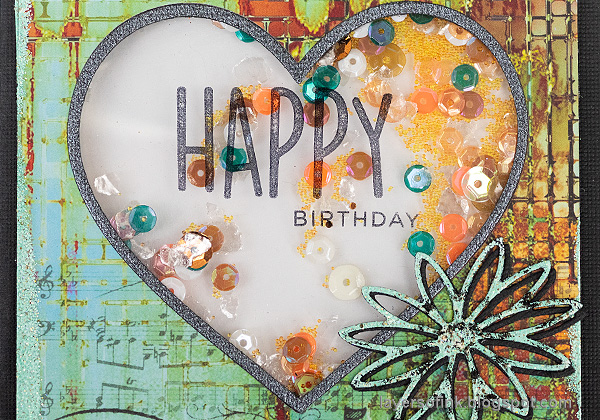
Here you see the shaker window against a white paper. You can add even more sequins and beads to it, if you want to.

And another embossed daisy. They would look nice with the red powder too.

Adhere two pieces of Design Tape to the background. Die cut the sentiment from Shimmery Coal and black cardstock.

I like the shades of red and orange, with a bit of green, on the second card. The background cardstock is very shimmery, which also adds a nice effect.
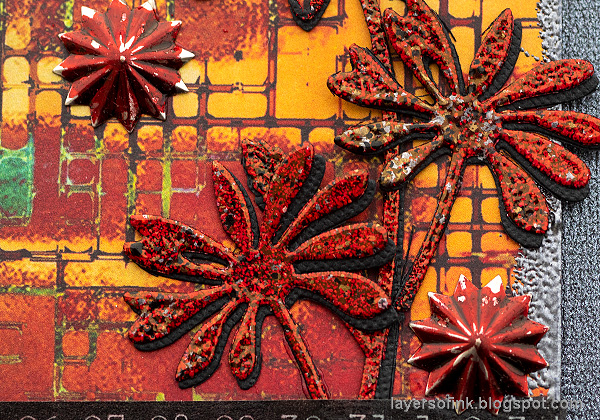
Here I also die cut black flowers to use as mats and to make the flowers more visible against the background.

The Tim Holtz Fluted Metal Stars were colored with alcohol ink, and I found them on my desk. I had planned to use them on another project, but never did. You can also use other metal stars, such as Stars Adornments.
It's just one day left of STAMPtember®, September went by way too fast.

Thank you so much for taking the time to visit my blog today!
Happy crafting!
Anna-Karin
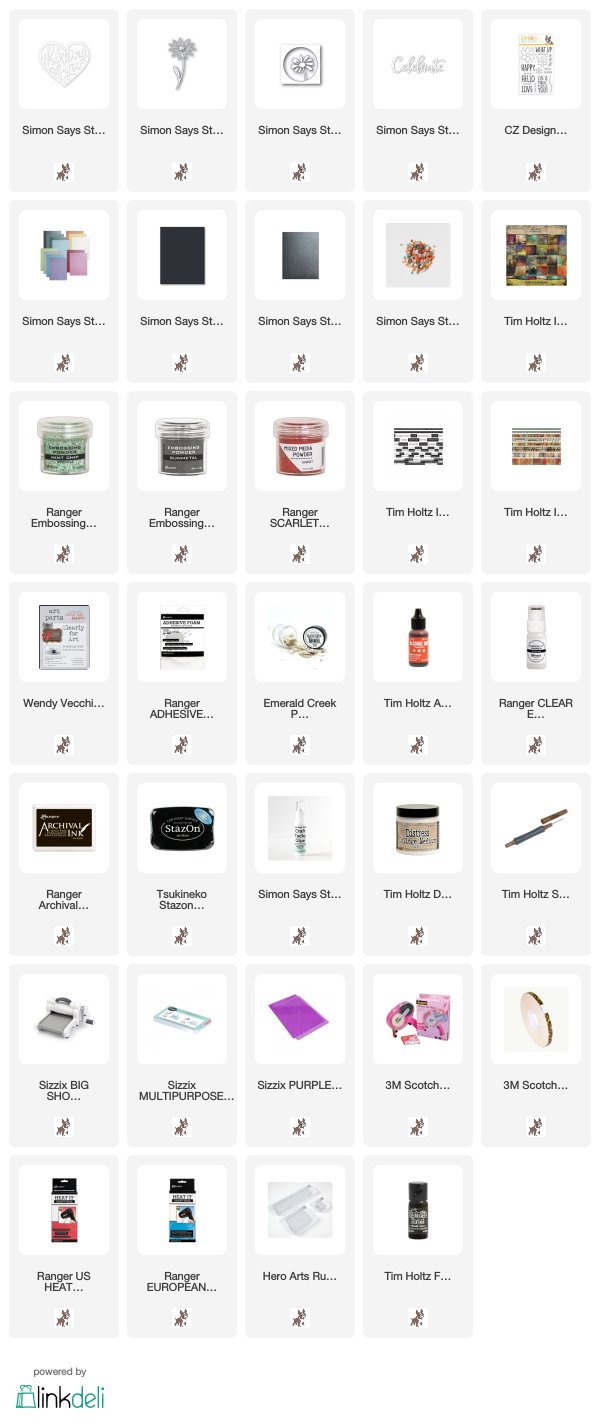
Supplies:
* Please note: the links are affiliate links, for which I receive a small percentage of sales generated by the link, at no extra cost to you.
* Please note: the links are affiliate links, for which I receive a small percentage of sales generated by the link, at no extra cost to you.
So Beautiful! I love them both x
ReplyDeleteOh my, such wonderful shaker cards!!!!! Always LOVE your unique style and these two pieces are just awesome!!! Fantastic shades of autumnal colours, textures and the effect of the muted embossing powders makes me speechless!! Your backgrounds are pieces of Art and you put them to a wonderful use! Thanks so much for sharing all the step by step!!
ReplyDeleteWow - these cards are amazing! I resisted that Abandoned paper stash, and now I'm slightly regretting it... Stunning effects with the embossing powders, and I love the shaker hearts.
ReplyDeleteAlison x