
Hello and welcome to my blog today! It is in the middle of summer, and today I have a seaside journal to share with you, made with Sizzix dies by Eileen Hull. Every summer, I make a mini book to document our summer in, with photos words and ephemera.
During July, the Eileen Hull Inspiration Team is making projects with the Journal die and other dies in the Heartfelt collection.

I really like the tall shape of the Journal die and it is so easy to make a wide variety of books and journals using the die. For my book, I used papers by Prima, mainly from the St. Tropez and French Riviera collections. They fit really well with the sea theme and using patterned papers makes for a very quick assembly of the journal.

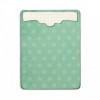
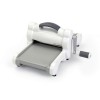
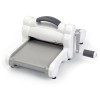
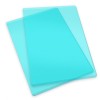
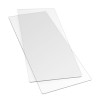
To start, you need to die cut two covers from mat board or chipboard.

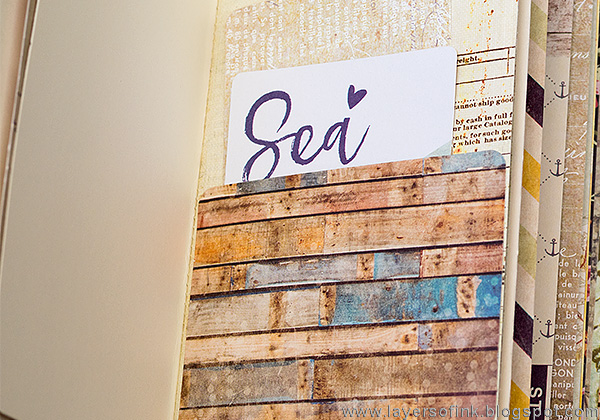
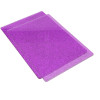
I also die cut covers from patterned paper and then glued in place. You could do everything in one go, if you glue papers to the mat board first and wait until the glue is dry to die cut them. This wood plank paper comes from the St. Tropez collection.
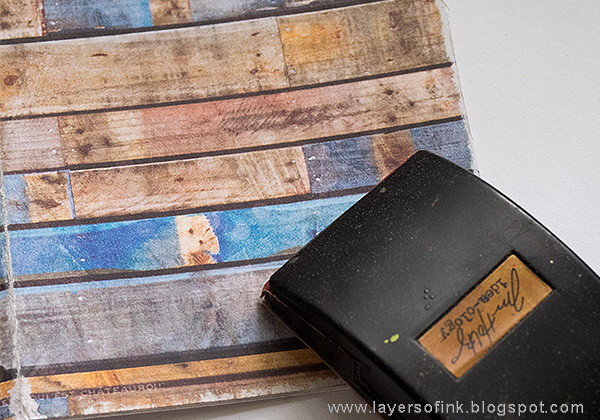
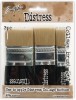
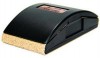
Sand the edges of the journal.

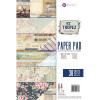
I used A4 pads by Prima, and simply cut them at 8.1 in (21 cm) and folded. I also cut plain cream papers.
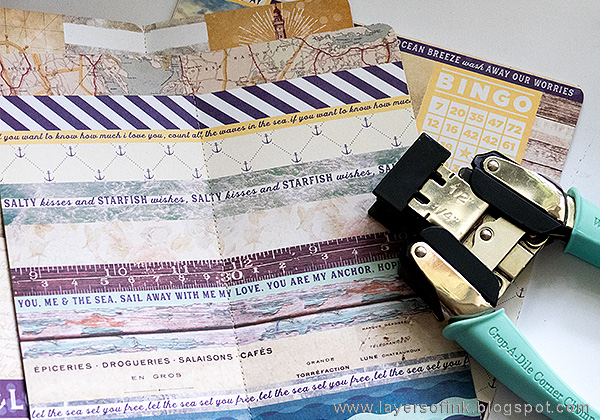
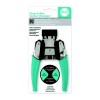
Round the corners on all the pages and place them into three signatures of about six pages. Stitch down the middle with a sewing machine. Or you could staple them.
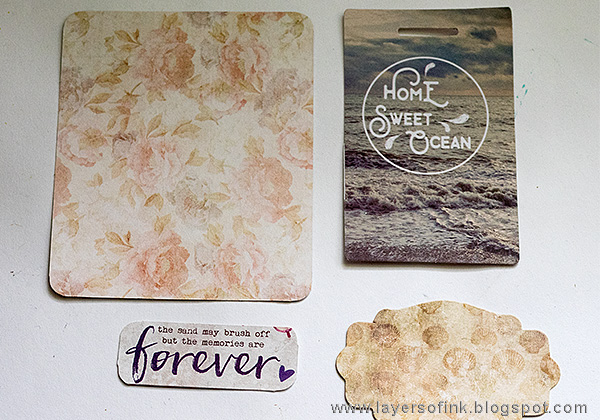
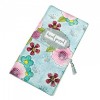
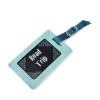
For the cover, I die cut a label with one of the die cuts on the Journal die, as well as a tag from the Luggage Tag die. The corners were rounded on the other two pieces.

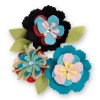
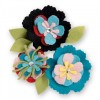
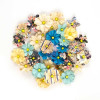
Die cut flowers from patterned paper with the Stitchy Flowers and Leaf set.

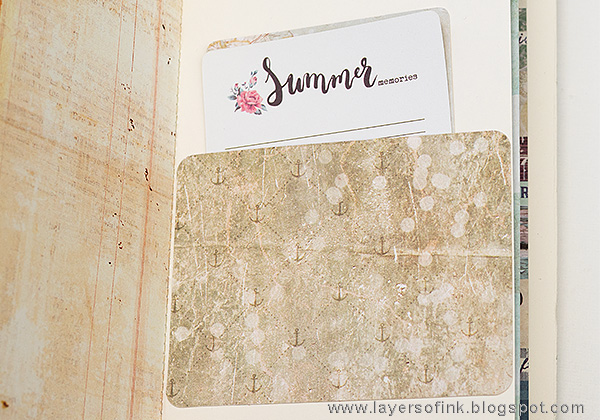
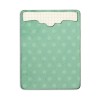
I wanted some pockets on the inside pages and die cut the Recipe Card & Label from patterned papers to use as a pocket.
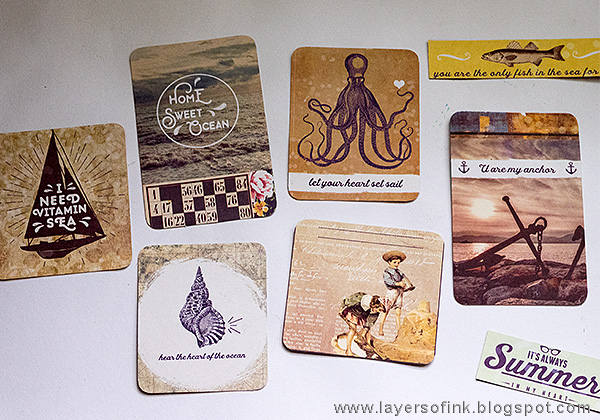
I also cut some nice parts of leftover papers out and rounded the corners. These will be embellishments in the book.

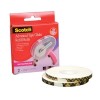
There are instruction on the packaging of the die for how you can bind your book. I used an elastic string

Tie the string through a button on the outside of the spine, leaving enough string so that you can use it to as a closure mechanism for the book.

Tuck the signatures under the elastic string to bind the book. This also makes it easy to take a signature out if you, for instance, want to stamp in it or sew, or to make it easier to write.
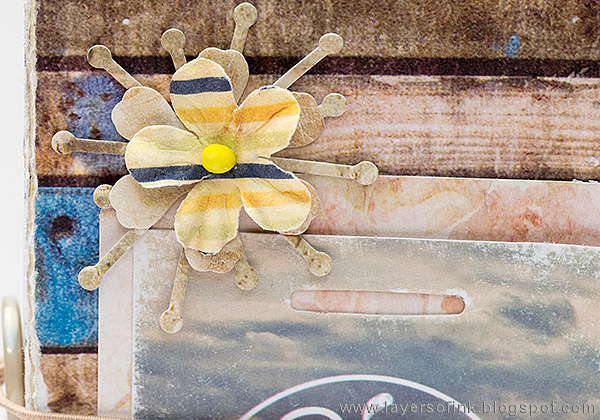
You can mix die cut and premade flowers for a fun effect.

Leo also likes the flowers.

Layer the tag, label, sentiment, and flowers on the cover.

Here's a view of the book open. There is plenty of space for photos and journaling.

Simply tape the recipe cards along the sides and bottom to form a pocket. Tuck more recipe cards inside as well as the 3 x 4 St Tropez journaling cards.
Here's another pocket. It can also hold photos and ephemera, such as tickets.

I like the mix of plain and patterned papers on the inside.

For the center folds in each signature, I used these types of nice papers with lots of details, that didn't work if you only saw half the page, so they needed to be full spreads.

Here and there I added text and embellishments, but there is plenty of space for more.

I like the distressed page to the left, with the anchors.

And a cute boat.

The old city papers also worked well, since our summer activities also take part in the city.

I love the vintage image at the top.

Here's another center spread.
And one more pocket.

Don't forget to check out all the journals that the team has created. There are so many different ways in which to use the great Journal die.
I have mentioned it before, but in case someone missed it, you can also find lots of die cutting inspiration with Eileen's dies in her e-book Die Cutting Magic by Bella Crafts.

Die Cutting Magic is full of inspirational projects using Eileen's dies and embossing folders by Sizzix. It is a really great mix of projects: 3-D home decor and storage items, flowers, cards, mini-books, wearable art, holiday projects, baby and wedding items, scrapbooking layouts and much more, for many different themes. Over 100 projects and 154 pages full of inspiration, both for beginner and advanced papercrafters. I am happy to have eight projects in the book, of which four are tutorials. You'll also find projects by Eileen, the other Inspiration Team members, and a whole bunch of other designers.
Thank you for stopping by today!
Happy summer crafting!
Anna-Karin
Supplies:


What a brilliant journal! I love the theme and the gorgeous papers you have used! The more I see this die being used the more I am thinking I need it! Chrisx
ReplyDeleteLovely, thanks for sharing and the inspiration
ReplyDeleteMerci pour ce magnifique tutoriel!
ReplyDeleteYou have transported me to my most favourite place, the sea, Anna-Karin, with your gorgeous journal! All of the papers are beautiful and I love your little pockets and mini journalling cards. Leo's little hand is adorable too!! Wonderful tutorial too, your binding is SO neat!! Anne xx
ReplyDeleteGorgeous Journal Anna-Karin, the covers are wonderful, those papers are gorgeous. Love your pages too and oh my Leo's little hand just too cute. Fabulous,out tutorial. Tracy x
ReplyDeleteWOW Anna-Karin, this is such a great idea. Your photo journal is beautifully done. The papers you've used are fantastic for this type of book. Very well done!
ReplyDeleteAnna-Karin this is absolutely beautiful! The papers are perfect- love how you used all the dies- especially the Recipe Card as a pocket! I think my favorite thing is Leo's tiny hand ❤️
ReplyDeleteHi Anna-Karin, Love your blog. I read it every time you post. I wondered what you used to connect the binding together. I'm having trouble with the binding coming apart. I'm using score tape and even adding a touch of fabric tac glue and it's pulling apart. The mat board is too thick to sew with my machine so I'm stuck. Any more ideas? Again, great job as always.
ReplyDeleteGorgeous journal Anna, love all the pockets and it is a great way to save all those special summer memories. The photo of Leo with his little finger on the flower melts my heart.
ReplyDeleteGorgeous journal Anna!! Thanks so much for sharing. It's very inspiring.
ReplyDeleteHugs,
Christina
This is so beautiful and wonderful.....I have a ? ... what are the measurements of this wonderful journal ?????
ReplyDeleteWhat a wonderful journal to record your summer activities in Anna-Karin! LOVE that paper - just ordered some of it, thanks to you!! Julia xx
ReplyDeletethere was a question proposed on a facebook page awhile back asking what artist would you like to spend time with creating... you were on the top of my list. your projects are so amazing!!!!! love love love this
ReplyDeleteThis is so amazing, Karen, and so inspirational! There's so much to look at especially inside, love it to bits!
ReplyDeletereally like this project! what does the term die cut mean?
ReplyDelete