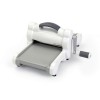
Hello everyone! As you might know, I love to make mini books, journals and notebooks, and I was very happy that Eileen Hull and Sizzix came out with a new Journal die, from Eileen's Heartfelt collection. This month the Eileen Hull Inspiration Team is showcasing projects made with the journal die.

I love the Journal die and the size of journal it creates (8 3/4 x 4 1/2), and I am looking forward to creating lots of journals. Today, I made a simple sketch or notebook, which would also be a great gift. I am practicing to get better at sketching. For some reason, I got convinced that I wasn't able to draw while growing up. I don't know where that came from, and I always wished that I could draw better. I always loved to craft and to paint, and I actually don't know why I thought that I wasn't able to draw. This book is meant to be used for tree sketching and I kept it quite plain without any embellishments of dimensional objects, since it will go with me in a back pack when I am out walking.
I used Dina Wakley's Scribble Sticks on the cover and the techniques would work on many types of projects.

Start by die cutting two journal covers from mat board. The die also comes with great labels and closures, but today I am only using the journal covers.
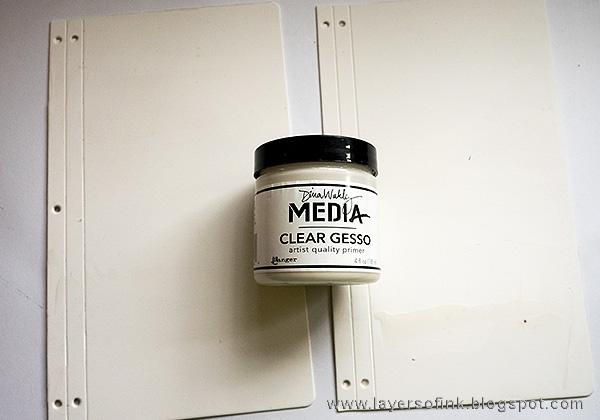
Coat them with clear gesso. You can also use white gesso, but I like the tooth and feel of this clear gesso. It is also great to stamp on. You could also work directly on the mat board.

I used tree stamps by Darkroom Door for my cover and played around with their placement until I was happy. I measured with a ruler and draw blocks with a watercolor graphite pencil. The blocked design was inspired by two gorgeous canvases by Corinne Rollet.

I also draw a border around the cover. Later I repeated this on the back cover.
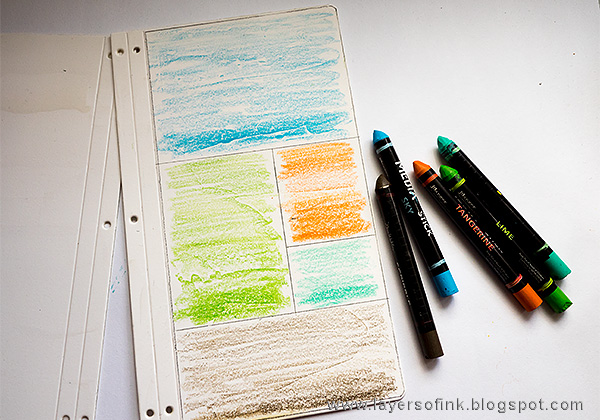
Scribble over the blocks. I made them darker towards the bottom.

Make magic happen with water and a paint brush. I also dissolved the border, although not completely.

Splatter some water on the background.

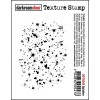
When dry, I stamped the trees in the rectangles with Jet Black ink, as well as a sentiment and two words. On the back, I painted most of the cover blue, but repeated the brown rectangle from the front. The spine was stamped with a splatter texture stamp.

Apply a strong adhesive along the spine, as seen above. I used Wonder Tape.

Now comes the binding, which can be done in different ways. The easiest way is to use a piece of elastic. My elastic cord was slightly too thin. Eileen suggested that you use elastic which is 1.5 mm thick. I might change it once I find thicker elastic. On the packaging insert, there is a good explanation showing you how to thread the elastic. Basically you go up and down, and then finish both ends in the middle hole. You can also see how to assemble the journal in these videos by Eileen.
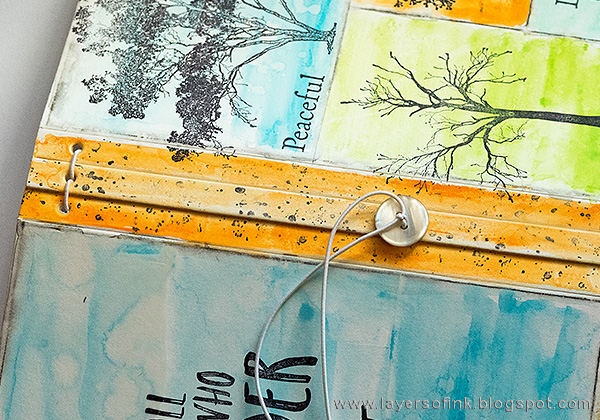
I tied the elastic through a button, and then tied it at the other end too, to function as a closure.

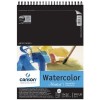
The great thing of making your own sketchbook is that you can use your favorite papers, and also mix different papers. I used good quality sketching paper as well as watercolor paper. I used A4-sized papers, and cut them down to 22 cm, leaving me with a sheet of 21 x 22 cm. Fold in half and crease with a bone folder.
I used seven sheets for each signature and made three signature, but you can use more or less and it also depends on the thickness of your paper. The easiest way is to staple the pages together down the middle, but I stitched them on my sewing machine instead.

Simply slip the signatures under the elastic cord to keep them in place.

You can of course use other types of stamps for your journal. This journal is great for so many different themes and topics.

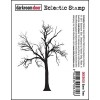
By tying the cord on both ends, you can use it as a closure. Very quick and easy. The stamp to the left is the brand new Bare Tree Eclectic stamp by Darkroom Door.

This tree line stamp is a favourite of mine.

The book is quite thick and chunky and the spine measures about 1.2 in.

Here's a look at the three signatures and the binding. The book can also be made thinner.

Instead of using a button, you could use a bead, or maybe a metallic embellishment.

Once I was done, I almost liked the back of the book better than the front, perhaps because I used one of my all time favourite quotes, by J.R.R Tolkien.

Here you can see the effect of the droplets of water better, and the look of the water-soluble graphite border.
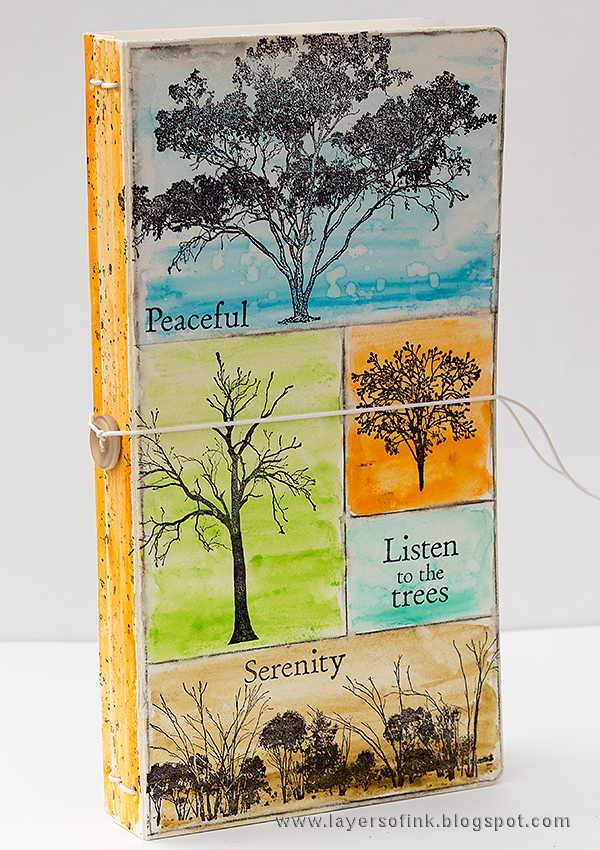
I love the tall shape of this journal and it is the largest of Eileen's journals so far, which makes it suitable for so many different kinds of themes and topics.
Thank you so much for watching and don't miss all the journal inspiration posted on Eileen's blog.
Happy crafting!
Anna-Karin
Supplies:
Other supplies:
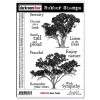
Stamps: Darkroom Door: Wander Quote Stamp.






Lovely Anna-Karin, love the patchwork effect and the nature theme is perfect, love your journal. Tracy x
ReplyDeleteYour journal is beautiful Anna-Karin, I love your colour choices and all those beautiful trees! I really must try that clear Gesso... Anne x
ReplyDeleteThat's lovely - such a great combination of colours, images and words - this will certainly inspire you every time you pick it up.
ReplyDeleteAlison x
How awesome Anna-Karin. I love this sketch journal and so would my daughter. I may need to try this. TFS!
ReplyDeleteBeautiful journal!!!
ReplyDeleteI love this Anna-Karin, fabulous cover and handmade journal. You make me wish to buy this die and play again with all my tree stamps and other colours!! :-)
and I'm so pleased to be able to inspire you too... You have inspired me SO MUCH in the past (and I'm still loving what you do and in awe!).
Thank you to link on my canvases, kind to you.
And oh, do you know what?... The first of my canvases was drawn in blocks and lines intuitively, following some natural marks in my initial painting.. But for the second one, I used exactly the same technique as you, structured from the start exactly like you did!
Two different approaches giving both good results, more or less regular... I will teach this on satursday during my first full-day workshop to a group of ladies attending! Hope they will like my project and the course, fingers crossed. :)
Hugs,
Corinne X
This is just amazing ... How talent and creative you are!! Thank you for such inspiration and sharing the photos. Big hug to you!!
ReplyDeleteI would love to see your sketches too. Isn't it funny how we "learn" when we are young that we aren't good at something?
ReplyDeleteThis is wonderful love how you create the cover!! Great idea for a journal. Happy drawing!
ReplyDeleteLove the colours and the simple beauty here.So inspirational.It really gives you a peaceful feeling.Elli
ReplyDeleteLovely x
ReplyDeleteI have just discovered this fabulous die. I just love your journals especially this tree themed one. Thanks for your inspiration and tuition. I have been wondering how to make the centrepieces - now I know!
ReplyDelete