Tuesday, May 23, 2023

Mixed Media Bird Tag Tutorial

Hi friends! Today I have a mixed media tag to share with you, inspired by nature.

Please note: this post has affiliate links, for which I receive a small percentage of sales generated by the link, at no extra cost to you.

Layers of ink - Mixed Media Bird Tag Tutorial by Anna-Karin Evaldsson.

The great tit is one of my favorite birds and has featured on quite a few projects. Here it was die cut with a die by Simon Says Stamp and watercolored with Distress Watercolor Pencils. The background has a lot of textures and is easy to do.


Start by coating a tag with gesso. Press a lid into the gesso here and there to create circles. Make a horizon line with a palette knife. Press some cheese cloth / mummy cloth into the wet gesso and add more gesso on top.

Layers of ink - Mixed Media Bird Tag Tutorial by Anna-Karin Evaldsson. Color with Distress Paint.

Paint the tag with Distress Paint and before it has dried completely, wipe some of it off with a cloth.

Layers of ink - Mixed Media Bird Tag Tutorial by Anna-Karin Evaldsson. Stamp the background.

Stamp the background with various stamps by Simon Says Stamp and Tim Holtz, using Archival Ink.

Layers of ink - Mixed Media Bird Tag Tutorial by Anna-Karin Evaldsson. Add clouds.

Mix a little white paint into texture paste and create clouds with Simon Says Stamp Clouds for Days stencil. Let dry.

Layers of ink - Mixed Media Bird Tag Tutorial by Anna-Karin Evaldsson.

Ink the edges and paint shadow to the clouds with Distress Spray Stain Pumice Stone.

Layers of ink - Mixed Media Bird Tag Tutorial by Anna-Karin Evaldsson. Die cut Simon Says Stamp Layered Birdie.


Layers of ink - Mixed Media Bird Tag Tutorial by Anna-Karin Evaldsson.

Watercolor the pieces with Distress Watercolor Crayons. Pick up the pigment from the crayons with a pencil.

Layers of ink - Mixed Media Bird Tag Tutorial by Anna-Karin Evaldsson.

Add highlights with a white gel pen.

Layers of ink - Mixed Media Bird Tag Tutorial by Anna-Karin Evaldsson.

Dye cheese cloth with Pumice Stone.

Layers of ink - Mixed Media Bird Tag Tutorial by Anna-Karin Evaldsson.

The background with the uneven gesso adds nice texture. Don't worry if the stamping isn't perfect.

Layers of ink - Mixed Media Bird Tag Tutorial by Anna-Karin Evaldsson.

It is fun to create fluffy clouds with texture paste. Mixing a little white into the paste makes it opaque.

Layers of ink - Mixed Media Bird Tag Tutorial by Anna-Karin Evaldsson.

The bird was layered and then adhered to the background with three layers of foam tape. I found a twig outside which I added to the tag.

Layers of ink - Mixed Media Bird Tag Tutorial by Anna-Karin Evaldsson.

Sentiments were stamped with Tim's Tiny Text.

Layers of ink - Mixed Media Bird Tag Tutorial by Anna-Karin Evaldsson.

The combination of gesso, stamping and cheese cloth in the background adds a lot of texture. Add a few idea-oloy Snippets ephemera.

Layers of ink - Mixed Media Bird Tag Tutorial by Anna-Karin Evaldsson.

The tag has quite a lot of dimension.

Layers of ink - Mixed Media Bird Tag Tutorial by Anna-Karin Evaldsson.


I hope you enjoyed this tutorial!


Thank you so much for stopping by here today! 

Happy crafting!

Anna-Karin

Supplies:

* Please note: the links are affiliate links, for which I receive a small percentage of sales generated by the link, at no extra cost to you.


Monday, May 22, 2023

Watercolor Peony Tutorial

Hi stampers! It is Monday and we are back with a new Simon Says Stamp Monday Challenge. I hope you had a good weekend!

Please note: this post has affiliate links, for which I receive a small percentage of sales generated by the link, at no extra cost to you.


This week we have a Watercolor theme. Watercoloring is one of my favorite things and there are so many different watercolor techniques which can be used, for coloring images, for backgrounds, for lettering and more. Don't miss the lovely project by our May guest designer Cassie Lynch aka mk_knits.

Layers of ink - Watercolor Peony Tutorial by Anna-Karin Evaldsson.

I made an art journal page in my Dina Wakley Blue Edition Journal, but you could also turn it into a card instead. The focal point is Simon Says Stamp Peony Background, from the new Dear Friend Collection. It is such a pretty flower stamp and the new collection is full of wonderful and versatile products.

Layers of ink - Watercolor Peony Tutorial by Anna-Karin Evaldsson. Zig Kuretake Gansai Tambi.

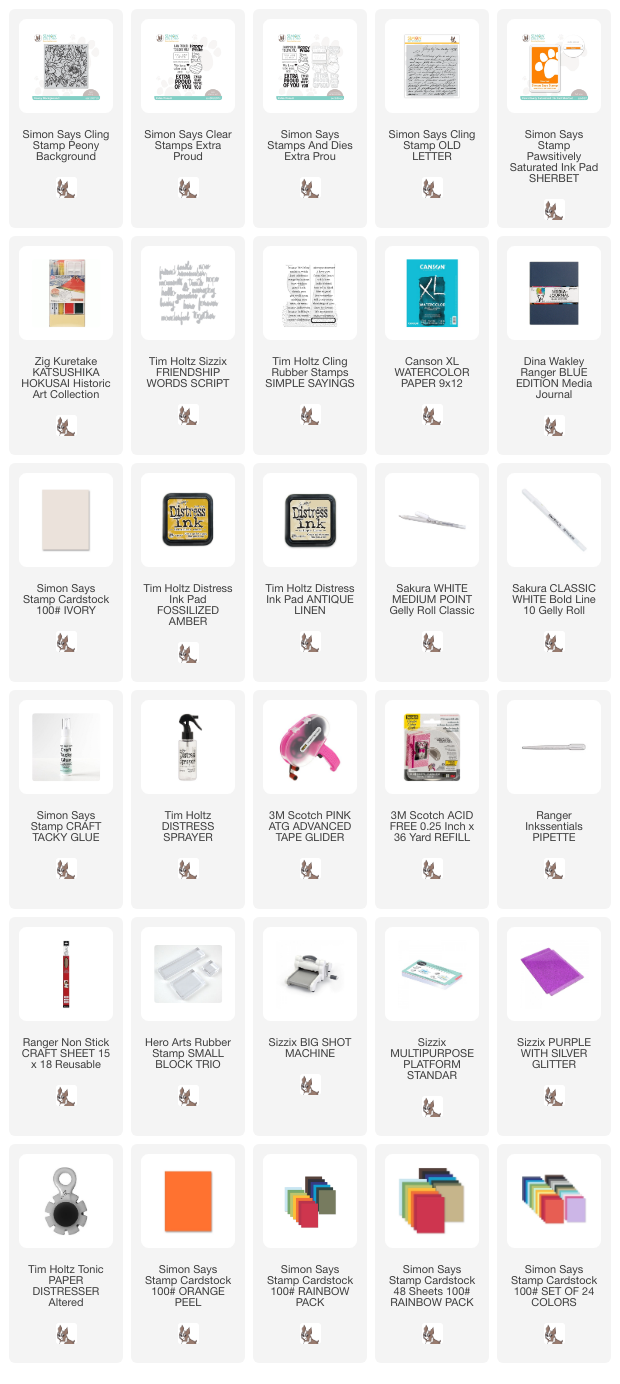
I used the Zig Kuretake Katsushika Hokusai Historic Art Collection set for the coloring. These watercolor paints are so pretty. I only used these four watercolor pans to colour the flowers.

Layers of ink - Watercolor Peony Tutorial by Anna-Karin Evaldsson. Stamp Simon Says Stamp Peony Background.

Stamp the Peony Background on watercolor paper with Antique Linen ink. I misted the stamp a couple of times with water before stamping.

Layers of ink - Watercolor Peony Tutorial by Anna-Karin Evaldsson. Paint with Zig Kuretake Gansai Tambi watercolor paint.

Mix your colors before-hand so that they are ready when you need them. I colored the red-pink flower first. Don't aim for a perfect look. I left some of the paper showing through for highlights and dropped the darker shades into the lighter paint before it had dried.

Layers of ink - Watercolor Peony Tutorial by Anna-Karin Evaldsson.

Continue with the rest of the flowers.

Layers of ink - Watercolor Peony Tutorial by Anna-Karin Evaldsson. Add highlights with a white gel pen.

Mix two shades of green and a darker shade of green-brown. Use the latter for the stamens in the yellow flower. Add some flowing lines to the flowers and the leaves, when the background is dry. Add lines and some dots with a white gel pen.

Layers of ink - Watercolor Peony Tutorial by Anna-Karin Evaldsson. Paint with Kuretake Gansai Tambi.

 Splatter a tiny bit of paint on the background.  

Layers of ink - Watercolor Peony Tutorial by Anna-Karin Evaldsson. Stamp with Simon Says Stamp Old Letter background.

On one of the cotton-rag watercolor pages in the Blue Edition journal, stamp Simon Says Stamp Old Letter with Fossilized Amber ink. Mist the stamp with water before stamping.

Layers of ink - Watercolor Peony Tutorial by Anna-Karin Evaldsson. Add splatters.

Splatter a little watercolor paint on the background and mist lightly with water.

Layers of ink - Watercolor Peony Tutorial by Anna-Karin Evaldsson. Die cut Tim Holtz Friendship Words.

The title were die cut with Tim Holtz Friendship Words Script from pearlescent paper and Simon Says Stamp Orange Peel cardstock.

Layers of ink - Watercolor Peony Tutorial by Anna-Karin Evaldsson.

Distress the edges of the watercolor paper. 

Layers of ink - Watercolor Peony Tutorial by Anna-Karin Evaldsson.

The stamped sentiments comes from Tim Holtz Simple Sayings and Simon Says Stamp new Extra Proud stamp set, using Sherbet Pawsitively Saturated ink. The latter was die cut with the coordinating die.

Layers of ink - Watercolor Peony Tutorial by Anna-Karin Evaldsson.

The script stamping and watercolor splatters add just enough texture and interest to the background.

Layers of ink - Watercolor Peony Tutorial by Anna-Karin Evaldsson.

If you look up closely on the flowers, it may be hard to pick out the shapes. They look better from a distance.

Layers of ink - Watercolor Peony Tutorial by Anna-Karin Evaldsson.

This smaller flower was colored even more loosely than the larger flowers. For more inspiration from the Dear Friend release, check out my Mixed Media tag from yesterday's blog hop.

I hope you will join us this week in our Watercoloring challenge. You have a chance to win a $25 gift voucher to do some fun shopping at Simon Says Stamp. You have until Monday 8am Ohio time. 1pm UK time, 2 pm CET to join in.


Do you use Instagram? If so please add #sssmchallenge so we can see your entries there too.


Thank you so much for stopping by here today! 

Happy crafting!

Anna-Karin

Supplies:

* Please note: the links are affiliate links, for which I receive a small percentage of sales generated by the link, at no extra cost to you.


Sunday, May 21, 2023

Simon Says Stamp Dear Friend Blog HOp

Hi and welcome to my blog! I am so happy to take part in the Simon Says Stamp Blog Hop to celebrate the new Dear Friend release. If you are following along in the hop, you should have come here from the creative Keisha Charles.
Please note: this post has affiliate links, for which I receive a small percentage of sales generated by the link, at no extra cost to you.

Simon Says Stamp Dear Friend Blog Hop


The Dear Friend release is full of wonderful new and versatile stamps, stencils, dies, ink and sequins. You can find the entire Dear Friend release here. 

Simon Says Stamp Dear Friend Blog Hop


I made a tag, which you can easily turn into a card if you want to.

Layers of ink - Dear Friend Mixed Media Tag tutorial by Anna-Karin Evaldsson.

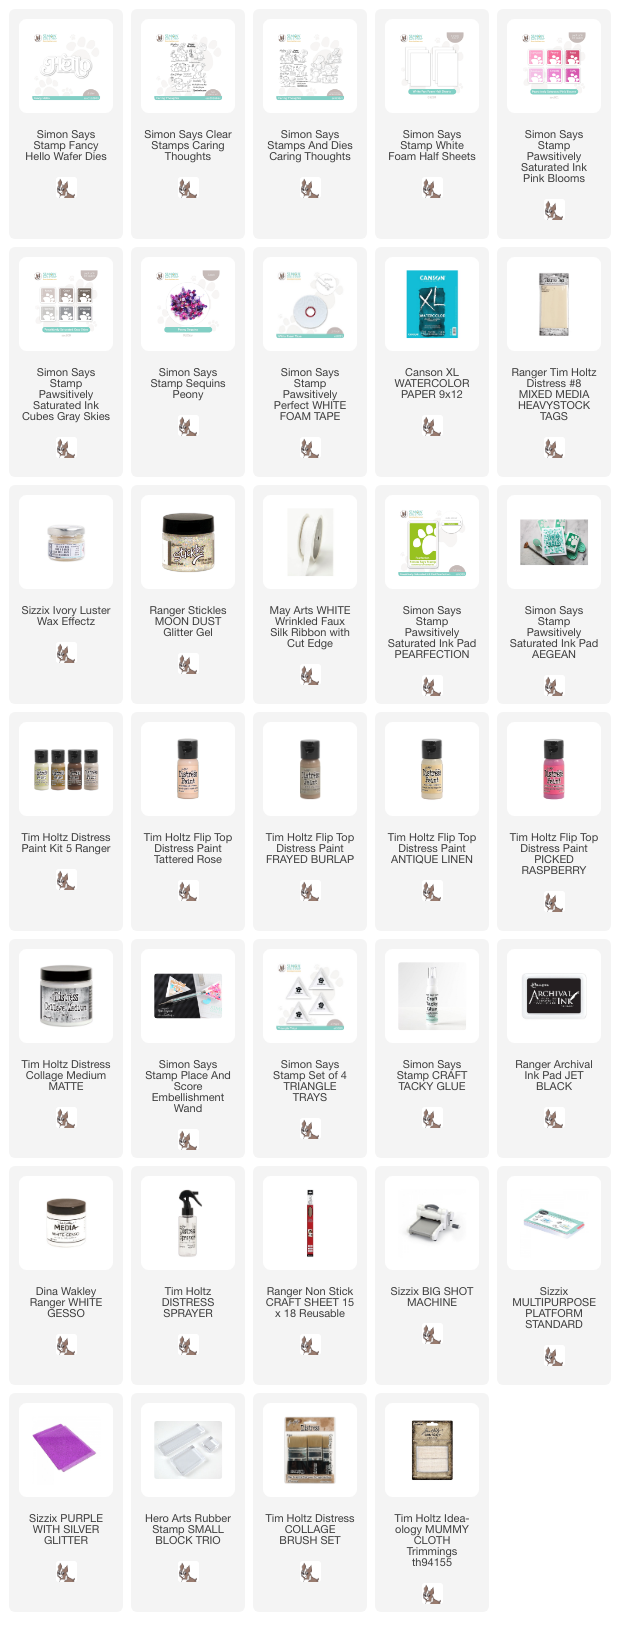
In the Dear Friend release there are sheets of White Foam, which is so much fun! I haven't fun foam for years and think the last time that I used it was when helping to decorate the stage for a pre-primary school show of my eldest. Fun Foam is very versatile and great to use with thin dies. You can get the same kind of dimension as you could from chipboard. 

Layers of ink - Dear Friend Mixed Media Tag tutorial by Anna-Karin Evaldsson. Die cut Simon Says Stamp Fancy Hello.

I started by die cutting Simon Says Stamp Fancy Hello from the White Foam Sheets five times. The die cuts through the foam like it was butter.

Layers of ink - Dear Friend Mixed Media Tag tutorial by Anna-Karin Evaldsson. Die cut hello from Simon Says Stamp Fun Foam.

Glue them to the background with Matte Medium and add another layer of medium on top. 

Layers of ink - Dear Friend Mixed Media Tag tutorial by Anna-Karin Evaldsson. Coat with gesso.

When dry, cover the background with gesso.

Layers of ink - Dear Friend Mixed Media Tag tutorial by Anna-Karin Evaldsson. Paint with Distress Paint.

When the gesso is dry, paint the tag with Distress Ink and mist heavily with water to blend. Let dry (it may take a while).

Layers of ink - Dear Friend Mixed Media Tag tutorial by Anna-Karin Evaldsson. Add Ranger Stickles.

Next, I added Sizzix Ivory Luster Wax around the edges and on the words. Next, I added Moon Dust Stickles Glitter Gel to the words. It covered up the wax to some extent, but you can still see the pearlescent shine.

Layers of ink - Dear Friend Mixed Media Tag tutorial by Anna-Karin Evaldsson.

Stamp one of the sweet images from Caring Thoughts on watercolor paper. The images on this set are so sweet and I also really like the sentiments.

Layers of ink - Dear Friend Mixed Media Tag tutorial by Anna-Karin Evaldsson. Watercolor the image with Simon Says Stamp Pawsitively Saturated inks.

Dear Friend comes with two sets of Pawsitively Saturated inks, with six inks in each set, Pink Blooms and Gray Skies. I used three from each set to watercolor the little mouse, as well as two green inks. Smear the ink on a non-stick craft sheet, mist with water and use a paint brush to watercolor. 

Layers of ink - Dear Friend Mixed Media Tag tutorial by Anna-Karin Evaldsson. Die cut with the coordinating die.

Die cut the mouse with the coordinating die.

Layers of ink - Dear Friend Mixed Media Tag tutorial by Anna-Karin Evaldsson.

Stamp and die cut hearts and stamp two sentiments.

Layers of ink - Dear Friend Mixed Media Tag tutorial by Anna-Karin Evaldsson.

I thought the white paper that I stamped the sentiments on was too stark, but instead of restamping on cream paper, I coated the papers with the Sizzix Ivory Luster Wax. It is hard to photograph the effect, but in real life, it now looks like pearlescent paper. The touch of pink was caused by me having pink ink on my fingers.

Layers of ink - Dear Friend Mixed Media Tag tutorial by Anna-Karin Evaldsson.

I like the effect of the repeated fun foam words in the background. Since it is fun foam, it hardly added any weight to the card and the words have a nice soft look and feel to them. 

Layers of ink - Dear Friend Mixed Media Tag tutorial by Anna-Karin Evaldsson.

The image was watercolored loosely, leaving some of the white paper for highlights. It was adhered with Simon Says Stamp Pawsitively Perfect Foam Tape.

Layers of ink - Dear Friend Mixed Media Tag tutorial by Anna-Karin Evaldsson.

I also added Peony sequins from the Dear Friend release. I use the wonderful new Place and Score Embellishment Wand when placing the sequins down on dots of Simon Says Stamp glue. It works great!

Layers of ink - Dear Friend Mixed Media Tag tutorial by Anna-Karin Evaldsson.

Here you can see the effect of the Luster Wax and the glitter gel.

Layers of ink - Dear Friend Mixed Media Tag tutorial by Anna-Karin Evaldsson.

The ribbon was dyed with two of Rose and Bubblegum Pawsitively Saturated inks from the Pink Blooms set.

Don't miss all the inspiration along the hop. There are of course prizes to be won too, and at each stop on the hop SSS is giving away a $25 coupon, randomly drawn from those who leave a comment. The winners will be posted post on the Simon Says Stamp store blog on Wednesday the 24nd of May.

Your next stop on the hop is Heather Ruwe. Don't miss to see the wonderful project she has created. If you get lost along the way, here are all the stops:

Anna-Karin Evaldsson (you are here)

For more inspiration, remember to check out the Dear Friend gallery at Simon Says Stamp, and if you make something with products from the range, it is fun if you post it in the galleries too. There are galleries for all releases, and for the card kits, full of inspiration.

This is the second Just For You blog hop, don't miss blog hop day number 1 which was yesterday.


Thank you so much for stopping by here today! 

Happy crafting!

Anna-Karin

Supplies:

* Please note: the links are affiliate links, for which I receive a small percentage of sales generated by the link, at no extra cost to you.